When it comes to wildlife photography, local adjustments in Adobe Lightroom are essential for bringing out the best in your images. These targeted edits allow you to enhance specific areas of your photos without affecting the entire image. In this article, we’ll explore three powerful local adjustment techniques: masking, the Adjustment Brush, and Graduated and Radial Filters.
Masking Techniques for Wildlife Subjects
Masking in Lightroom has become increasingly sophisticated, offering wildlife photographers precise control over their edits. The latest AI-powered masking tools have revolutionized the way we approach local adjustments.
Select Subject
One of the most powerful features for wildlife photographers is the “Select Subject” option. This AI-driven tool can quickly identify and mask your main subject, often with remarkable accuracy[2]. For example, when working on an image of a fish eagle, the Select Subject tool can isolate the bird from its surroundings, allowing for targeted adjustments.
However, the AI doesn’t always get it perfect. In cases where part of the subject is missed or background elements are incorrectly included, you can refine the mask:
- To add areas, use the “Add” function with an object mask or brush.
- To remove unwanted areas, use the “Subtract” function, often in combination with other masking tools like “Select Sky”.
Luminance Range Masking
For more nuanced selections, especially when dealing with fur or feathers, Luminance Range Masking is invaluable. This tool allows you to target specific brightness values within your image.
For instance, when working on a backlit subject like a baboon, you can:
- Start with a subject mask.
- Intersect it with a Luminance Range Mask.
- Use the eyedropper to sample the brightest areas where the sun shines through the fur.
- Adjust the luminance range using the sliders for precise control.
This technique allows you to enhance the rim lighting effect without affecting the darker areas of the subject or the background.
Color Range Masking
Color Range Masking is particularly useful for isolating specific color tones in your wildlife subjects. This can be helpful when you want to adjust the saturation or hue of particular features, such as the eyes or distinctive markings.
Depth Range Masking
For images with clear depth separation, such as a wildlife subject against a distant background, Depth Range Masking can be a powerful tool. It allows you to make adjustments based on the perceived distance of elements in the image.
Using the Adjustment Brush to Enhance Animal Features
The Adjustment Brush is a versatile tool for making precise local adjustments to your wildlife images. It allows you to “paint” adjustments directly onto specific areas of your photo.
Enhancing Eyes
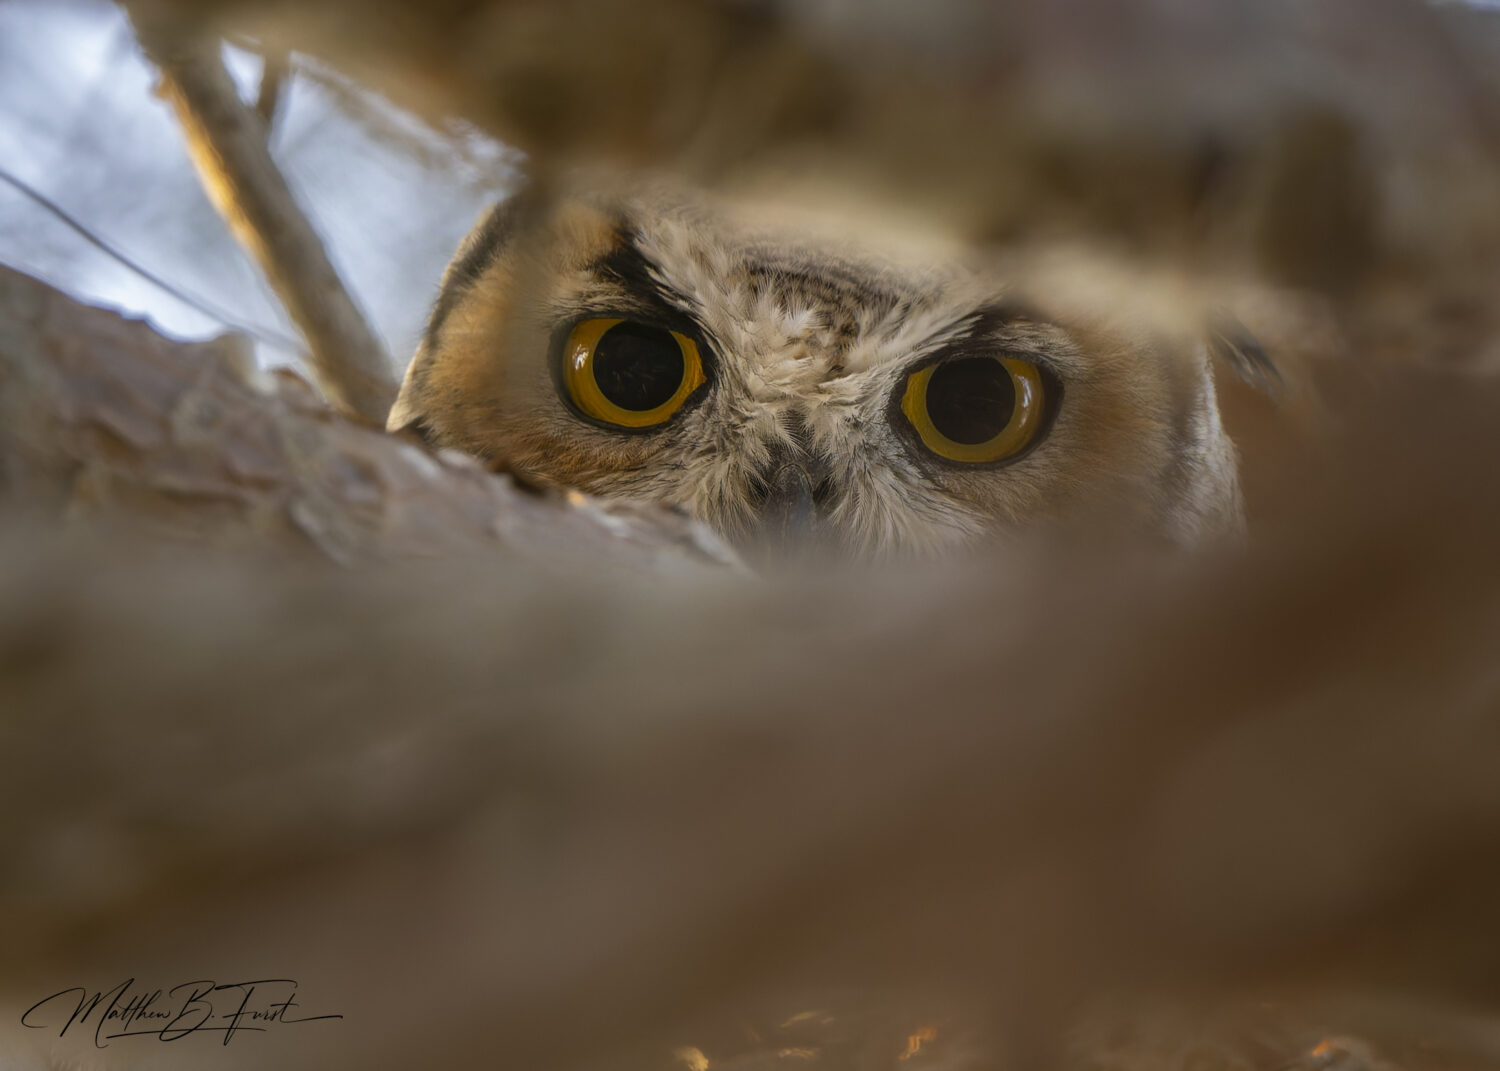
One of the most common uses of the Adjustment Brush in wildlife photography is to enhance the eyes of your subject. Here’s a technique you can use:
- Select the Adjustment Brush tool.
- Set a small brush size with a feathered edge.
- Increase the exposure slightly and boost clarity and sharpness.
- Carefully paint over the eyes of your subject.
- If needed, use the Erase brush to refine the selection.
This technique can bring life and focus to your subject’s gaze, creating a more engaging image.
Dodging and Burning
The Adjustment Brush is also excellent for dodging (lightening) and burning (darkening) specific areas of your wildlife subject. This technique can add depth and dimension to your images[5]. For example:
- Use a large, soft-edged brush to lighten (dodge) the side of an animal facing the light source.
- Use a smaller brush to darken (burn) areas of shadow, enhancing the three-dimensional appearance of the subject.
Enhancing Texture
For subjects with intricate textures, like feathers or fur, the Adjustment Brush can be used to bring out these details:
- Select the Adjustment Brush and increase the Clarity and Texture sliders.
- Paint over areas where you want to enhance texture, such as a bird’s plumage or a mammal’s fur.
- Use a low flow setting and build up the effect gradually for a natural look.
Color Adjustments
The Adjustment Brush can also be used for selective color adjustments. For instance, you can enhance the saturation of specific colorful features on a bird or butterfly without affecting the rest of the image.
Graduated and Radial Filters: Creating Depth in Wildlife Scenes
Graduated and Radial Filters are powerful tools for creating depth and directing focus in wildlife scenes. They allow you to make broad adjustments that gradually fade across your image.
Graduated Filters
Graduated Filters are particularly useful for adjusting skies or foregrounds in wildlife habitat shots[3]. Here’s how you can use them effectively:
- Select the Graduated Filter tool.
- Click and drag from the top of the image downwards to adjust the sky.
- Decrease exposure and increase contrast to create a more dramatic sky.
- If needed, use the Color Range or Luminance Range options to refine the filter’s effect on specific elements.
For foreground adjustments:
- Drag the Graduated Filter from the bottom up.
- Increase exposure slightly to bring out foreground details.
- Add clarity to enhance texture in the foreground elements.
You can also use multiple Graduated Filters with different settings to create more complex effects.
Radial Filters
Radial Filters are incredibly versatile for wildlife photography, allowing you to create subtle vignettes or draw attention to your subject. Here are some techniques:
- Create a vignette:
- Place a large Radial Filter around your subject.
- Invert the mask so it affects the area outside the circle.
- Decrease exposure and clarity slightly to draw focus to your subject.
- Enhance the subject:
- Place a Radial Filter over your wildlife subject.
- Increase exposure, clarity, and sharpness to make it pop.
- Feather the edge of the filter for a natural transition.
- Create depth in the scene:
- Use multiple Radial Filters to adjust different areas of the image.
- Brighten areas you want to emphasize and darken less important elements.
Combining Filters with Masks
For more advanced adjustments, you can combine Graduated or Radial Filters with other masking techniques:
- Apply a Graduated Filter to the sky.
- Use the “Intersect with Sky” option to ensure the filter only affects the sky and not any foreground elements.
This technique is handy when you have wildlife subjects that extend into the sky area, such as birds in flight or animals on a hilltop.
Conclusion
Local adjustments are crucial to the wildlife photographer’s toolkit in Lightroom. By mastering masking techniques, the Adjustment Brush, and Graduated and Radial Filters, you can bring out the best in your wildlife subjects and create images with depth, dimension, and impact.
Remember, the key to effective local adjustments is subtlety. Small, targeted changes can often make a big difference in the overall impact of your wildlife images. Experiment with these techniques, but always aim to enhance the natural beauty of your subjects rather than creating an overly processed look.
As you practice these techniques, you’ll develop a workflow that allows you to quickly and effectively bring out the best in your wildlife photography, creating images that truly capture the essence and beauty of the natural world.
