Creating and Using Presets for Consistent Wildlife Editing
Presets are a powerful tool for wildlife photographers looking to streamline their editing workflow and maintain consistency across their images. By creating and using presets effectively, you can significantly reduce editing time while ensuring a cohesive look for your wildlife portfolio.
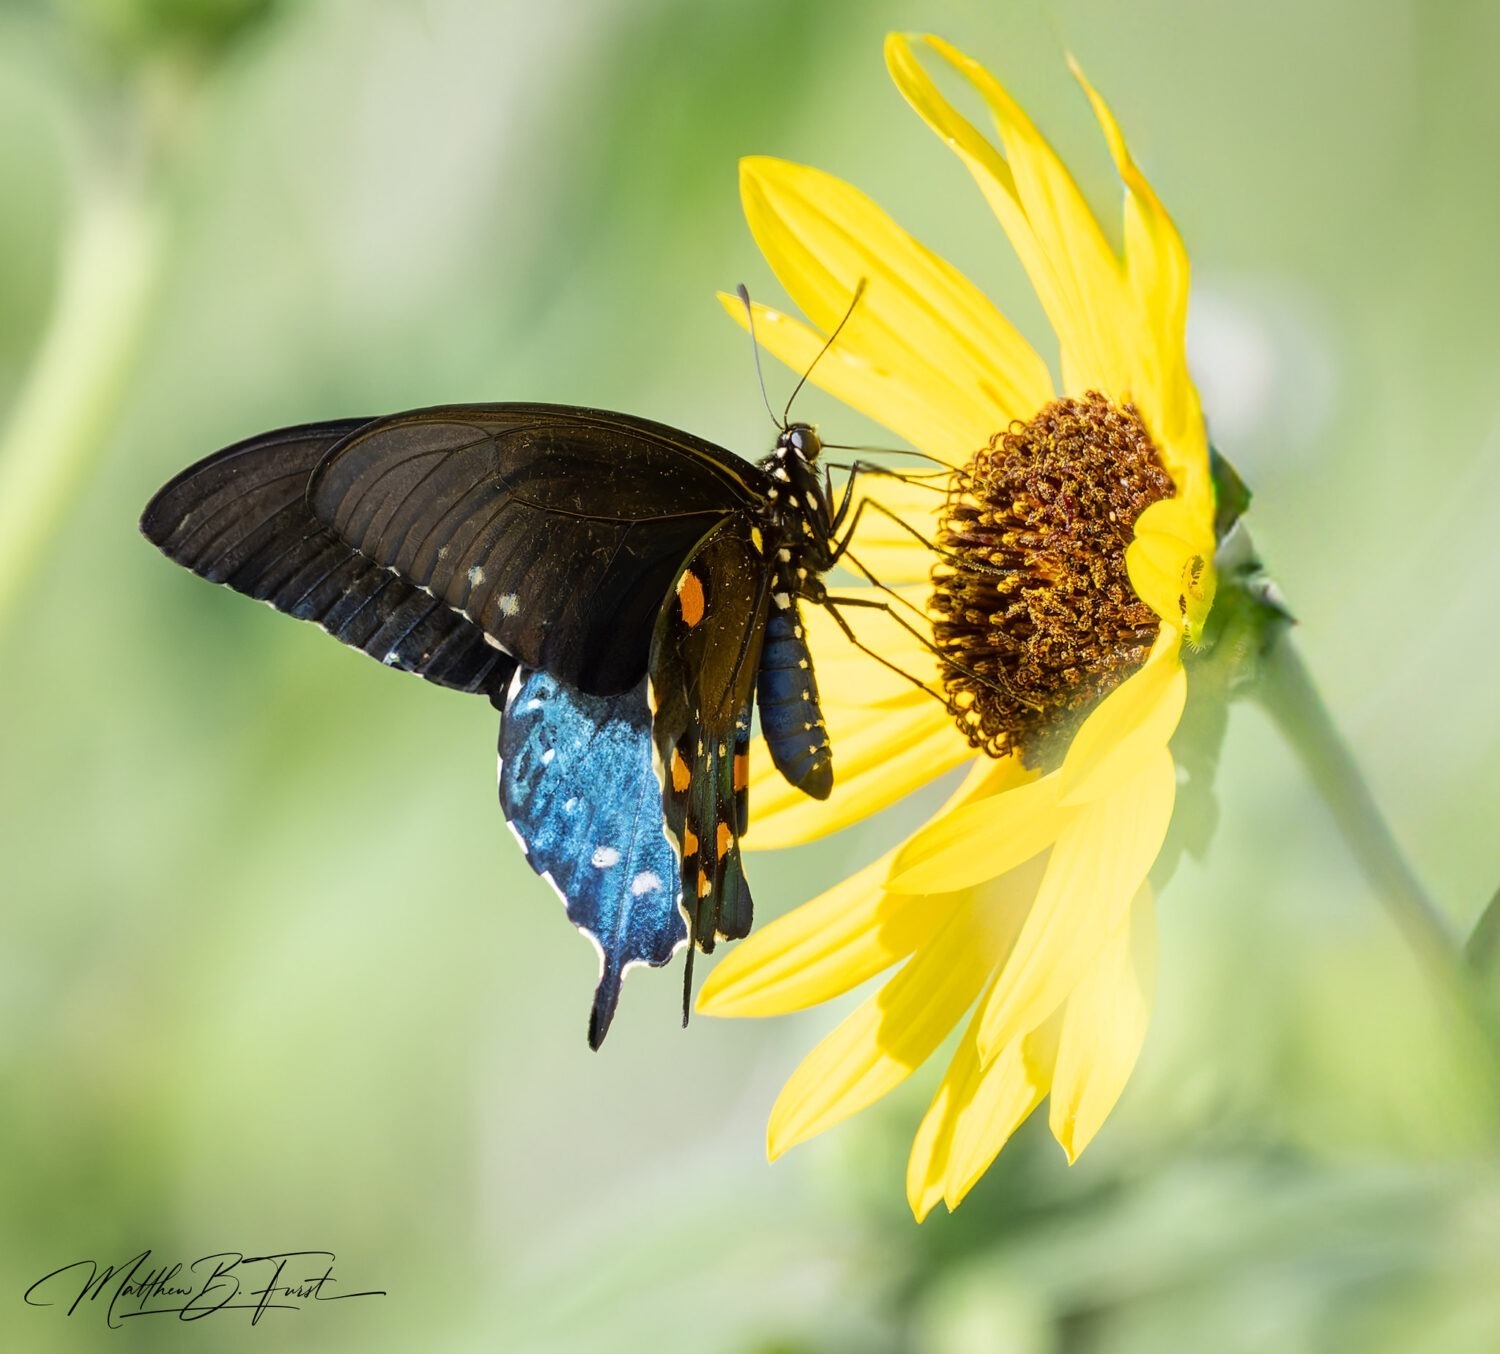
Wildlife photography is a captivating and challenging genre that requires a deep understanding of the interplay between light, color, and the histogram. As wildlife photographers, we strive to capture the beauty and essence of the natural world. In this blog post, we will explore the relationship between light, color, and the histogram, and how this understanding can enhance our ability to create stunning wildlife photographs.
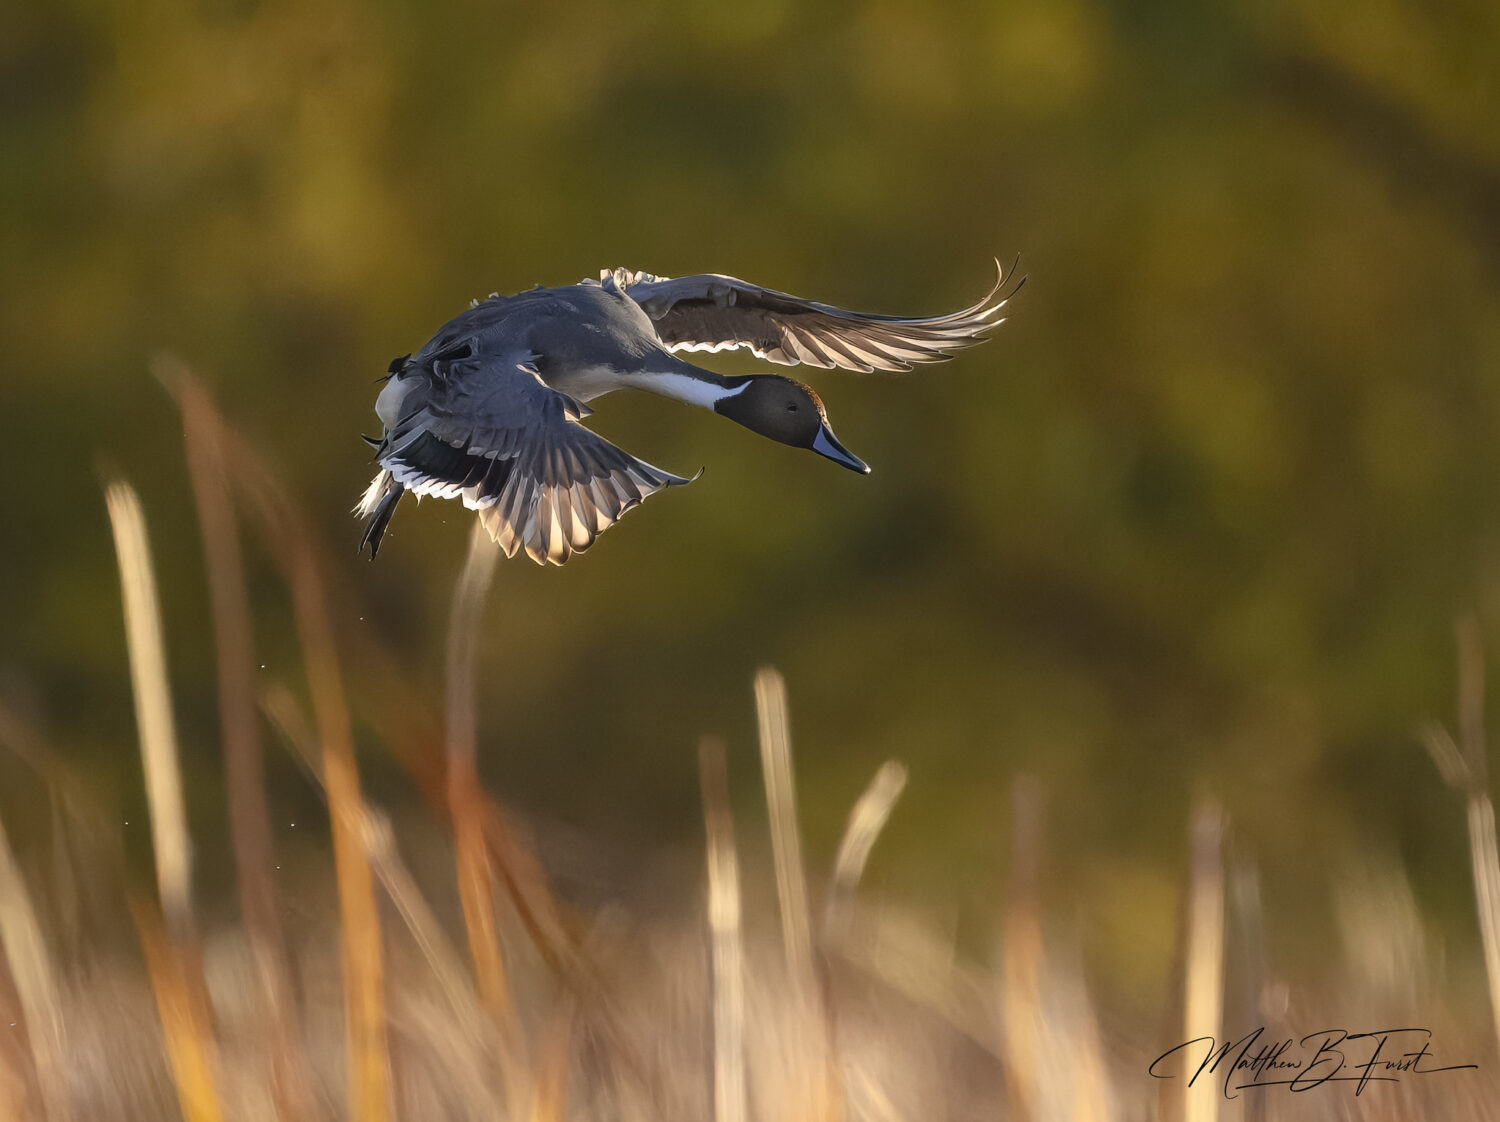
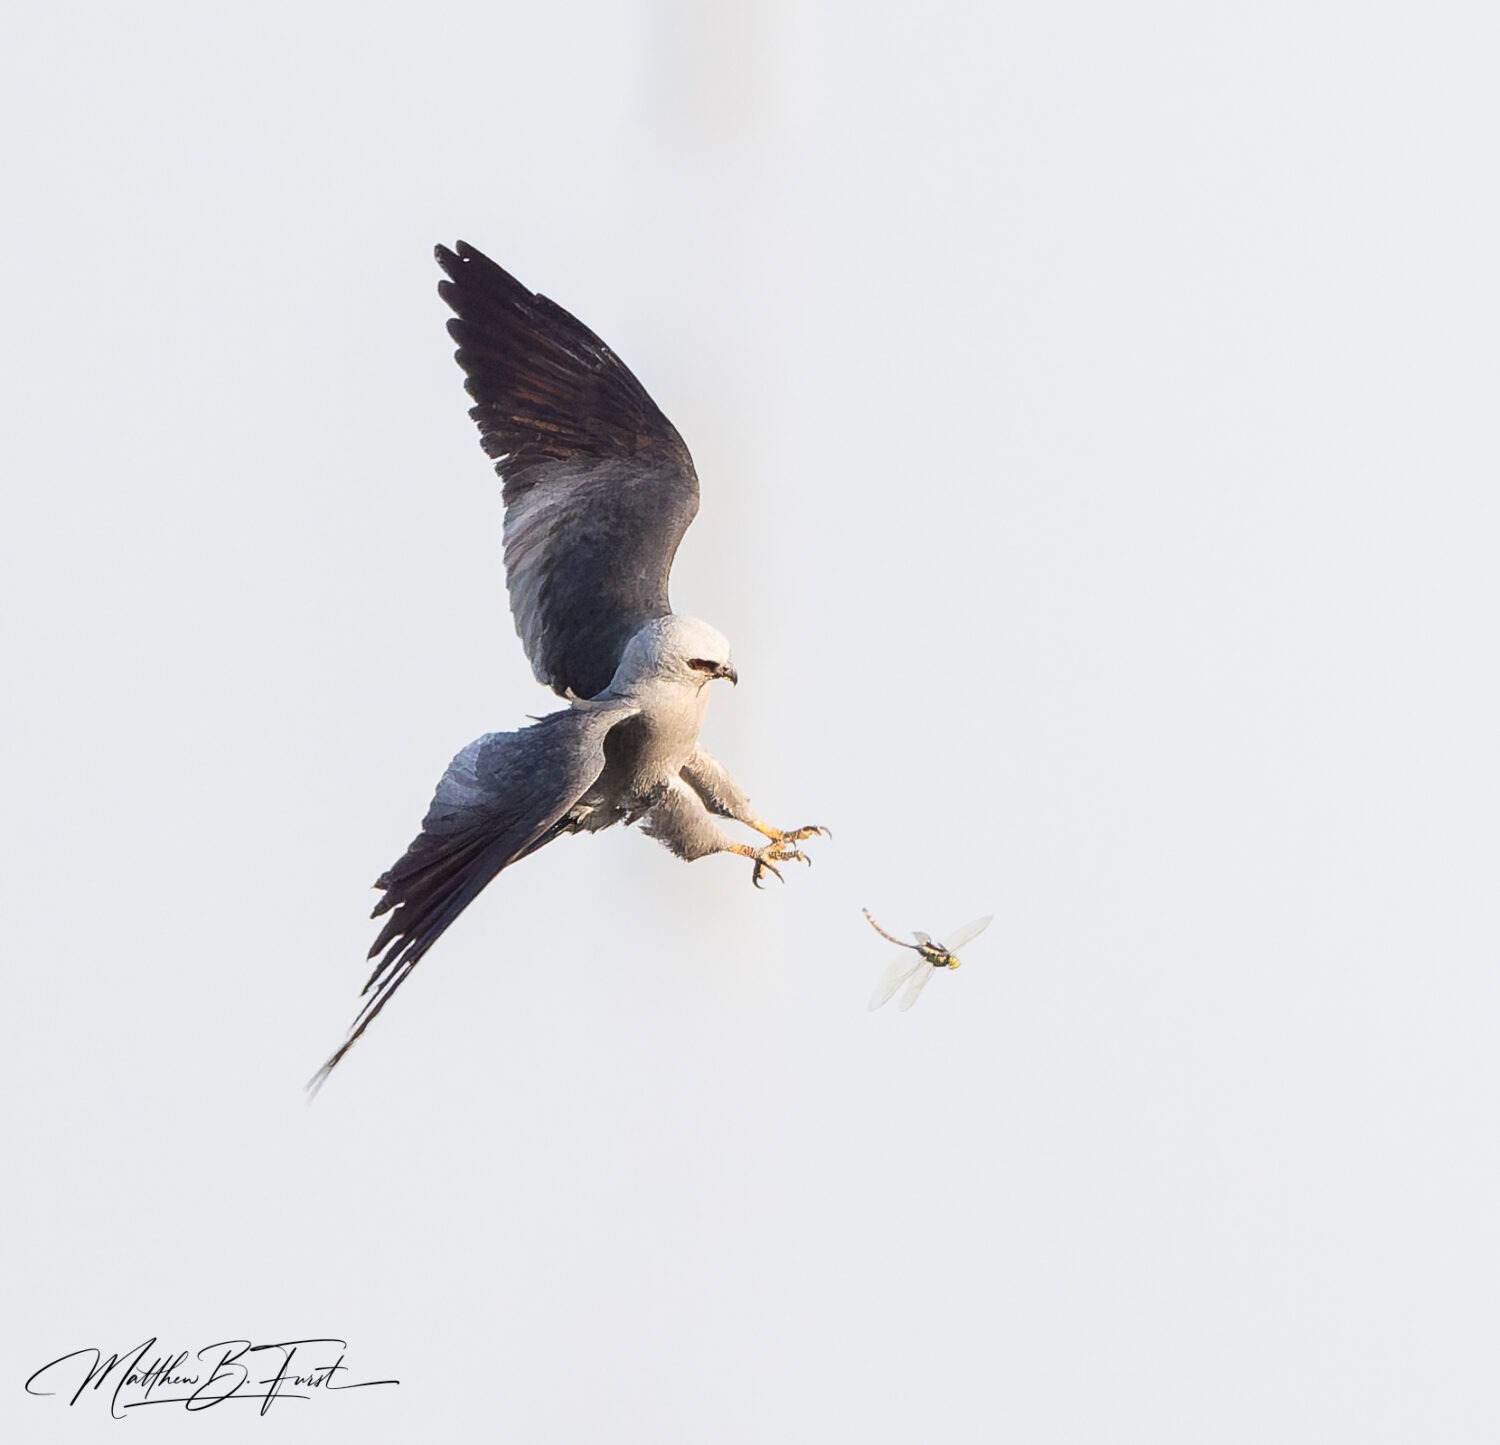
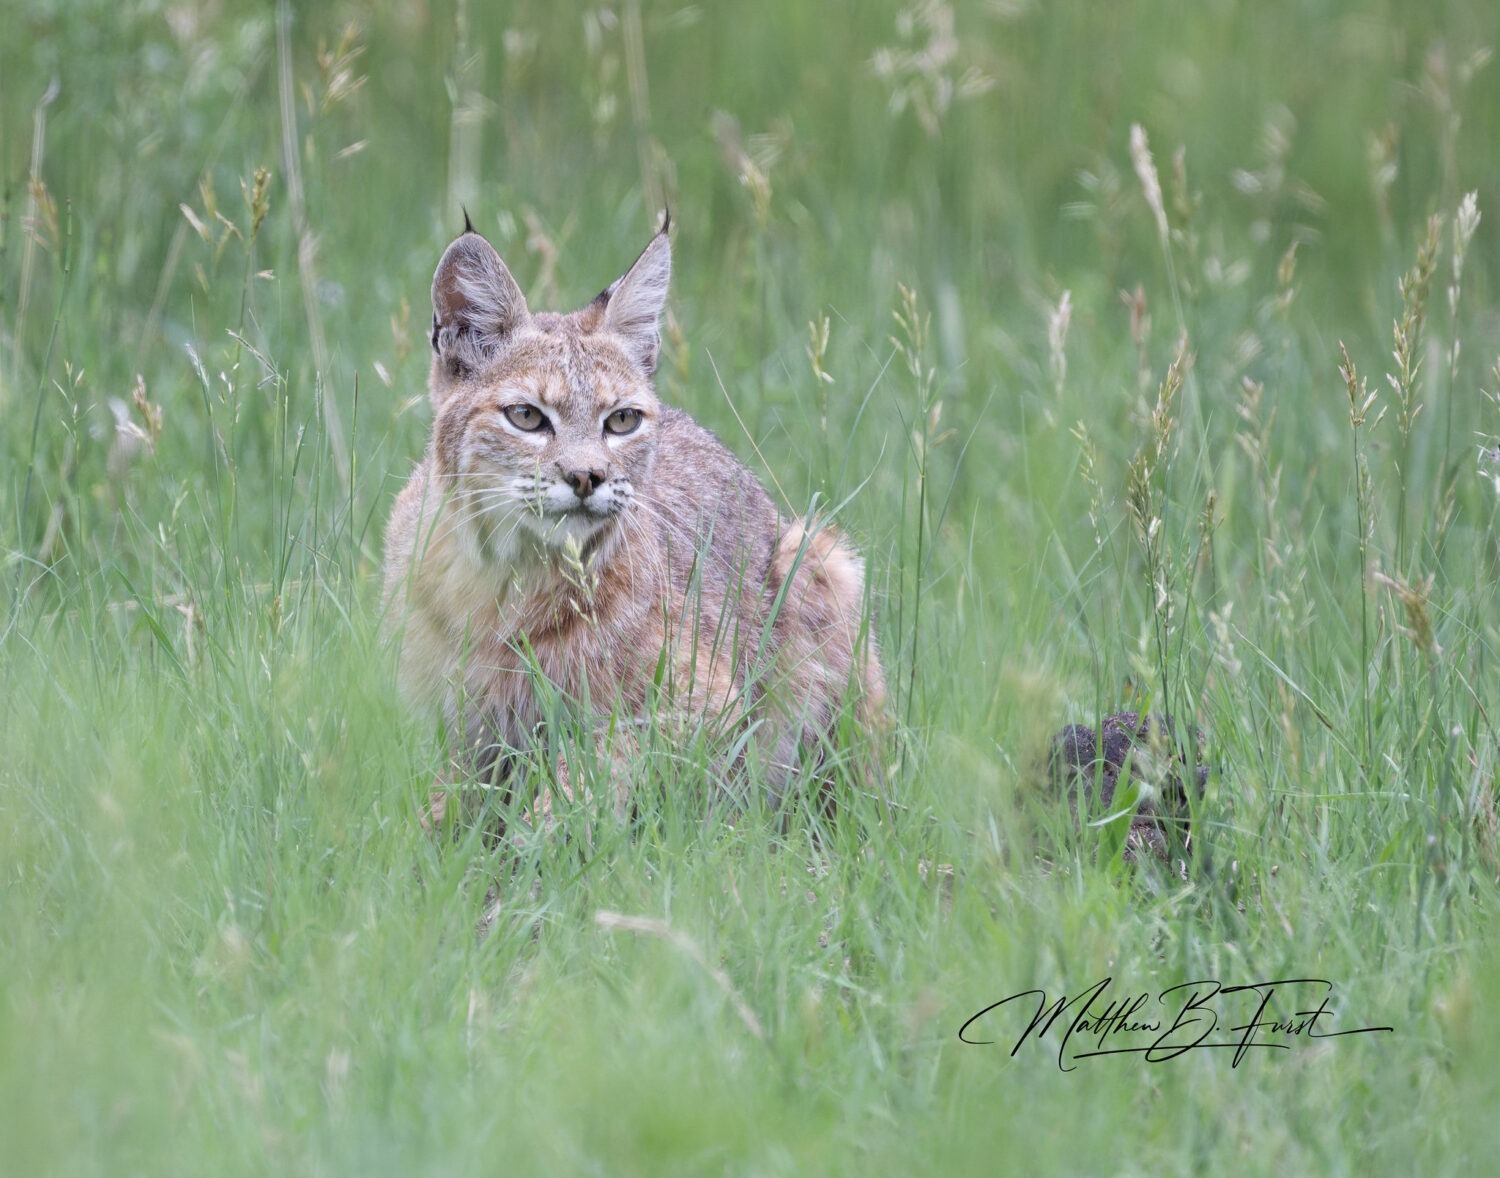
In the heart of the wilderness lies a captivating realm awaiting the discerning eye of the wildlife photographer. Every rustle of leaves, each fleeting glimpse of an elusive creature, presents an opportunity to immortalize the beauty of the wildlife. In the pursuit of these moments, photographers are presented with a compelling choice: should they immerse themselves in the art of field craft, stealthily navigating the terrain to get up close and personal, or should they rely on the extended reach of a powerful telephoto lens, capturing the essence of wildlife from a respectful distance? In this blog, we embark on a journey to compare and contrast the benefits of these two distinct yet intertwined approaches – the intimate finesse of fieldcraft and the amplified vision of increased focal lengths – both vying for supremacy in the captivating realm of wildlife photography.
When it comes to wildlife photography, capturing the perfect moment in the field is just the beginning. These finishing touches applied in post-processing can elevate your images from good to extraordinary. In this final article in the Lightroom series, we’ll explore several crucial aspects of refining your wildlife photos, including lens corrections and transform tools, and using the Effects panel to add mood.
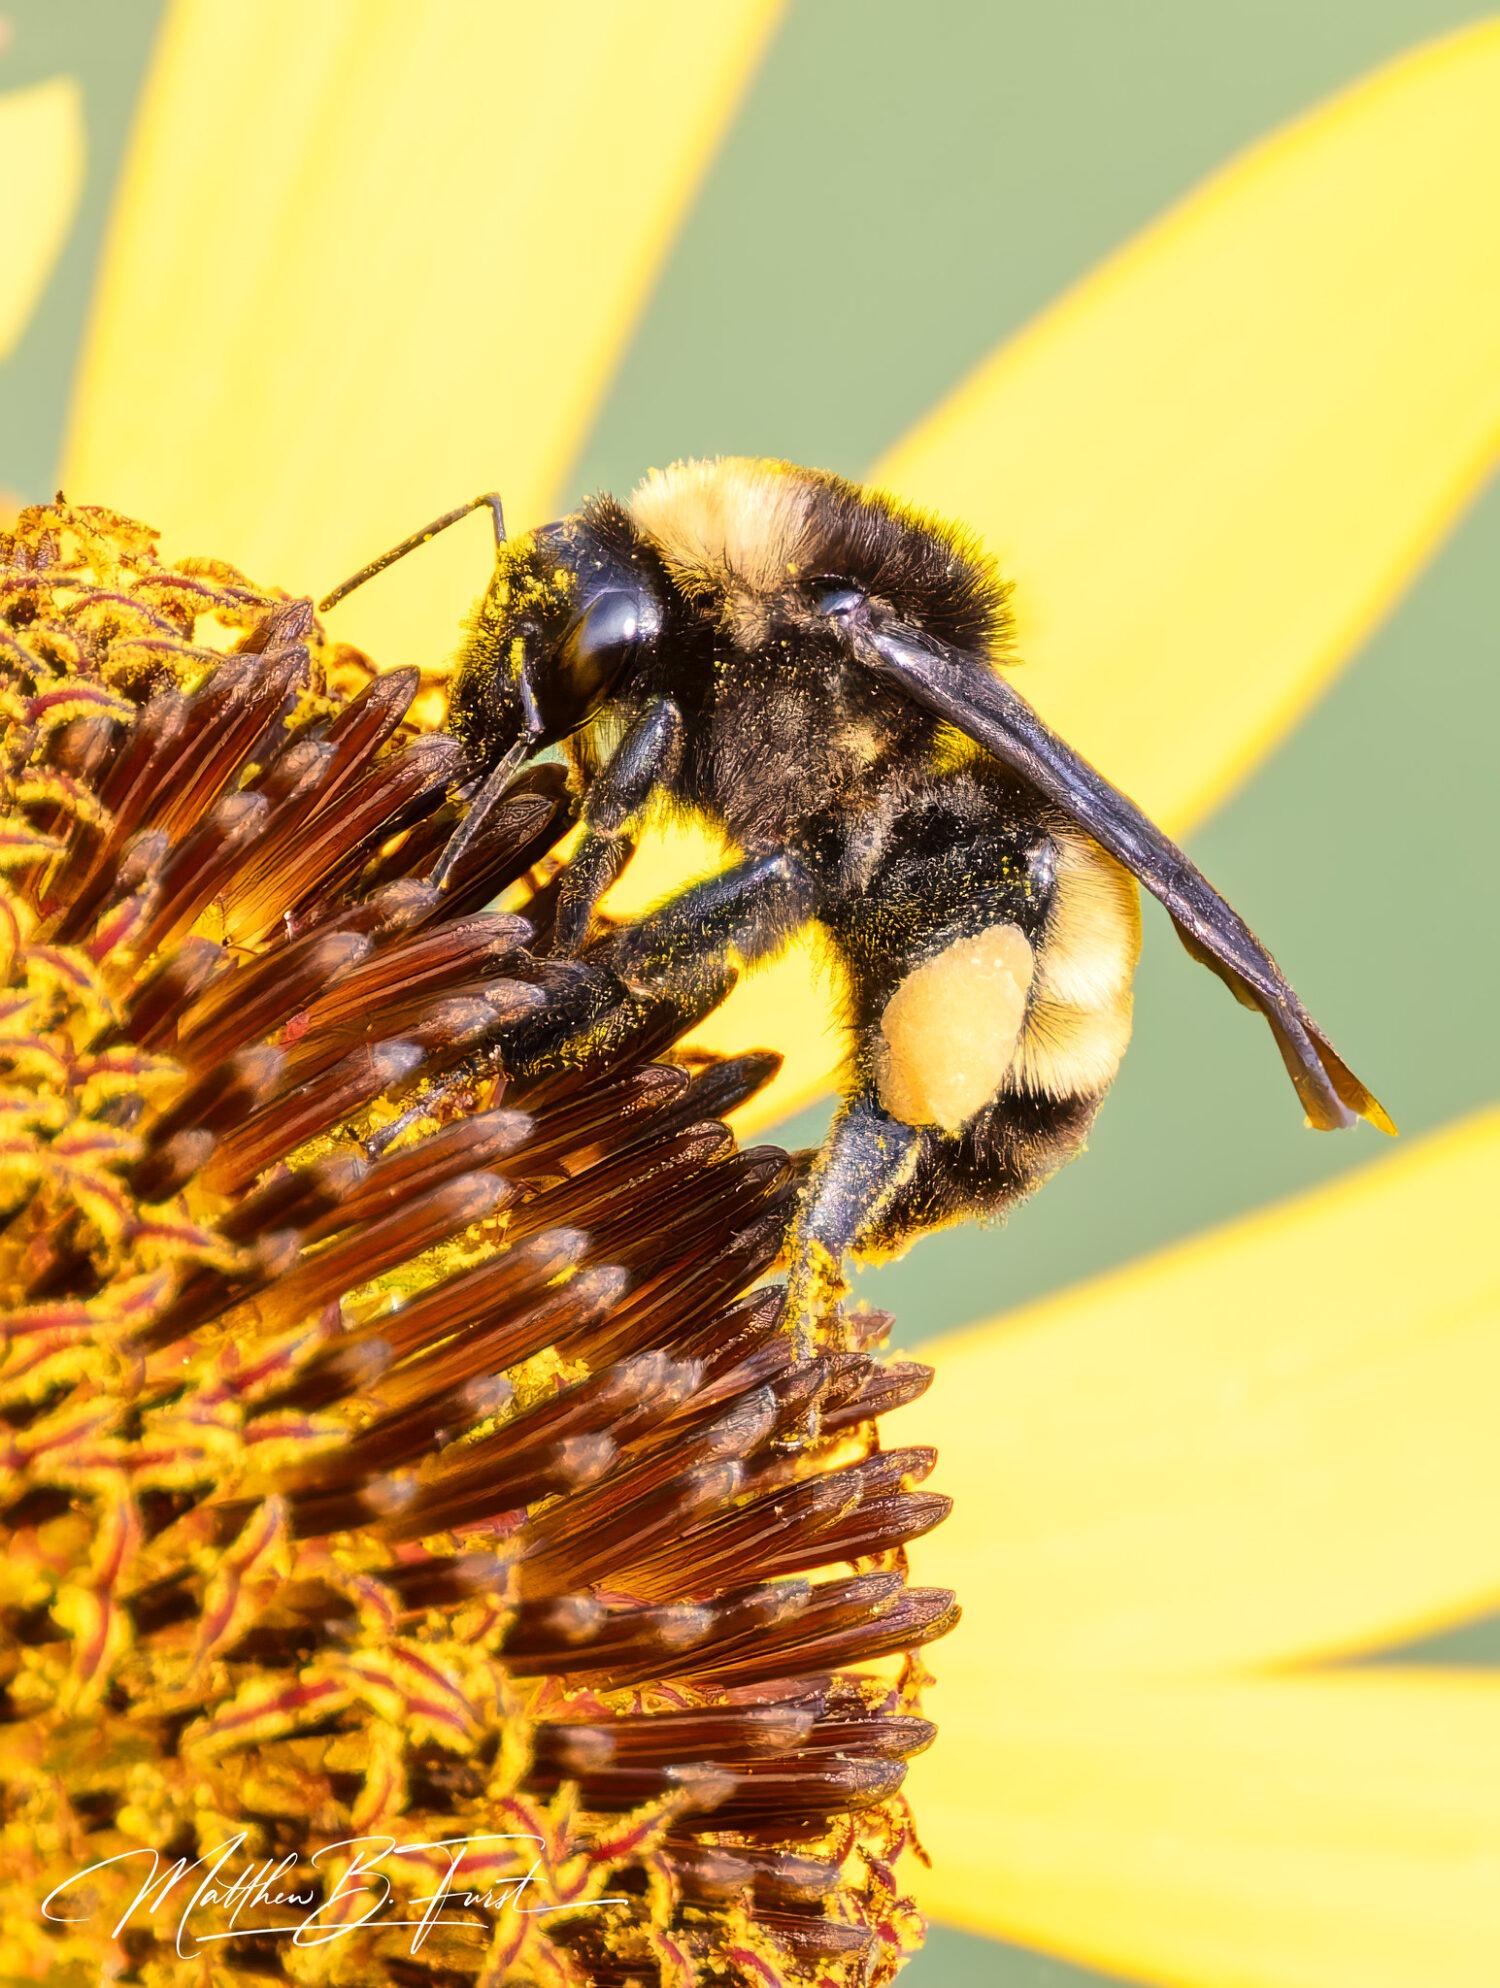
Wildlife photography often requires advanced editing techniques to truly bring out the beauty and detail of animal subjects. In this article, we’ll explore three powerful tools in Adobe Lightroom that can elevate your wildlife images: the Tone Curve, HSL adjustments, and sharpening and noise reduction techniques.
Color grading is a crucial step in wildlife photography post-processing that can transform a good photo into a stunning piece of art. When done effectively, it enhances the mood, atmosphere, and overall impact of your images, making them stand out in your portfolio.
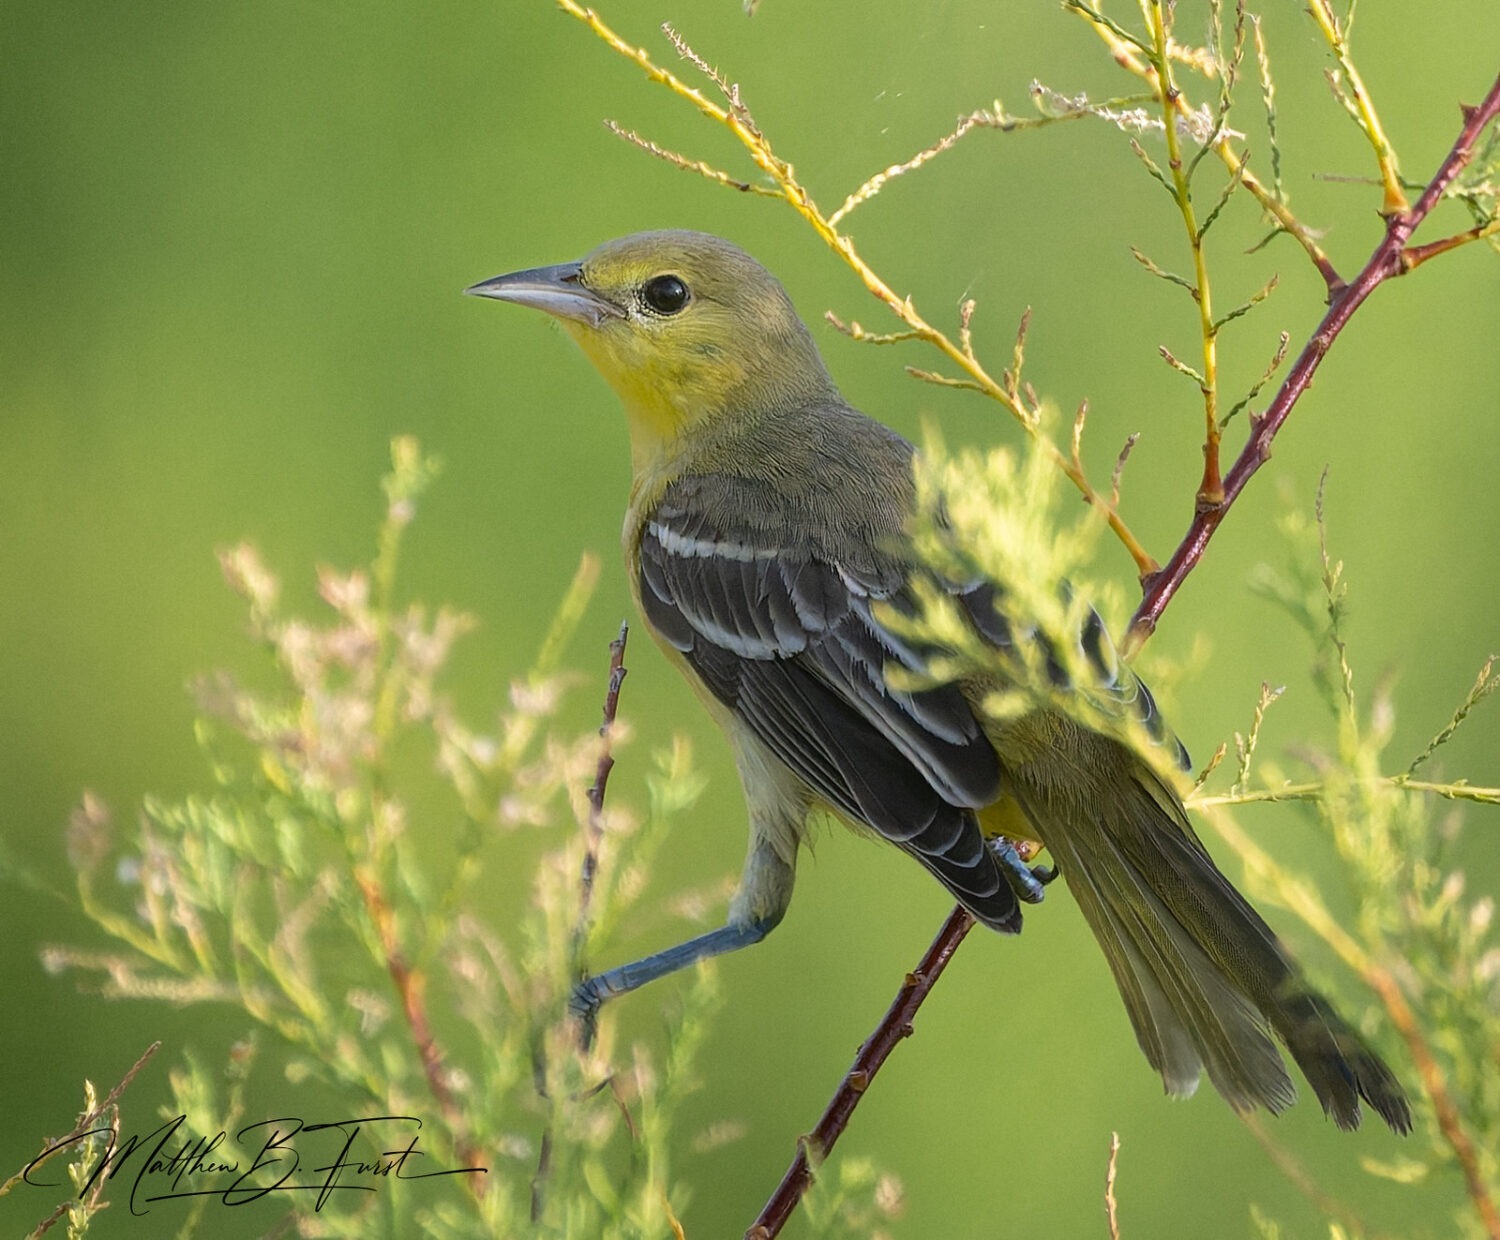
When it comes to wildlife photography, local adjustments in Adobe Lightroom are essential for bringing out the best in your images. These targeted edits allow you to enhance specific areas of your photos without affecting the entire image. In this article, we’ll explore three powerful local adjustment techniques: masking, the Adjustment Brush, and Graduated and Radial Filters.
Understanding the Develop Module Interface for Wildlife Photos
The Develop Module in Adobe Lightroom is a powerful tool for wildlife photographers, offering a comprehensive set of features to enhance and refine their images. When you enter the Develop Module, you’ll find a user-friendly interface designed to streamline your editing workflow.
On the left side of the interface, you’ll find your image preview and the Navigator panel, which allows you to zoom and pan around your photo. Below that, you’ll see the Presets panel, where you can save and apply custom editing presets to quickly achieve consistent looks across your wildlife images.
The right side of the interface is where most of the editing magic happens. Here, you’ll find a series of panels containing various adjustment tools:
Introduction to Lightroom Catalogs: What They Are and Why They Matter
Now that we have looked at the Adobe Lightroom library module, let’s explore how to catalog our images. Adobe Lightroom’s catalog system is the backbone of efficient photo management and editing for wildlife photographers. At its core, a Lightroom catalog is a powerful database that stores crucial information about your photographs without actually containing the image files themselves. Think of it as a sophisticated digital filing cabinet that keeps track of where your photos are stored on your computer, along with all the edits you’ve made, keywords you’ve added, and other metadata.
The catalog’s primary function is to serve as a central hub for organizing, searching, and editing your wildlife images. It creates a reference point for each imported photo, establishing a path to locate the file within your computer’s storage system. This approach allows Lightroom to work non-destructively, meaning your original files remain untouched while you experiment with various edits and adjustments.
For wildlife photographers, efficiently importing and managing large volumes of images is crucial. The Library module in Adobe Lightroom Classic provides powerful tools to streamline this process. This is one possible way to import your photos that is logical and efficient.