Color Grading Your Wildlife Photos for Impact
Color grading is a crucial step in wildlife photography post-processing that can transform a good photo into a stunning piece of art. When done effectively, it enhances the mood, atmosphere, and overall impact of your images, making them stand out in your portfolio.
Understanding Color Grading Tools
Adobe Lightroom offers several powerful tools for color grading wildlife photos:
- Hue, Saturation, Luminance (HSL) Panel: This allows you to adjust individual color tones, intensity, and brightness. Use it to make greens more vibrant or skies more vivid without affecting other colors.
- Vibrance vs. Saturation: Vibrance enhances muted colors without overdoing saturation, helping preserve natural tones while intensifying subtle hues in wildlife images.
- Curves: This tool modifies tonal range and specific color channels (RGB), allowing you to fine-tune color casts for the desired mood, especially in shadows and highlights.
- Color Grading Panel: Here you can adjust shadows, midtones, and highlights independently. This is particularly useful for adding warmth to highlights and cool tones to shadows, creating depth and atmosphere.
Techniques for Impactful Color Grading
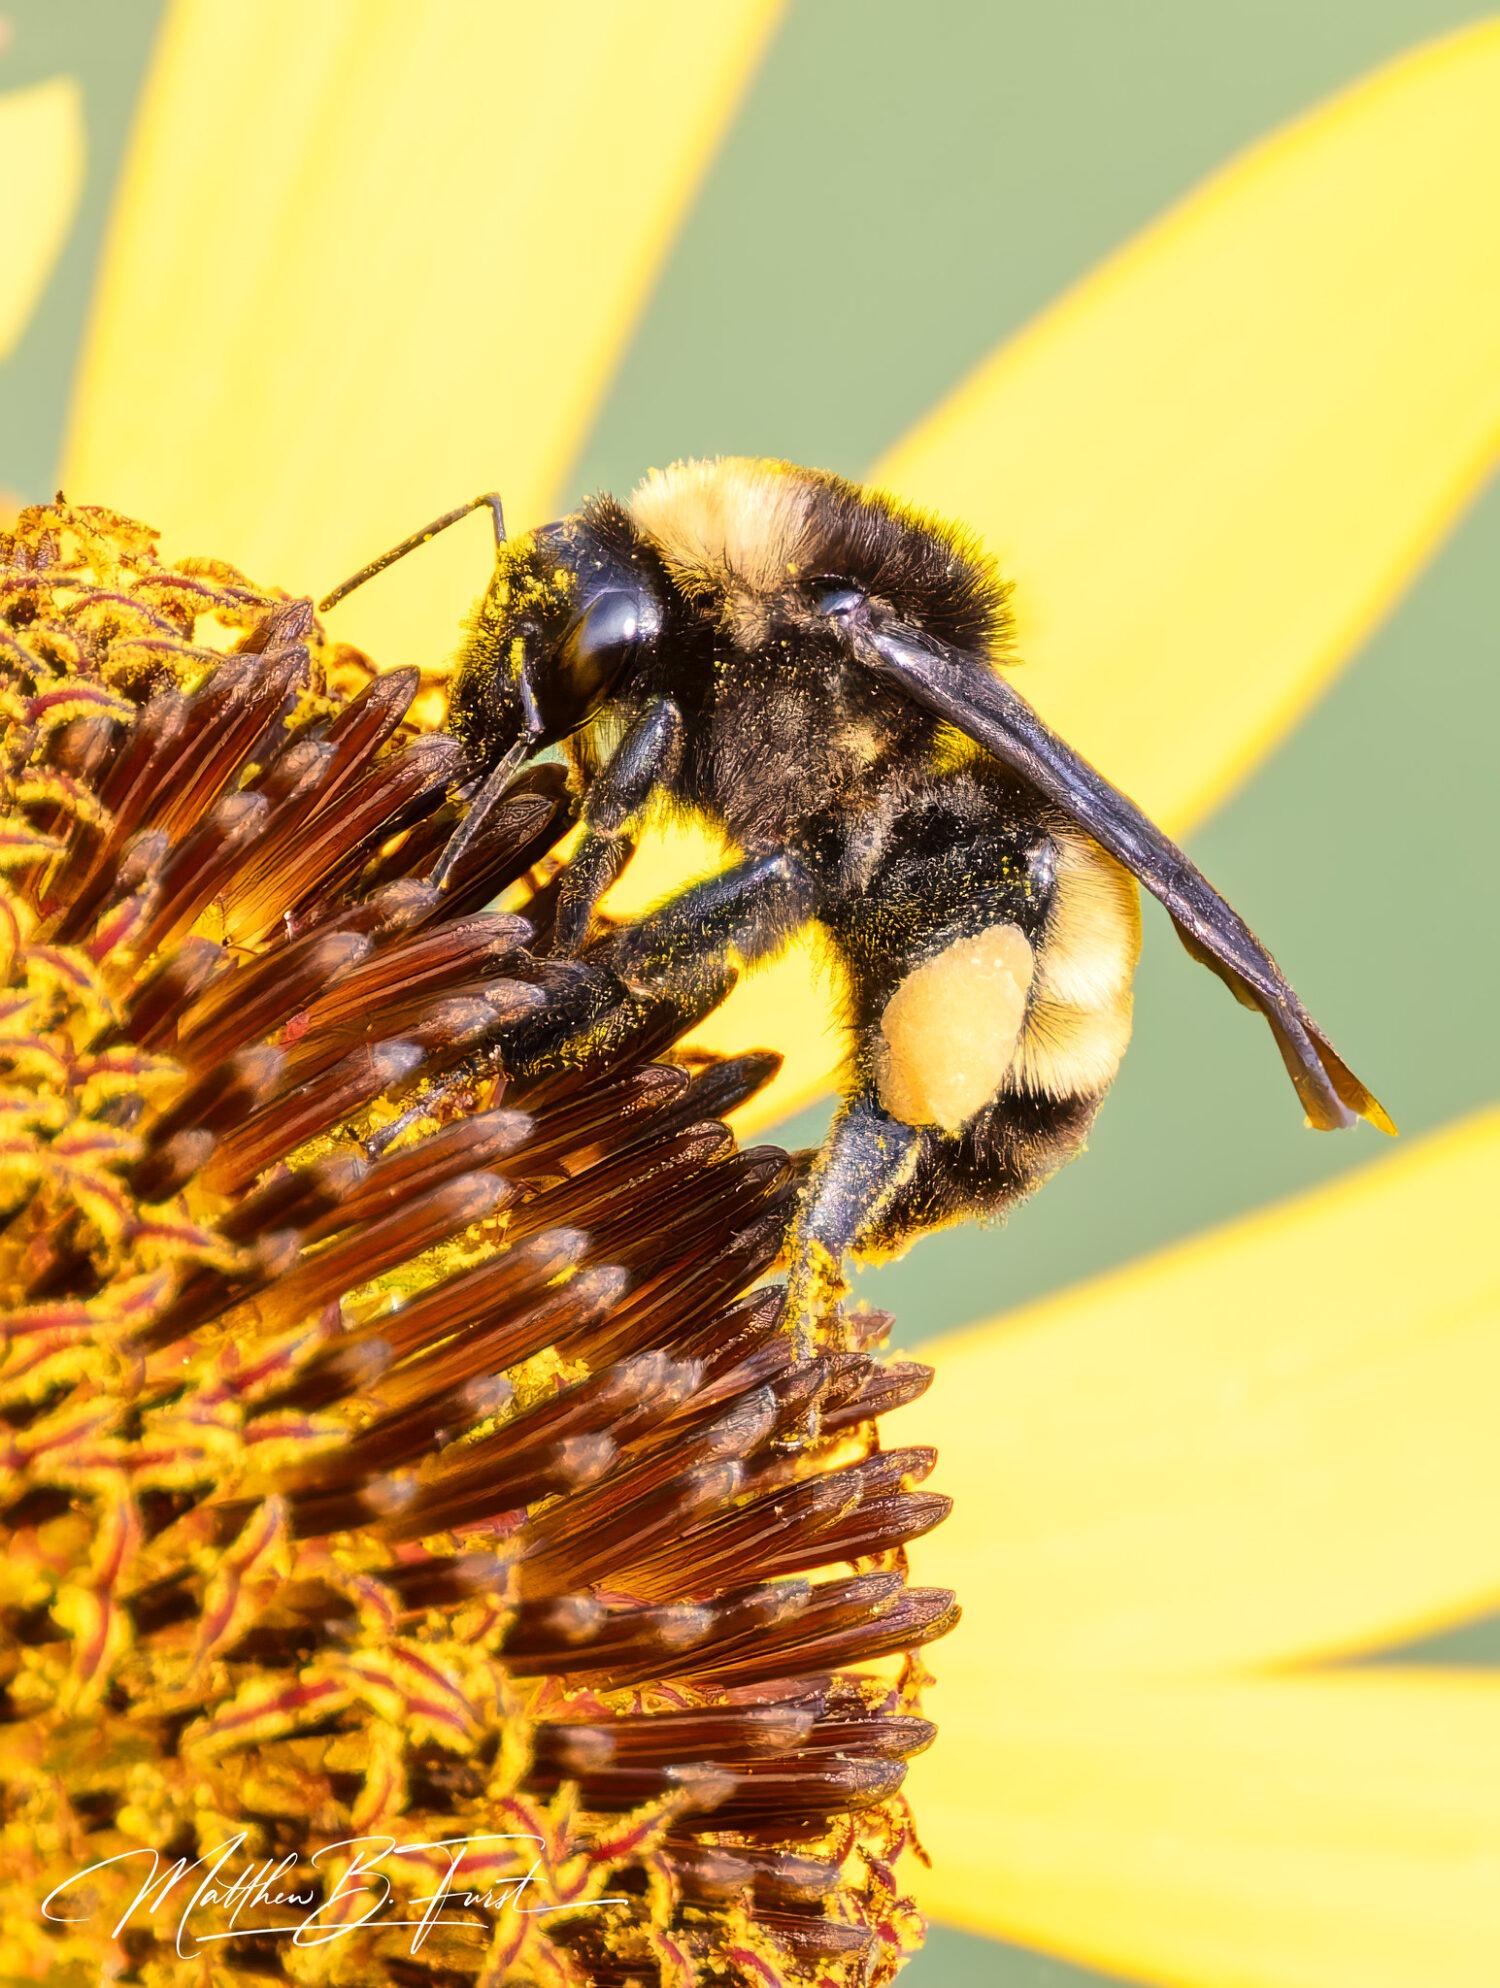
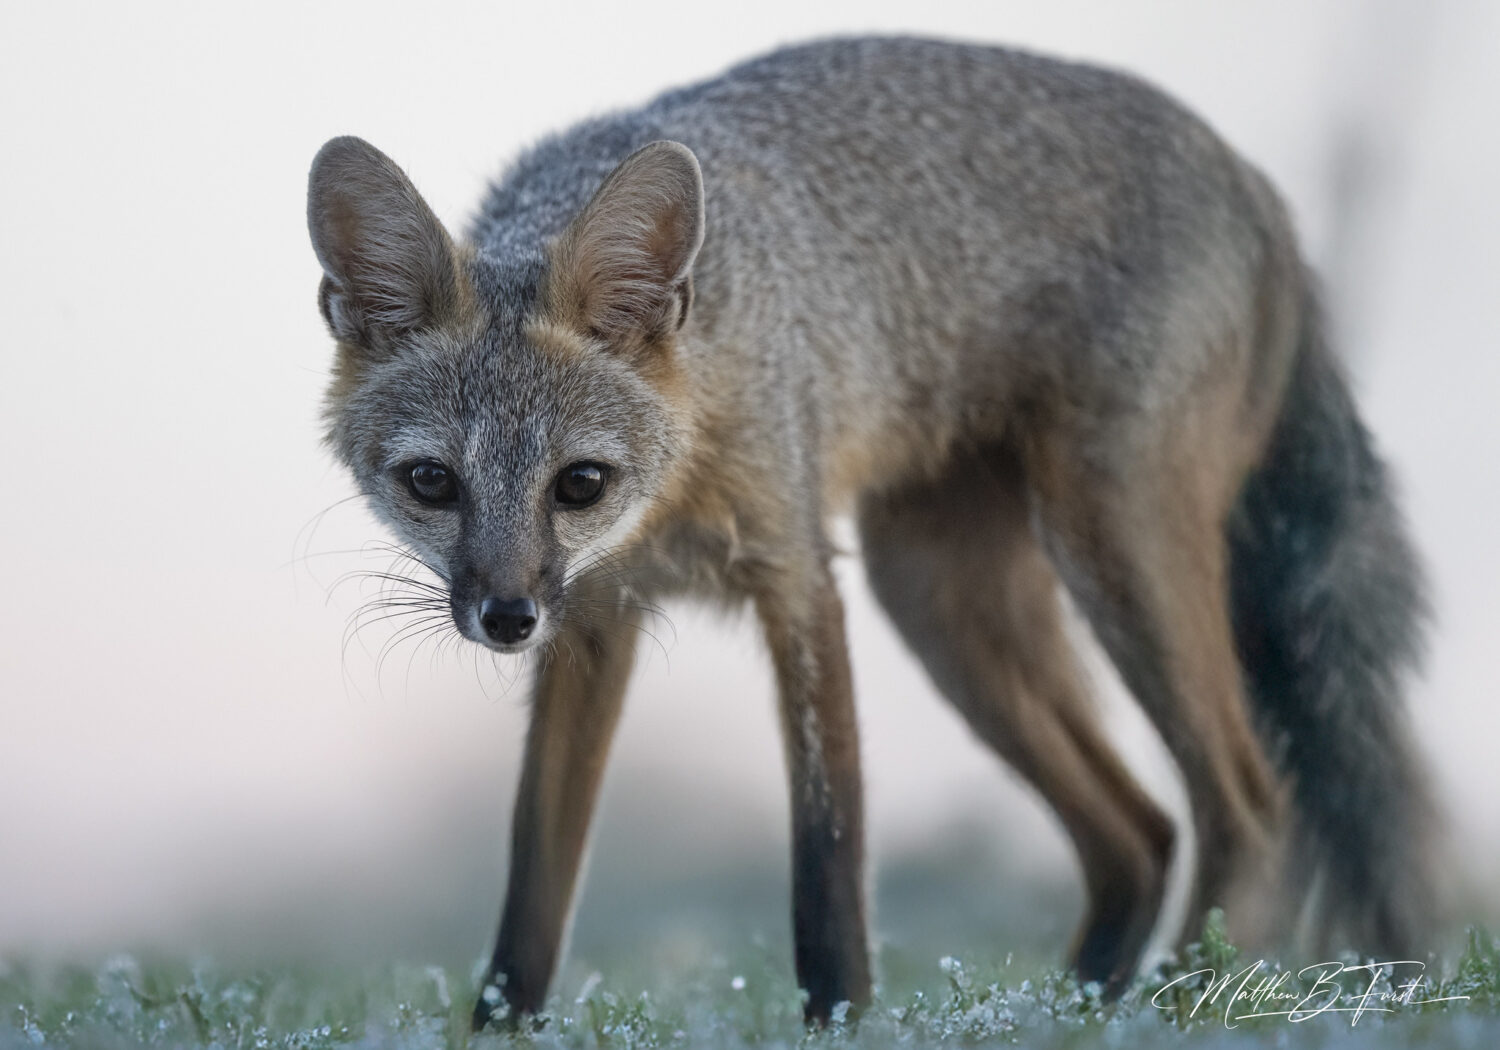
- Enhance Natural Colors: Start by making subtle adjustments to bring out the natural colors of your wildlife subject. A slight increase in saturation can make a bird’s plumage more vivid without looking unnatural.
- Create Mood with Color Temperature: Adjust the white balance to set the overall mood of your image. Warmer tones can create a sense of golden hour light, while cooler tones might evoke a more somber or mysterious atmosphere.
- Use Split Toning: This technique allows you to add different colors to the highlights and shadows of your image, creating a unique color palette that can enhance the emotional impact of your wildlife photo.
- Selective Color Adjustments: Use local adjustment tools to enhance specific areas of your image. For example, you might boost the saturation of a colorful bird against a muted background.
- Create Cohesion with LUTs: Look-Up Tables (LUTs) can help you apply consistent color grading across a series of wildlife images, creating a cohesive look in your portfolio.
Tips for Effective Color Grading
- Subtlety is key: The goal is to enhance, not overwhelm. Make small, incremental adjustments and step back often to assess the overall impact.
- Consider the subject: Different animals and habitats may require different approaches to color grading. A lush jungle scene might benefit from rich greens, while a desert landscape might call for warm, muted tones.
- Pay attention to skin tones: When working with animals, be careful not to alter their natural coloration too drastically. This is especially important for species with distinctive markings or coloration.
- Use color theory: Understanding complementary and analogous colors can help you create more harmonious and impactful color grades.
By mastering color grading techniques, you can elevate your wildlife photography, creating images that not only document but also evoke emotion and capture the essence of the natural world.
Converting Wildlife Images to Stunning Black and White
Black and white wildlife photography is a powerful medium that can strip away distractions and focus attention on the subject’s form, texture, and emotion. When done well, it can create timeless, evocative images that stand out from color photography.
Why Choose Black and White?
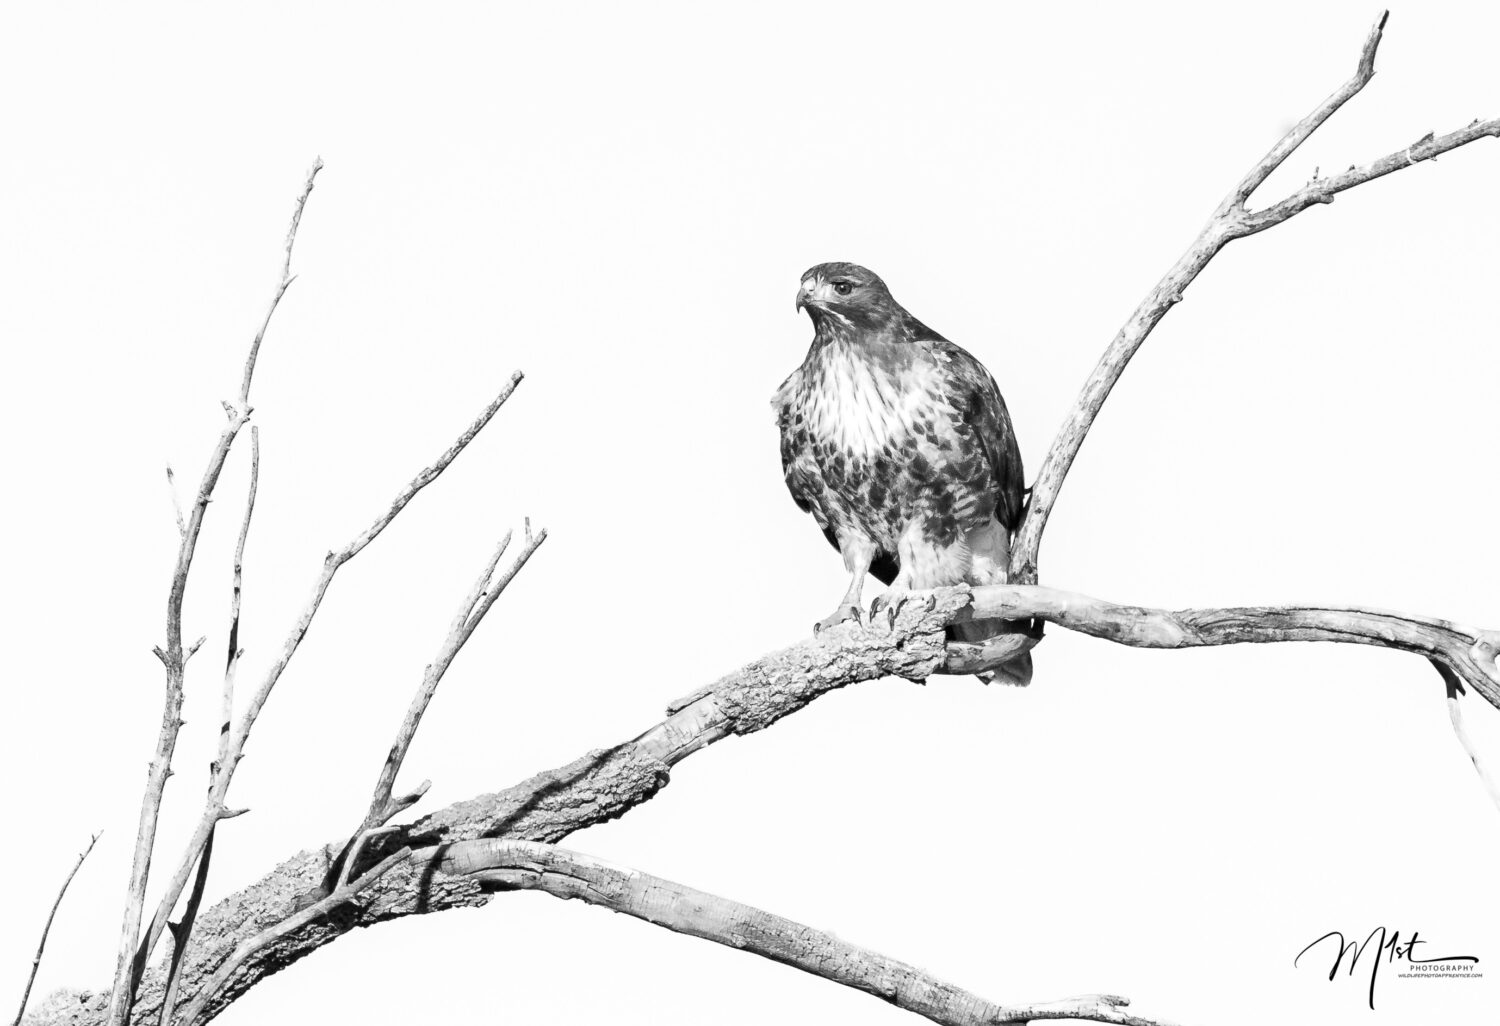
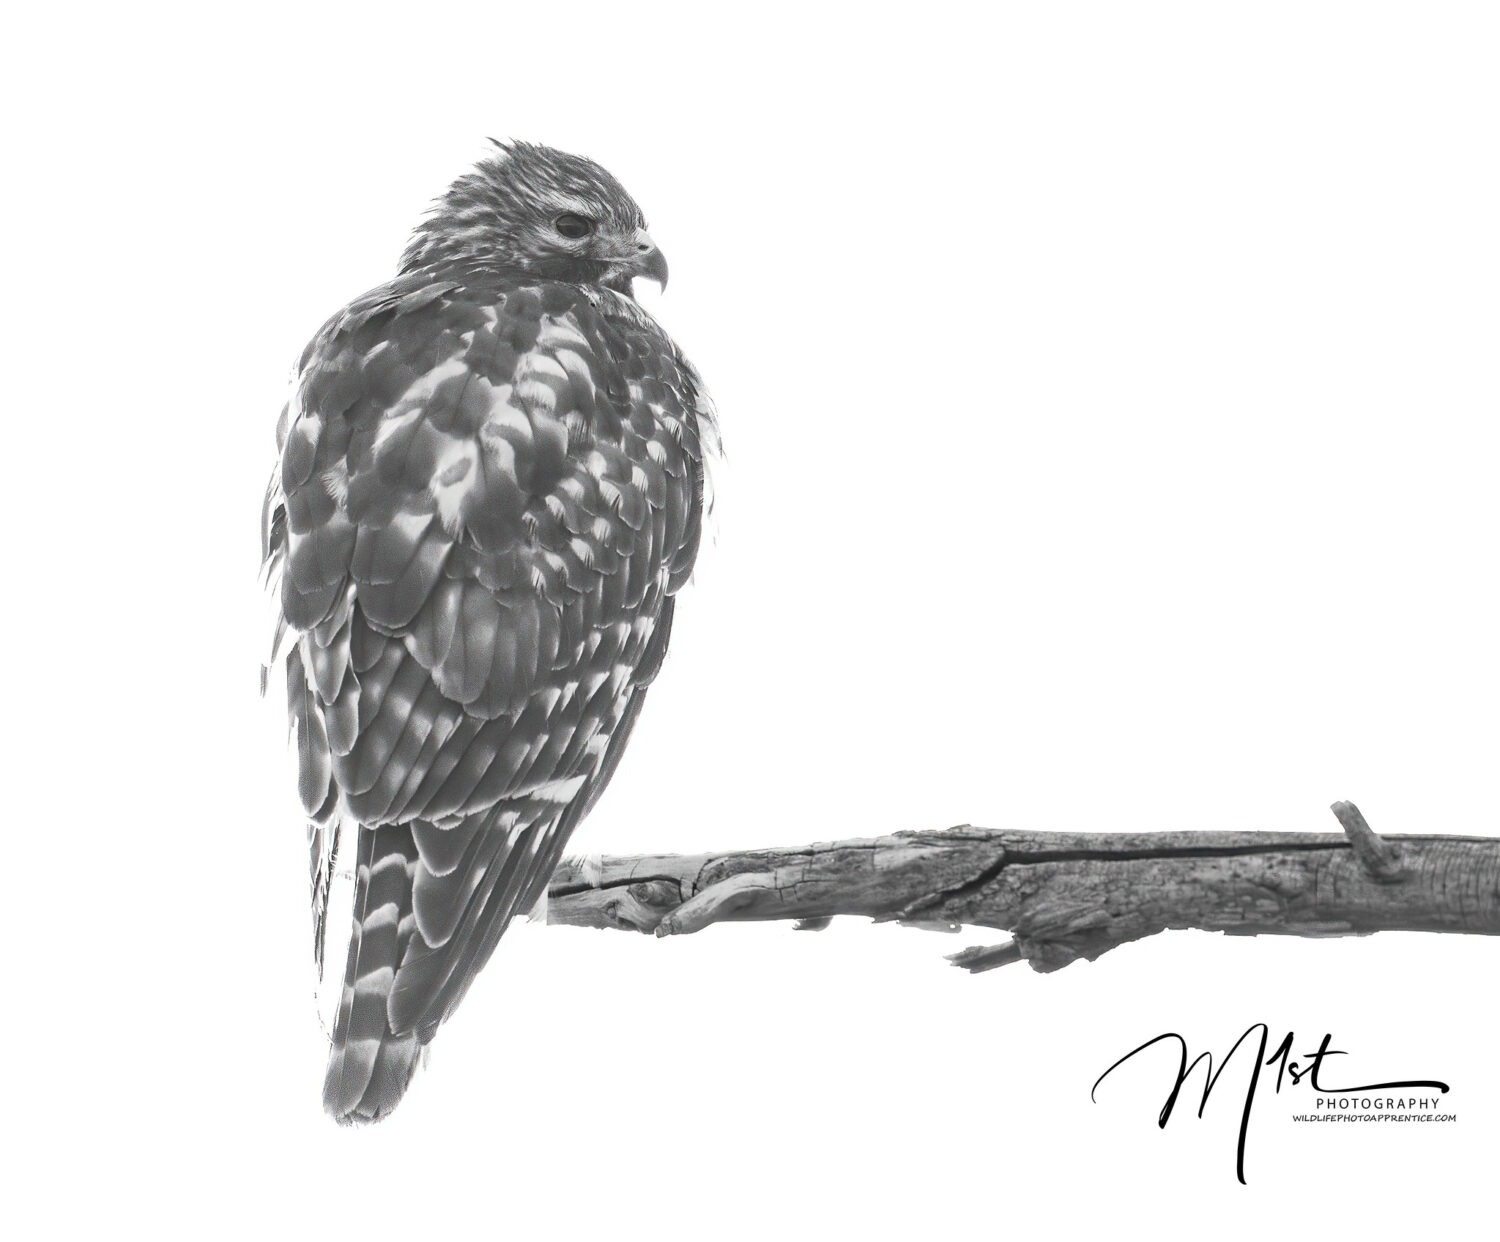
- Emphasize Form and Texture: Without color, the viewer’s attention is drawn to the shapes, lines, and textures in the image. This can be particularly effective for subjects with interesting fur, feathers, or skin textures.
- Create Mood and Emotion: Black and white images often have a timeless, fine art quality that can evoke different emotional connections with the viewer compared to color photos.
- Overcome Challenging Lighting: Images taken in less than ideal light can often work well as black and white conversions, turning a potential weakness into a strength.
- Simplify Complex Scenes: By removing color, you can create a sense of minimalism that draws attention to the essential elements of the composition.
Techniques for Converting to Black and White
- Choose the Right Image: Not all wildlife photos are suitable for black and white conversion. Look for images with strong contrasts, interesting textures, and compelling compositions.
- Use Lightroom’s B&W Tab: In Adobe Lightroom, the B&W tab in the Develop module is a great starting point for conversion. It allows you to adjust how different colors are translated into shades of gray.
- Adjust Contrast: Black and white images often benefit from increased contrast. Use the Contrast slider, Tone Curve, or local adjustment tools to enhance the difference between light and dark areas.
- Fine-tune Tones: Use the Highlights, Shadows, Whites, and Blacks sliders to adjust the overall tonal range of your image. This can help create depth and dimension in your black and white conversion.
- Leverage Clarity and Texture: These sliders can enhance the textural details in your wildlife subject, making fur, feathers, or scales more prominent.
- Experiment with Color Filters: In the B&W panel, adjust the color sliders to simulate the effect of using color filters in traditional black and white photography. This can dramatically change how different colors translate to grayscale.
- Consider Split Toning: Adding subtle color tints to the highlights and shadows can create a unique look for your black and white wildlife images.
Advanced Black and White Techniques
- Selective Adjustments: Use the Adjustment Brush or Radial Filter to make local adjustments. This can help draw attention to specific areas of your wildlife subject.
- Dodge and Burn: These traditional darkroom techniques can be replicated in Lightroom to selectively lighten or darken areas of your image, enhancing depth and dimension.
- Create Dramatic Skies: In landscape-oriented wildlife shots, use graduated filters to darken skies and create a more dramatic backdrop for your subject.
- High-Key and Low-Key Effects: Experiment with creating high-key (predominantly light) or low-key (predominantly dark) images for dramatic effect.
Tips for Stunning Black and White Wildlife Photos
- Look for Contrast: Scenes with a mix of light and dark elements often translate well to black and white.
- Pay Attention to Backgrounds: Simple, uncluttered backgrounds often work best in black and white wildlife photography.
- Consider the Subject: Some animals, like elephants or zebras, are naturally suited to black and white due to their textures or patterns.
- Experiment with Exposure: Sometimes slightly under or overexposing your image can lead to more dramatic black and white conversions.
- Use Presets as Starting Points: Lightroom presets can provide inspiration and a starting point for your black and white conversions.
A Workflow for Black and White Conversion
- Start with Basic Adjustments: Begin by adjusting exposure, contrast, and clarity to get a good base image.
- Convert to Black and White: Use the B&W tab or a preset as a starting point.
- Adjust Tones: Fine-tune the overall tonal range using the Basic panel sliders.
- Enhance Contrast: Use the Tone Curve for more precise contrast adjustments.
- Fine-tune with Color Sliders: Adjust individual color channels in the B&W panel to control how different colors translate to grayscale.
- Make Local Adjustments: Use the Adjustment Brush, Graduated Filter, or Radial Filter for selective enhancements.
- Add Finishing Touches: Consider adding a subtle vignette or split-toning effect for a polished look.
By mastering both color grading and black and white conversion techniques, you can expand your creative toolkit and produce wildlife images that truly stand out. Whether you choose to enhance the natural colors of a scene or strip them away entirely, these techniques allow you to create images that not only document wildlife but also convey the emotion and majesty of the natural world. Remember, the key to success in both color and black and white wildlife photography is subtlety and intention. Your goal should always be to enhance the inherent beauty of your subject and create images that resonate with viewers on an emotional level.