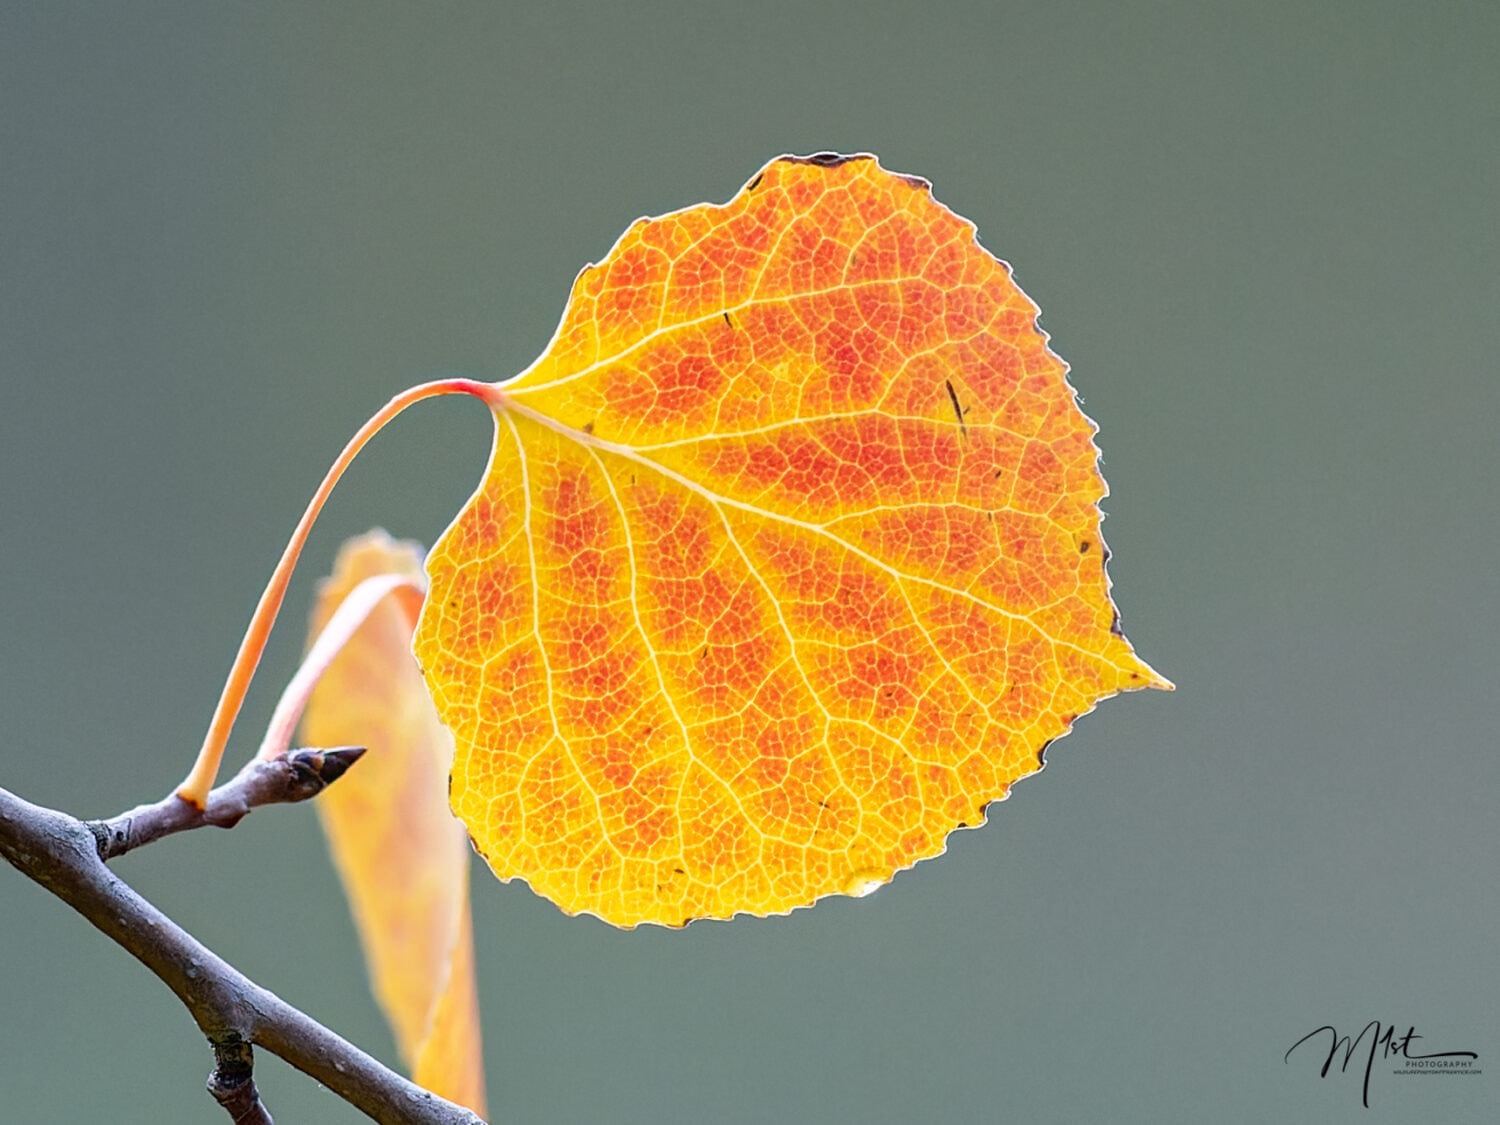
Color grading is a crucial step in wildlife photography post-processing that can transform a good photo into a stunning piece of art. When done effectively, it enhances the mood, atmosphere, and overall impact of your images, making them stand out in your portfolio.
When it comes to wildlife photography, local adjustments in Adobe Lightroom are essential for bringing out the best in your images. These targeted edits allow you to enhance specific areas of your photos without affecting the entire image. In this article, we’ll explore three powerful local adjustment techniques: masking, the Adjustment Brush, and Graduated and Radial Filters.
Understanding the Develop Module Interface for Wildlife Photos
The Develop Module in Adobe Lightroom is a powerful tool for wildlife photographers, offering a comprehensive set of features to enhance and refine their images. When you enter the Develop Module, you’ll find a user-friendly interface designed to streamline your editing workflow.
On the left side of the interface, you’ll find your image preview and the Navigator panel, which allows you to zoom and pan around your photo. Below that, you’ll see the Presets panel, where you can save and apply custom editing presets to quickly achieve consistent looks across your wildlife images.
The right side of the interface is where most of the editing magic happens. Here, you’ll find a series of panels containing various adjustment tools:
Introduction to Lightroom Catalogs: What They Are and Why They Matter
Now that we have looked at the Adobe Lightroom library module, let’s explore how to catalog our images. Adobe Lightroom’s catalog system is the backbone of efficient photo management and editing for wildlife photographers. At its core, a Lightroom catalog is a powerful database that stores crucial information about your photographs without actually containing the image files themselves. Think of it as a sophisticated digital filing cabinet that keeps track of where your photos are stored on your computer, along with all the edits you’ve made, keywords you’ve added, and other metadata.
The catalog’s primary function is to serve as a central hub for organizing, searching, and editing your wildlife images. It creates a reference point for each imported photo, establishing a path to locate the file within your computer’s storage system. This approach allows Lightroom to work non-destructively, meaning your original files remain untouched while you experiment with various edits and adjustments.
For wildlife photographers, efficiently importing and managing large volumes of images is crucial. The Library module in Adobe Lightroom Classic provides powerful tools to streamline this process. This is one possible way to import your photos that is logical and efficient.
Adobe Lightroom has become an indispensable tool for wildlife photographers, offering a comprehensive suite of features that can transform raw captures into stunning works of art. As we will explore throughout the next series of articles, Lightroom provides a robust platform for organizing, editing, and enhancing wildlife images. Grasping the fundamentals of how to use Lightroom is essential for beginning wildlife photographers. In this initial discussion, let’s explore a few aspects of Lightroom that make it a valuable tool for wildlife photographers.
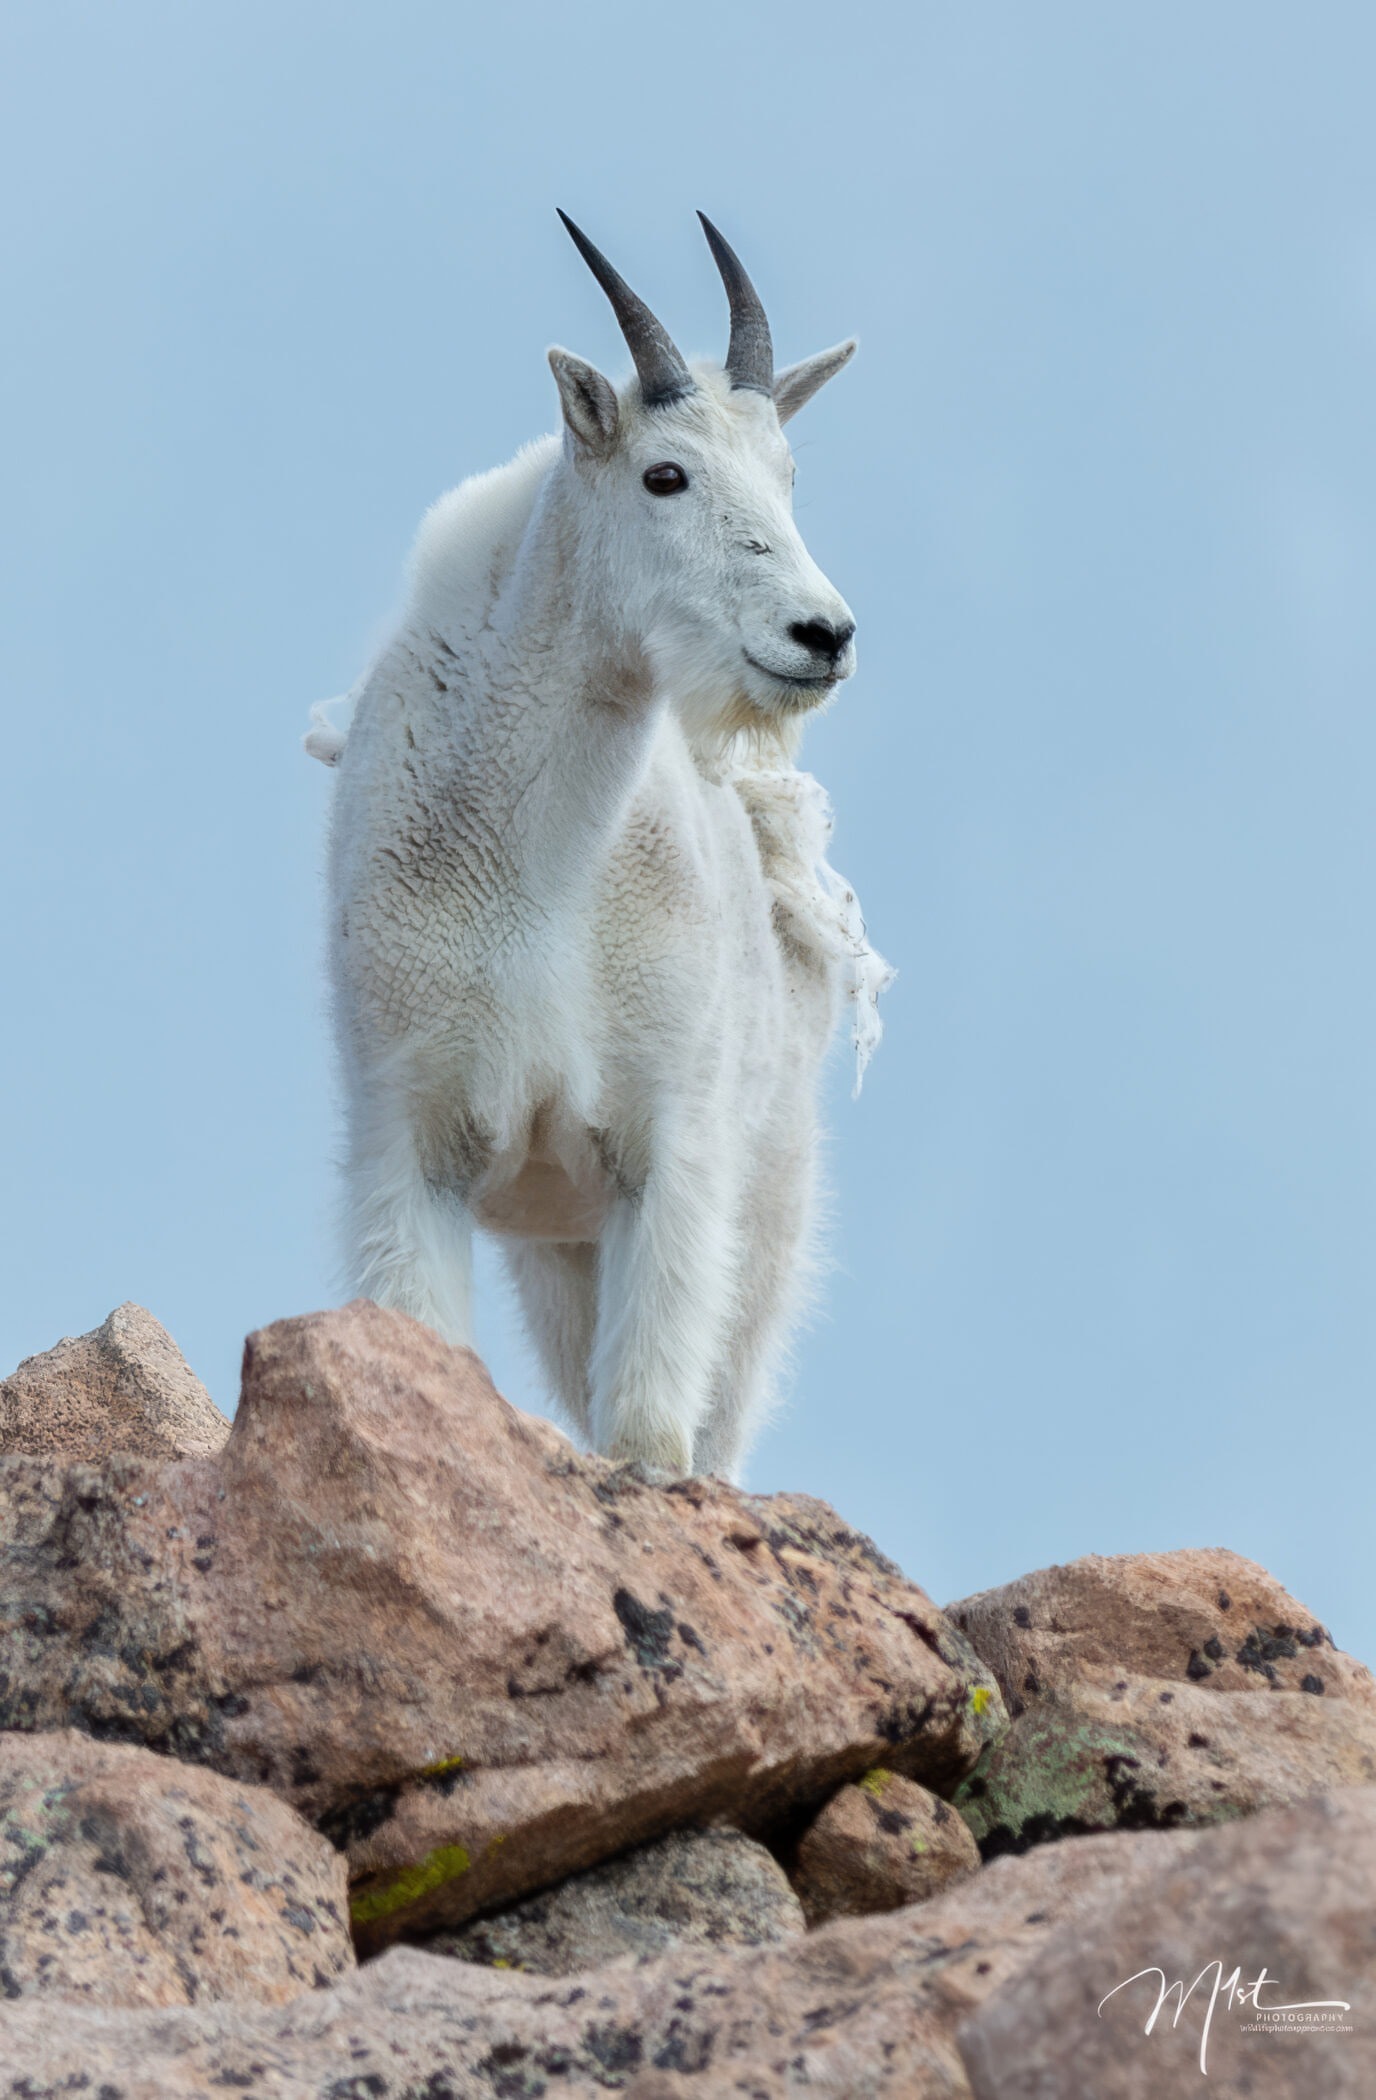
As a wildlife photographer, capturing breathtaking moments in nature is only half the battle. To truly showcase your talent and captivate your audience, you need a well-curated portfolio that highlights your best shots. A portfolio not only serves as a visual representation of your skills but also opens doors to new opportunities, collaborations, and recognition in the world of wildlife photography. In this blog post, we will guide you through the process of creating a compelling wildlife photography portfolio that leaves a lasting impression.
It’s been said that to become a wildlife photographer all you need is a lot of money and a lot of time. While not completely true, inorder to enter into the untamed world of wildlife photography, where every click of the shutter unveils a story of nature’s wonders will take some time, effort, and resources. Embarking on a journey to become a wildlife photographer is akin to commencing a captivating adventure filled with awe-inspiring landscapes, elusive creatures, and heart-pounding moments frozen in time. Whether you’re drawn to the graceful dance of a bird in flight, the majestic presence of a big cat prowling through the savanna, or the intricate details of a tiny insect’s world, this blog is your guide to unlocking the secrets of the wild through the lens of your camera. Join us as we explore the basics needed to capture the beauty and essence of wildlife in its natural habitat.
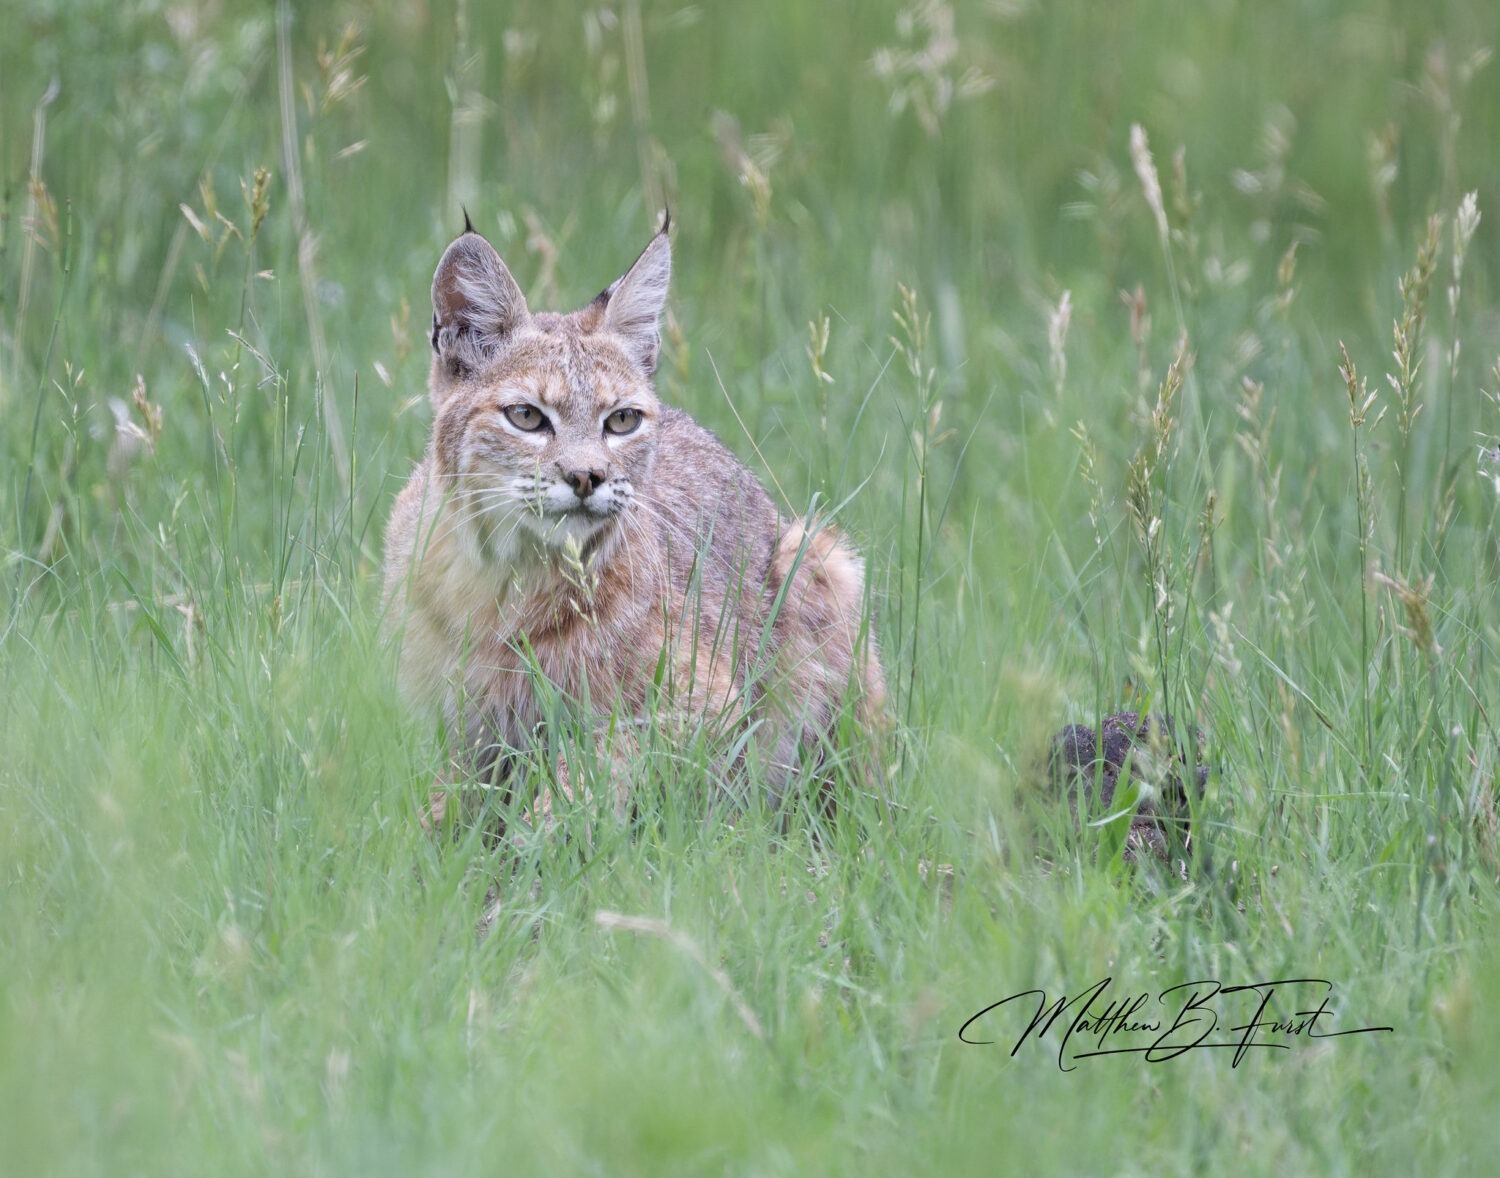
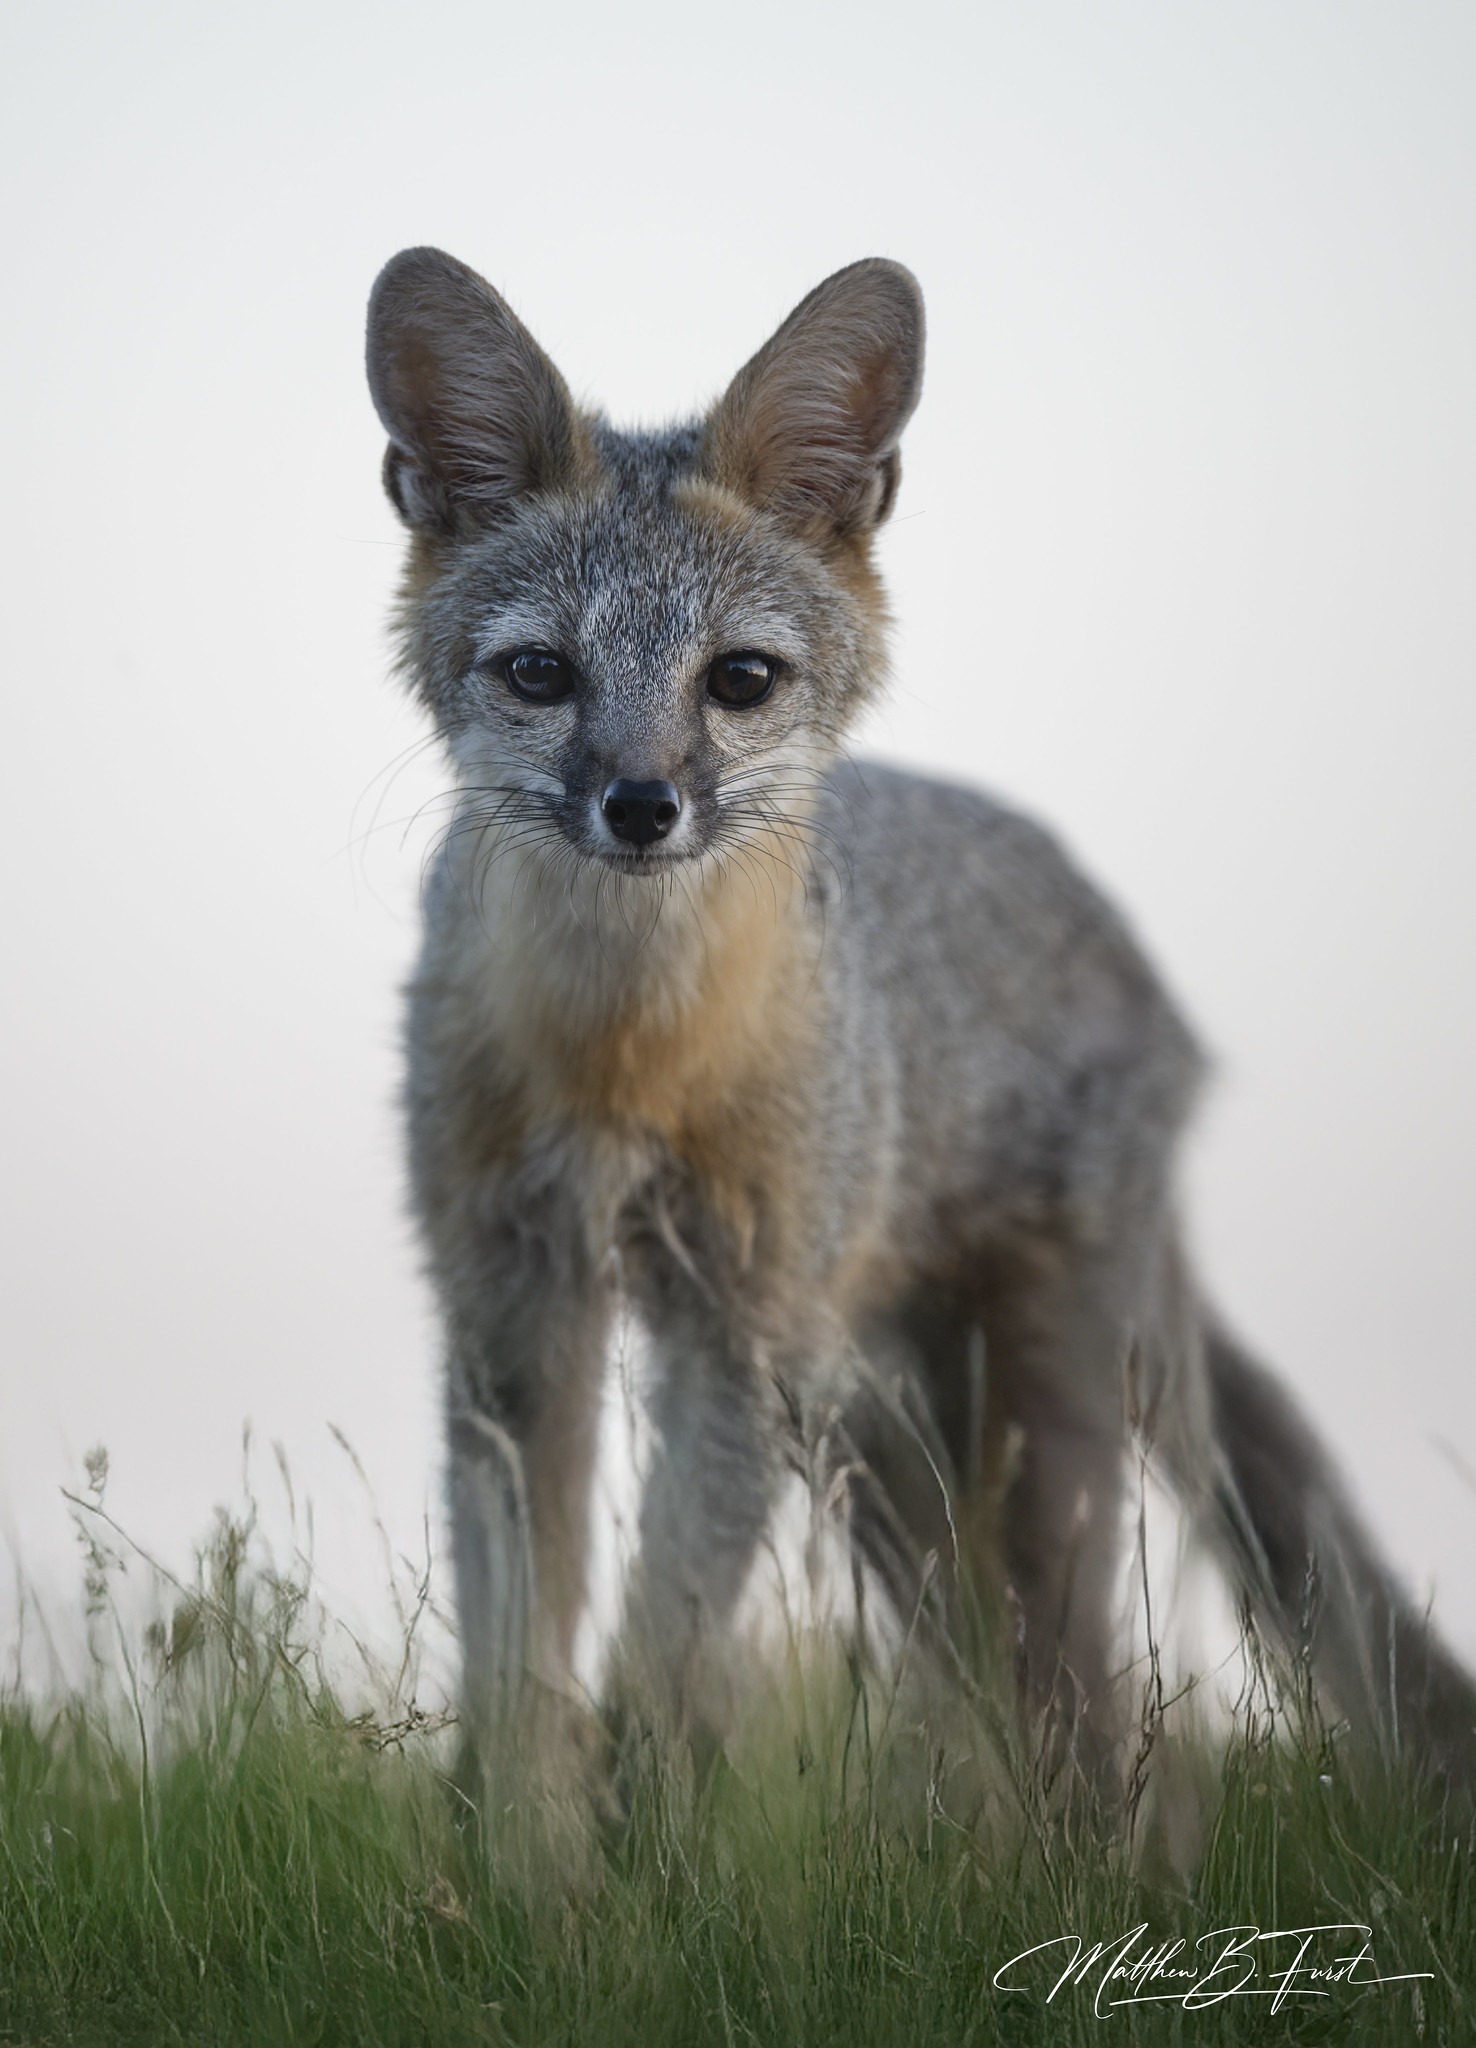
Discovering Wildlife Close to Home: A Beginner’s Guide to Local Nature Photography
Embarking on a wildlife photography adventure doesn’t always require traveling to far-flung destinations. In fact, some of the most captivating and unique wildlife experiences can be found right in your own backyard. Exploring the local wildlife in your area opens up a world of photographic opportunities and allows you to connect with the natural beauty that surrounds you. In this post, we will guide you through the process of discovering and photographing the wildlife in your local area, enabling you to capture remarkable images while fostering a deeper appreciation for the creatures that call your region home.
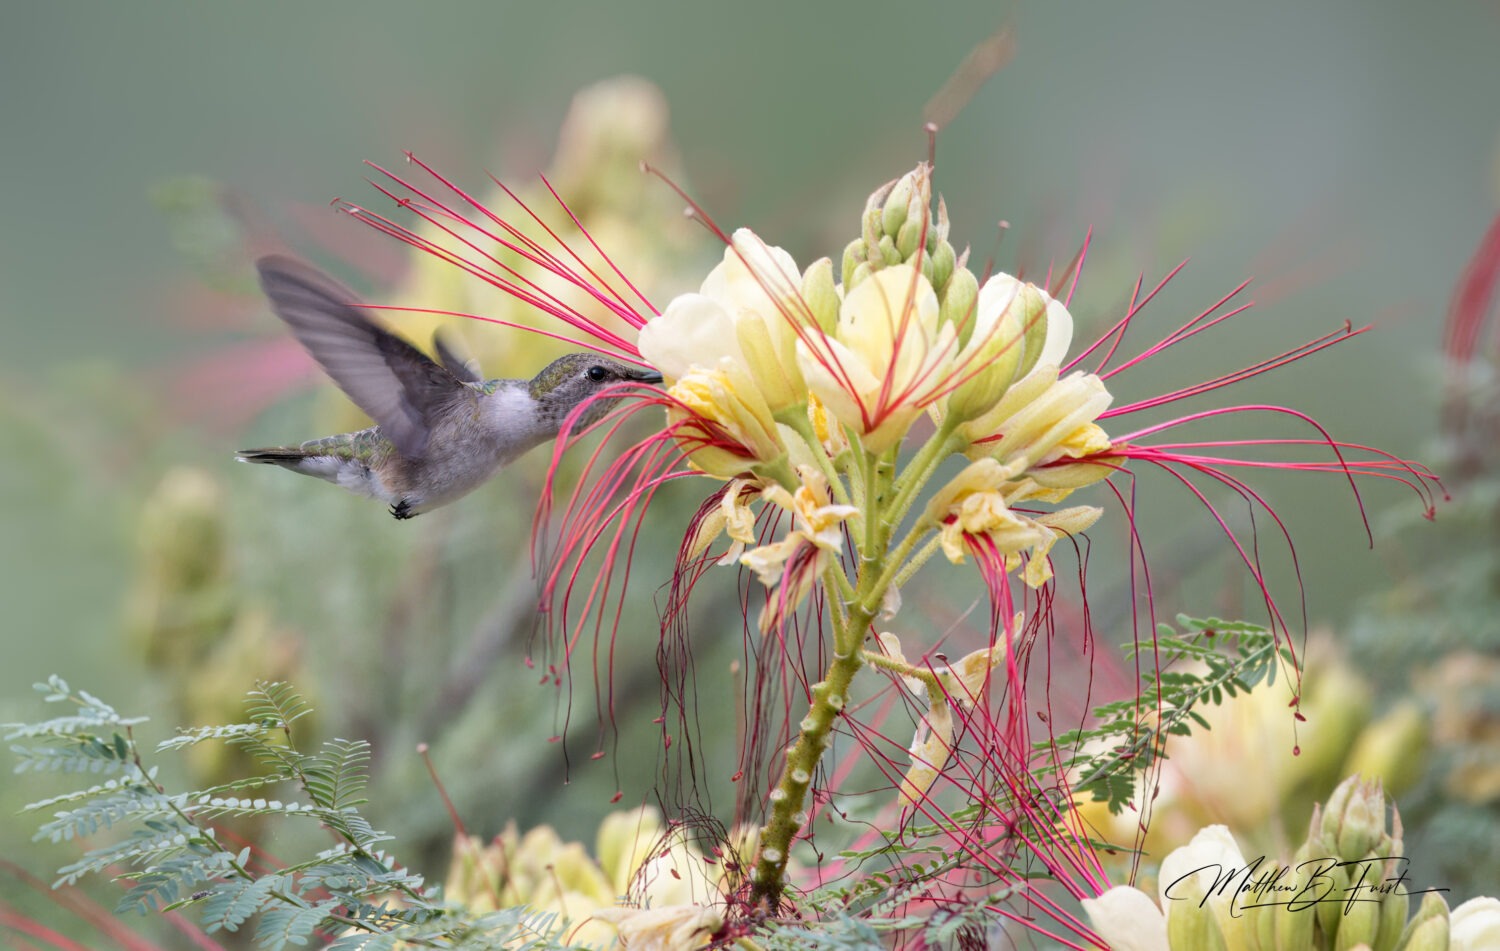
My mother used to say, “Patience is a virtue, possess it if you can. Seldom in a woman but never in a man”. Regardless, of whether you are male or female, if you are going to be a wildlife photographer, you will need to be patient. Patience is the silent companion of every wildlife photographer, a virtue that transforms a mere observer into a storyteller. In this blog, we will explore the profound importance of patience in wildlife photography, shedding light on how it shapes the photographer’s mindset, enhances the quality of images, and fosters a deeper connection with the natural world.