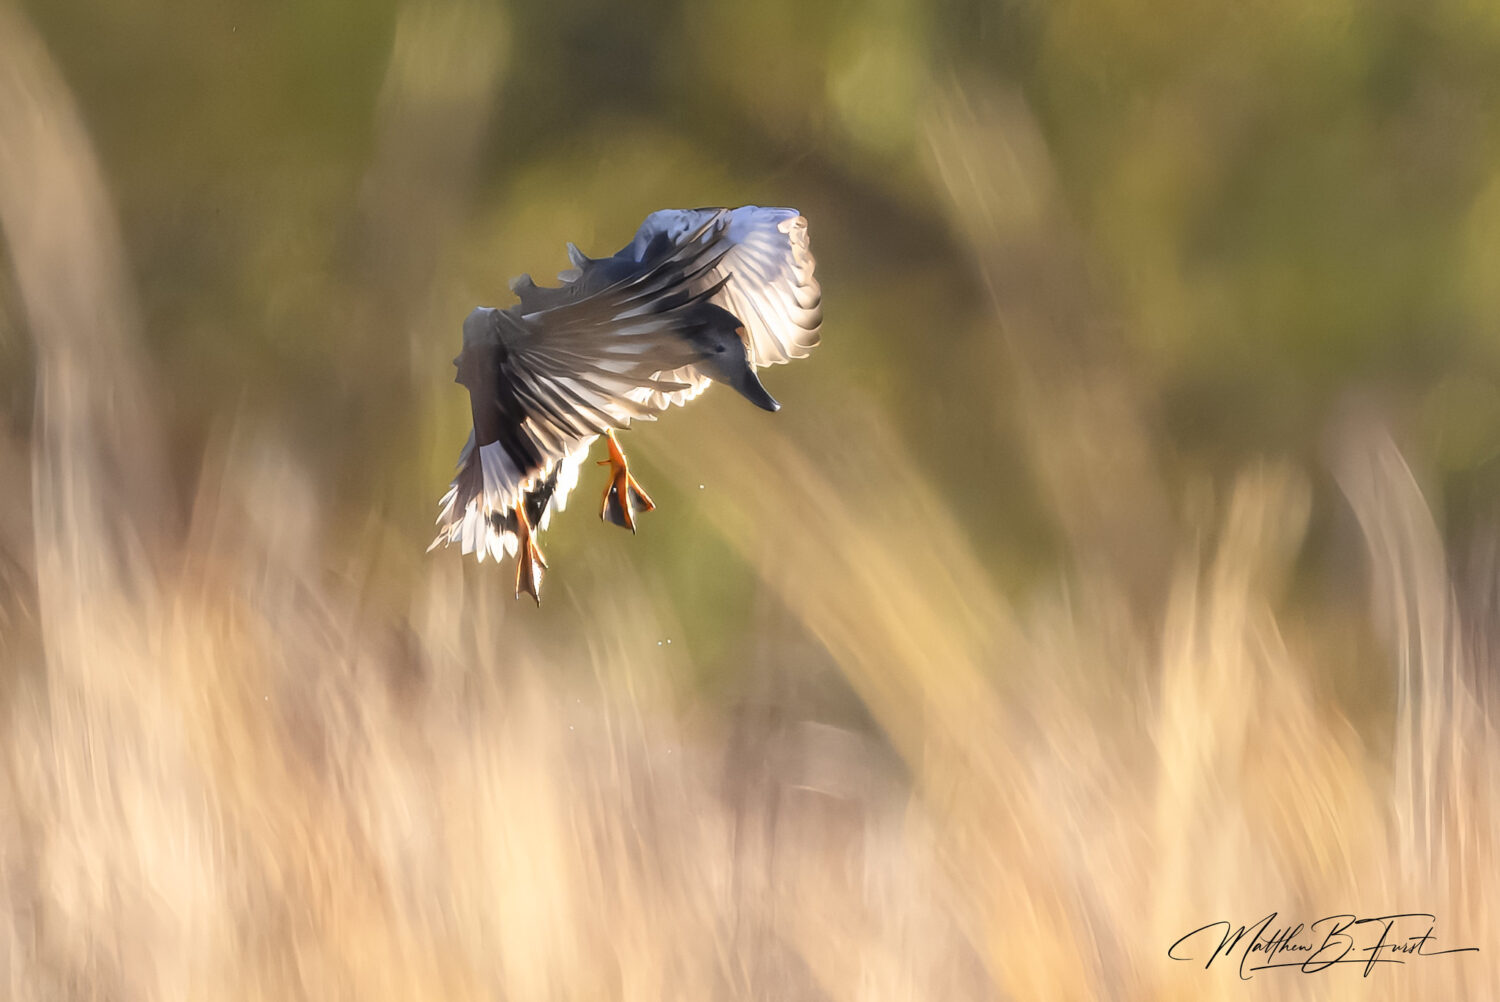
When it comes to wildlife photography, capturing the perfect moment in the field is just the beginning. These finishing touches applied in post-processing can elevate your images from good to extraordinary. In this final article in the Lightroom series, we’ll explore several crucial aspects of refining your wildlife photos, including lens corrections and transform tools, and using the Effects panel to add mood.
Lens Corrections and Transform Tools for Wildlife Photography
Lens corrections are a critical step in the editing process that can significantly improve the quality of your wildlife images. Lightroom’s lens correction tools help address common optical issues inherent in camera lenses.
Enabling Profile Corrections
The first step in applying lens corrections is to enable profile corrections:
Navigate to the Lens Corrections panel in Lightroom’s Develop module.
Check the box for “Enable Profile Corrections”.
Lightroom will automatically detect the lens used based on the image’s metadata and apply the appropriate corrections. This step alone can dramatically improve your image by correcting distortion, vignetting, and chromatic aberration.
Fine-tuning Lens Corrections
After enabling profile corrections, you can further refine the adjustments:
Use the Distortion slider to correct any remaining barrel or pincushion distortion.
Adjust the Vignetting slider to control the amount of corner darkening.
For wildlife images, subtle vignetting can sometimes be desirable to draw focus to your subject, so don’t feel obligated to remove it entirely.
Chromatic Aberration Removal
Chromatic aberration, often visible as colored fringing along high-contrast edges, can be particularly noticeable in wildlife photos. To address this:
Check the “Remove Chromatic Aberration” box in the Lens Corrections panel.
If needed, use the manual defringe tools for more precise control.
Transform Tools for Perspective Correction
The Transform panel in Lightroom offers powerful tools for adjusting the perspective of your wildlife images:
Use the Vertical slider to correct converging vertical lines, often useful for images of tall animals like giraffes.
The Horizontal slider can help straighten the horizon in landscape-oriented wildlife shots.
For more complex adjustments, experiment with the Guided Upright tool to manually define lines that should be straight.
Remember, while these tools are powerful, use them judiciously in wildlife photography. The goal is to correct obvious distortions while maintaining the natural look of your subject and its environment.
Using the Effects Panel to Add Mood to Your Wildlife Images
The Effects panel in Lightroom offers several tools that can enhance the mood and atmosphere of your wildlife photos, adding that final touch of magic to your images.
Vignetting for Focus
A subtle vignette can draw the viewer’s eye to your wildlife subject:
In the Effects panel, adjust the Amount slider to control the intensity of the vignette.
Use the Midpoint slider to determine how far the darkening extends into the image.
Experiment with the Roundness and Feather sliders to fine-tune the shape and transition of the vignette.
For wildlife images, a subtle, feathered vignette often works best, creating a natural-looking falloff of light that doesn’t distract from the subject.
Grain for Texture and Mood
Adding a touch of grain can lend a film-like quality to your digital wildlife images:
In the Effects panel, adjust the Amount slider to introduce grain.
Use the Size slider to control the coarseness of the grain.
The Roughness slider determines the regularity of the grain pattern.
Grain can be particularly effective in black and white wildlife conversions, adding a timeless quality to your images.
Dehaze for Atmosphere
The Dehaze slider in the Effects panel can be a powerful tool for enhancing atmosphere in your wildlife shots:
For misty or foggy scenes, a negative Dehaze value can enhance the ethereal mood.
In clear conditions, a slight positive Dehaze can add contrast and make your subject pop.
Be cautious with Dehaze, as excessive use can lead to unnatural-looking results. Subtle adjustments often yield the most pleasing effects.
Color Grading for Emotional Impact
While not strictly part of the Effects panel, color grading is a crucial finishing touch for mood:
Use the Color Grading panel to adjust the hue, saturation, and luminance of shadows, midtones, and highlights separately.
For a moody wildlife image, try cooling the shadows and warming the highlights slightly.
Color grading can dramatically alter the emotional impact of your wildlife photos. Experiment with different color combinations to find the mood that best suits your image and artistic vision.
Conclusion
The finishing touches applied in Lightroom can transform a good wildlife photo into a captivating image that truly evokes emotion. Lens corrections and transform tools ensure that your images are free from distracting optical flaws, allowing the viewer to focus on the beauty of your wildlife subject. Meanwhile, the Effects panel provides powerful tools for enhancing mood and atmosphere, adding that final layer of artistry to your work.
Remember, the key to effective editing is subtlety. The goal is to enhance your wildlife images while maintaining their natural beauty and authenticity. As you apply these finishing touches, step back frequently to assess the overall impact of your edits. With practice, you’ll develop a keen eye for the small adjustments that can make a big difference in your wildlife photography.
By mastering these techniques, you’ll be able to create wildlife images that not only document the natural world but also convey the emotion and wonder of your encounters with wildlife. Your finished images will stand out, capturing the attention of viewers and evoking the same sense of awe that you felt when you first pressed the shutter.