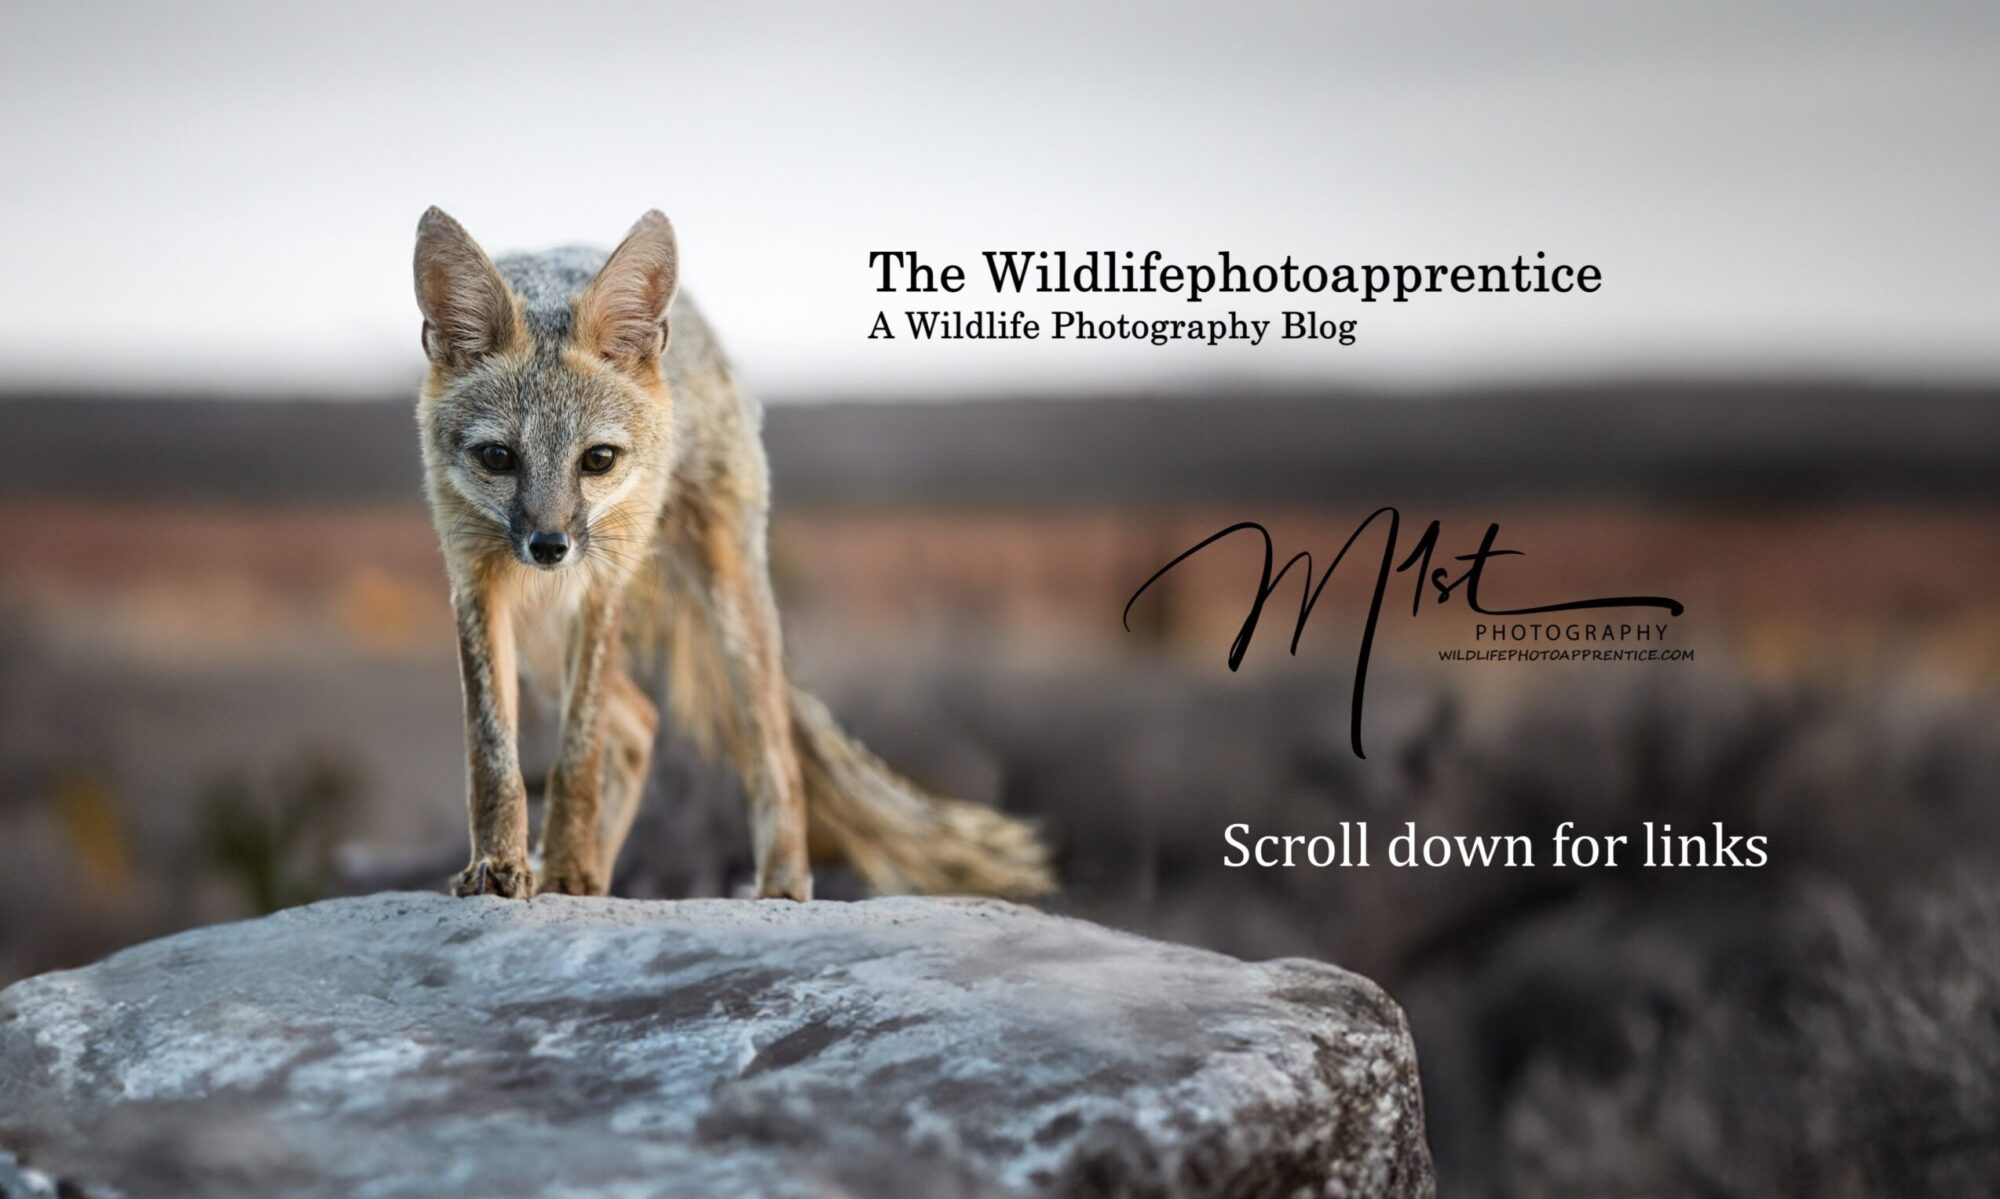
Part 3, After the Shoot
So now you’ve arrived at the end of your amazing wildlife photographic adventure and are ready to relax. Wait a minute, before you collapse into your lazy-boy recliner, there’s one last checklist to think about, the post-shoot checklist. In part three we will discuss some things to consider once you have taken all your photos to guarantee superb results.
Here is one possible detailed after-the-shoot photo session “Time Out” checklist for wildlife photographers.
After the shoot checklist
Initially, at the end of your shoot, before you get home, think about transferring your photos to an external drive for safekeeping. Choosing the best external drive can be difficult. There are several factors to consider when choosing the best external hard drive for in-field transfer and storage of wildlife photos, including durability, capacity, speed, and compatibility with your devices. LaCie Rugged External Hard Drive is a popular choice among photographers and videographers who need a durable and reliable hard drive for fieldwork. The LaCie Rugged is shock-resistant, dust-resistant, and water-resistant, making it ideal for outdoor use. It also has fast transfer speeds and comes in capacities ranging from 1TB to 5TB. Western Digital My Passport Wireless Pro is an external hard drive that features built-in Wi-Fi connectivity, which allows you to transfer photos wirelessly from your camera. It also has a long-lasting battery and can serve as a portable charger for your other devices. The My Passport Wireless Pro comes in capacities of up to 4TB. The Seagate Backup Plus Portable is another external hard drive that offers a high storage capacity of up to 5TB and is compatible with both Mac and Windows computers. It is also lightweight and easy to carry around, making it a good option for fieldwork. Ultimately, the best external hard drive for your needs will depend on your specific requirements and preferences. Consider the factors mentioned above and read reviews from other photographers to help you make an informed decision.

When you get home, you may also want to back up your images to a cloud storage service or an off-site location. Cloud storage services offer a secure and reliable way to store your data. They typically have multiple layers of security and backup protocols to protect your photos from loss, theft, or damage. By using a cloud storage service, you can rest assured that your wildlife photos will be safe and easily accessible from any location. Cloud storage services provide easy access to your photos from anywhere and anytime. As long as you have an internet connection, you can access your photos from any device, including your smartphone, tablet, laptop, or desktop computer. This makes it easy to share your photos with friends and family or to edit and organize them. Many cloud storage services offer automatic backup features that can help you save time and effort. Once you set up the backup, your photos will be automatically uploaded to the cloud storage service, without you having to manually transfer them. This ensures that your photos are always up-to-date and backed up in case of any data loss or damage. Cloud storage services are often more cost-effective than physical storage options. With a cloud storage service, you only pay for the amount of storage you need, and you don’t have to worry about the cost of physical storage devices or the maintenance that goes along with them. Cloud storage services offer scalability, meaning that you can easily increase or decrease the amount of storage you need as your collection of wildlife photos grows or shrinks. This ensures that you have enough storage space to accommodate your needs, without having to worry about running out of storage capacity.
Before you store your photos consider reviewing your images carefully to assess their quality, composition, and sharpness. Delete any blurry or unsatisfactory shots. After culling the unacceptable photos, edit your images as required to enhance their quality and appeal. Post-processing is an essential step in the wildlife photography workflow that can help you enhance the quality of your images, correct any issues with exposure or color, and create a more impactful and visually appealing final product. There are innumerable software programs that are excellent for this purpose. I use Adobe Lightroom as my main editing software but you may prefer something else. Wildlife photography can be challenging due to the unpredictable lighting conditions in the field. Post-processing can help you adjust the exposure and color balance of your images to make them more accurate and visually appealing. Wildlife photos often have a lot of details and textures, and post-processing can help you enhance these elements and make your images look sharper and more detailed. This can help your viewers appreciate the intricacies of your subject, such as the texture of its fur or the patterns on its feathers. Post-processing can help you crop and straighten your images, removing any distractions and improving the overall composition of your photos. This can help your subject stand out and create a more visually compelling image. Post-processing can help you adjust the tone, contrast, and saturation of your images to create a specific mood or emotion. This can help you convey a particular feeling or atmosphere, such as the peacefulness of a serene landscape or the intensity of a predator on the hunt. Post-processing is an important step in the wildlife photography workflow that can help you create more visually appealing and impactful images, correct any issues with exposure or color, enhance details and sharpness, improve composition, and create mood and emotion.
Next on the list is to clean and maintain your camera and equipment as necessary. Start by cleaning your camera body and lenses with a soft, dry cloth or brush to remove any dirt, dust, or debris. Be careful not to scratch the lenses or damage any of the camera’s components. If your tripod or gimble head is particularly dirty, you can use a mild soap solution and a damp cloth to clean it. If shooting in a saltwater environment rinse your tripod legs thoroughly with fresh water and remove any sand from the locking mechanisms. If your gear got wet during the shoot, make sure to let it dry completely before storing it. Remove any moisture with a dry cloth or towel, and then leave the gear in a dry, well-ventilated area for a few hours. Make sure to charge all of your camera batteries and other accessories so that they are ready for your next shoot. Store your gear in a cool, dry place, preferably in a camera bag or case. Make sure to keep your camera body and lenses separate from any accessories or other items that could scratch or damage them. Also, make sure to store your gear in a location where it won’t be exposed to direct sunlight or extreme temperatures.
Ultimately, you should consider sharing your images on social media or online galleries. Sharing your wildlife photographs online with others is important for several reasons. Wildlife photography can be a powerful tool for raising awareness about the beauty and fragility of the natural world, as well as the threats facing many species. By sharing your photos online, you can help educate others about the importance of conservation and inspire them to take action to protect our planet. Your wildlife photos can also inspire others to take up photography, explore the natural world, or even pursue a career in wildlife conservation. By sharing your images and the stories behind them, you can motivate and encourage others to follow their passions and make a positive impact on the world. Sharing your photos online can help you connect with other wildlife photographers, naturalists, and nature enthusiasts from around the world. You can join online groups or communities dedicated to wildlife photography and share your work, learn from others, and collaborate on projects. Sharing your wildlife photos online can also help you get feedback on your work from others in the photography community. You can receive constructive criticism, learn new techniques and skills, and gain valuable insights into how to improve your photography. Finally, sharing your wildlife photos online allows you to preserve your memories and experiences for yourself and others to enjoy. Your photos can serve as a record of the wildlife and landscapes you’ve encountered, the adventures you’ve had, and the moments of beauty and wonder you’ve captured.
This “Time Out” checklist is only a guide and should be tailored to your specific needs and preferences. Remember, it’s always better to be over-prepared than underprepared, so take the time to prepare well before each photo session. By routinely performing pre, during, and after photo session “Time Outs” you can prevent many common photography problems. The “Time out” process ensures that you are prepared, in the correct location for the subject you seek, and that your camera and equipment are in good working condition as well as on the correct settings. This will give you peace of mind and allow you to focus on capturing the best possible images during your next wildlife shoot.