
Photo-editing is an essential and tedious part of any photographer’s workflow. As wildlife photographers, we spent significant amounts of money on cameras, lenses, and other equipment for capturing our images on the front end. We incur an additional cost when we travel to exotic locations to pursue our subjects. The expenditures don’t stop when it comes to post-processing our images with computers, software, and peripherals such as Wacom tablets and Loupdeck panels that make the entire process easier and more efficient. Spending hours in front of a computer editing photos takes concentration and can be mind-numbing. The more comfortable you are while doing it, the less mind-numbing it will be. For a comparatively minimal investment of both money and time, you could soon be editing your photos in both comfort and style.

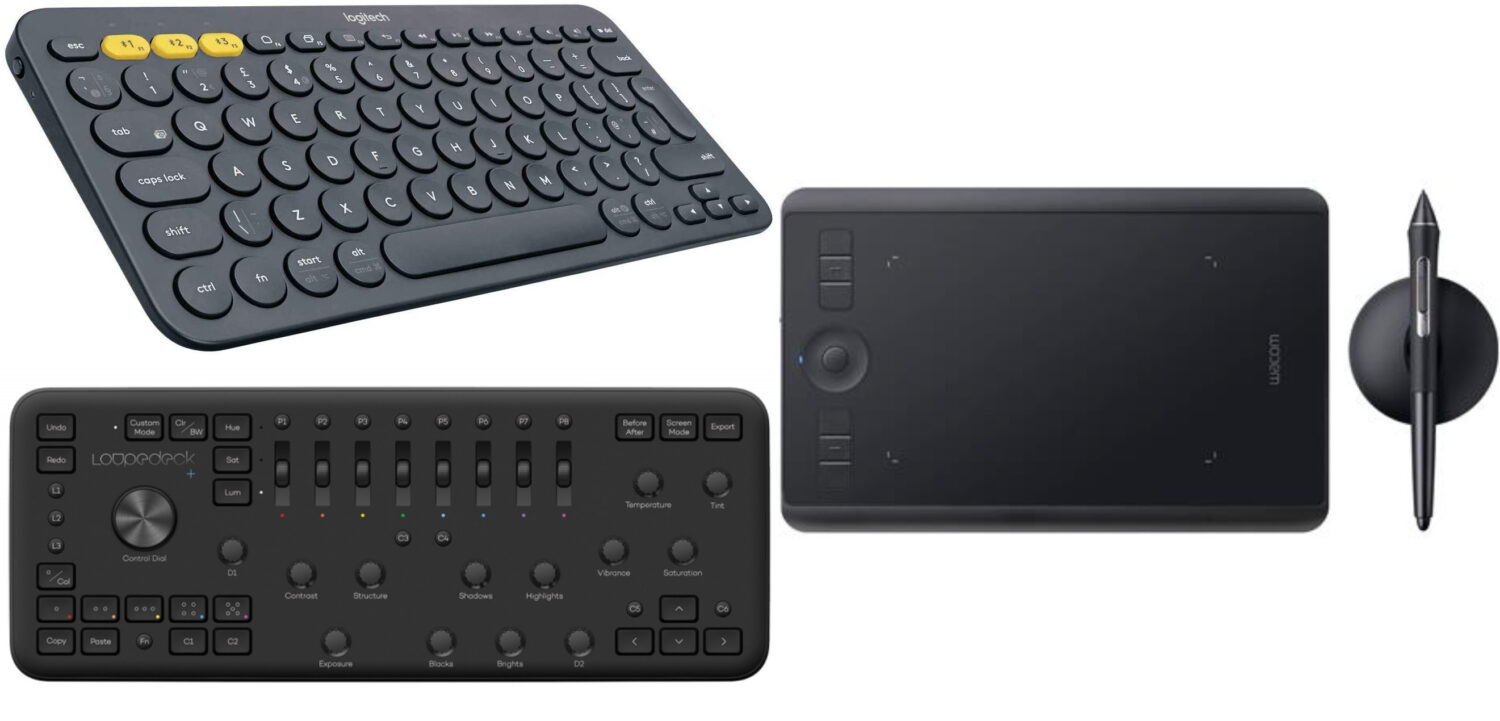
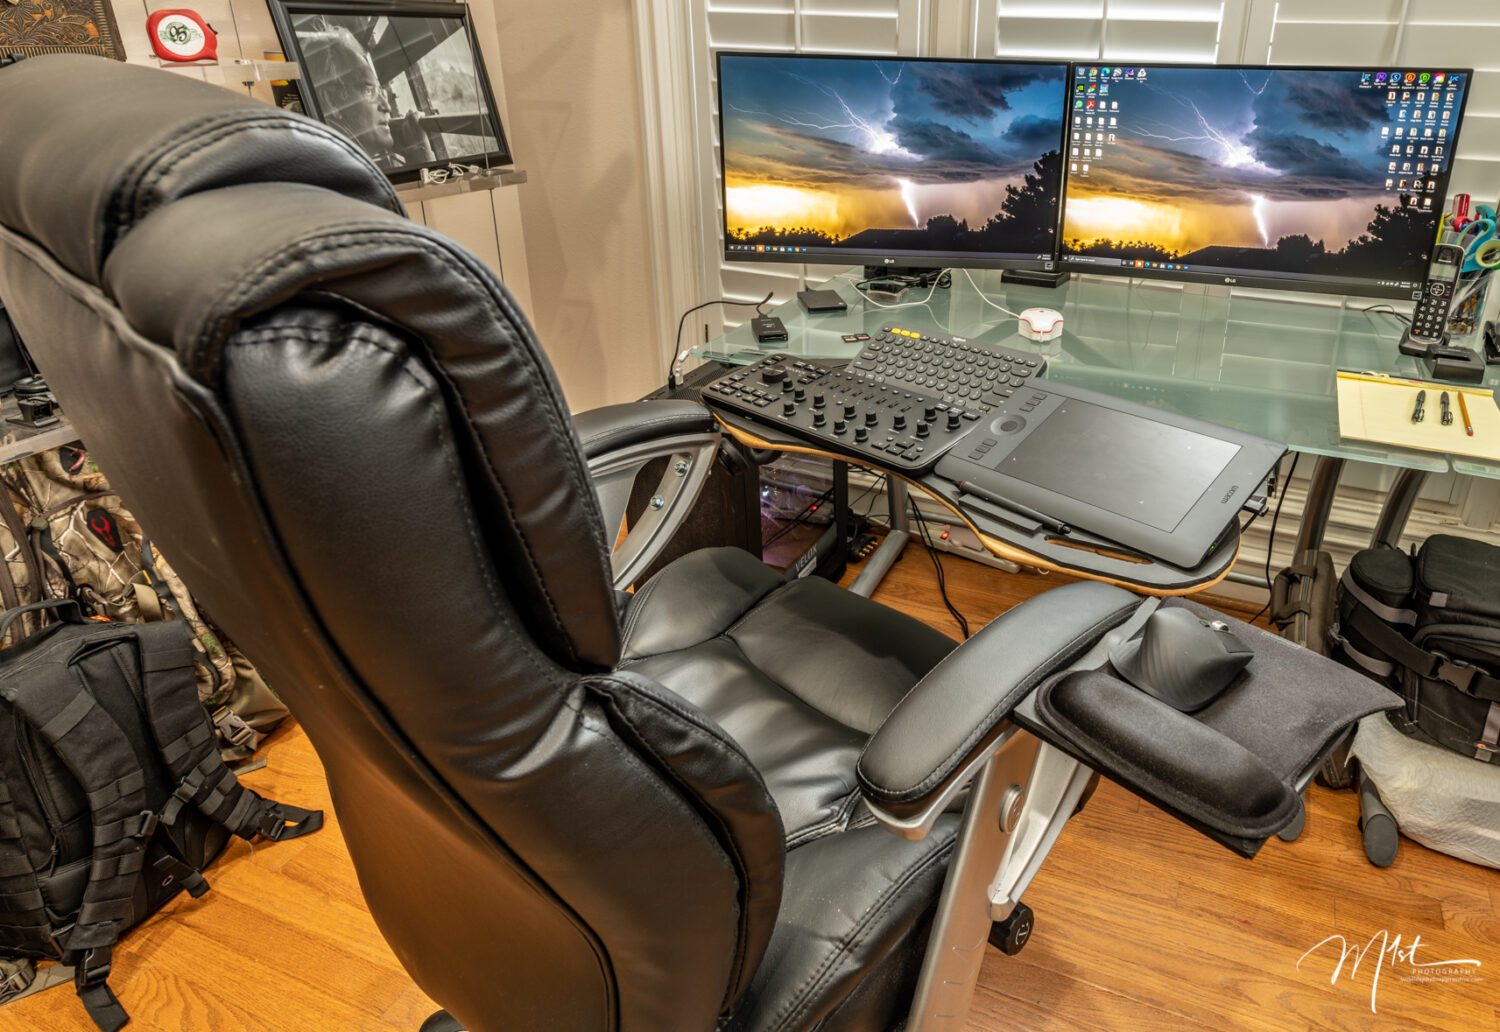
I’m talking about improving your editing environment. A simple way to do this is to unclutter your space and construct an editing chair. Over the years I’ve acquired several devices to improve my photo-editing including dual 27 inch 4k LG monitors, a Loupedeck plus, a Wacom Intuos Pro tablet, a Logitech Bluetooth keyboard, and a Logitech MX Master 3 Mouse. I find each one to be helpful and essential to completing various phases of my photo editing. Over time, as I’ve added each one, my desktop became more and more cluttered. I found editing became increasingly difficult and less efficient due to having to switch between devices and their position on the desktop. To solve this problem I created an enhanced work environment by using readily available, easy to obtain, and reasonably cheap components. It has upgraded the photo-editing experience for me and made it much more pleasurable.
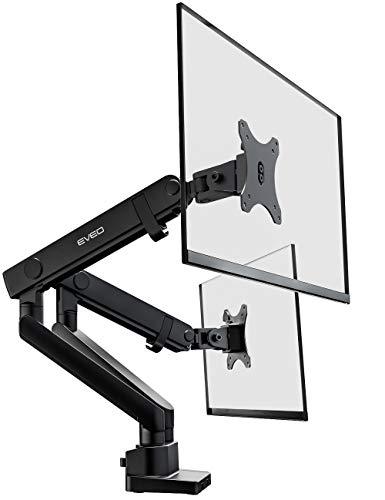
My first task was to get my new monitors off the desk and make them easier to see and position. I chose to accomplish this by using dual monitor arms. I chose monitor arms from a company by the name of EVEO. They were purchased from Amazon and were under $100. They were easy to install, VESA compliant, and easy to adjust. I’m sure more expensive arms are better but these have worked well and I didn’t want to spend several hundred dollars.
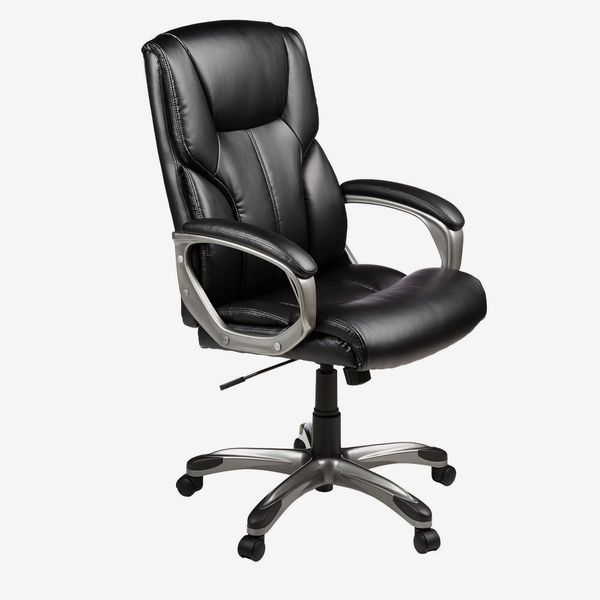
After installing and adjusting my monitors, I decided that I would need a way to organize my peripherals in such a way as to have them all within easy reach but be able to be comfortable in my chair while editing. To do this I decided the peripherals would have to be attached to the chair itself. I have a standard office chair I purchased from Office Depot. I got it on sale for $185. The chair has ABS plastic arms which can be drilled through easily. The chair is height adjustable, reclines, and is comfortable. This would serve as the base for my, ” photo editing chair”.
My next challenge would be to find a surface to work from. It would have to be sturdy and large enough to accommodate a keyboard, my Wacom tablet, and my Loupedeck panel. Each peripheral has a sizeable footprint. The keyboard having the largest, I chose to maximize space by choosing the smallest Bluetooth keyboard I could find. It turned out to be a Logitech.
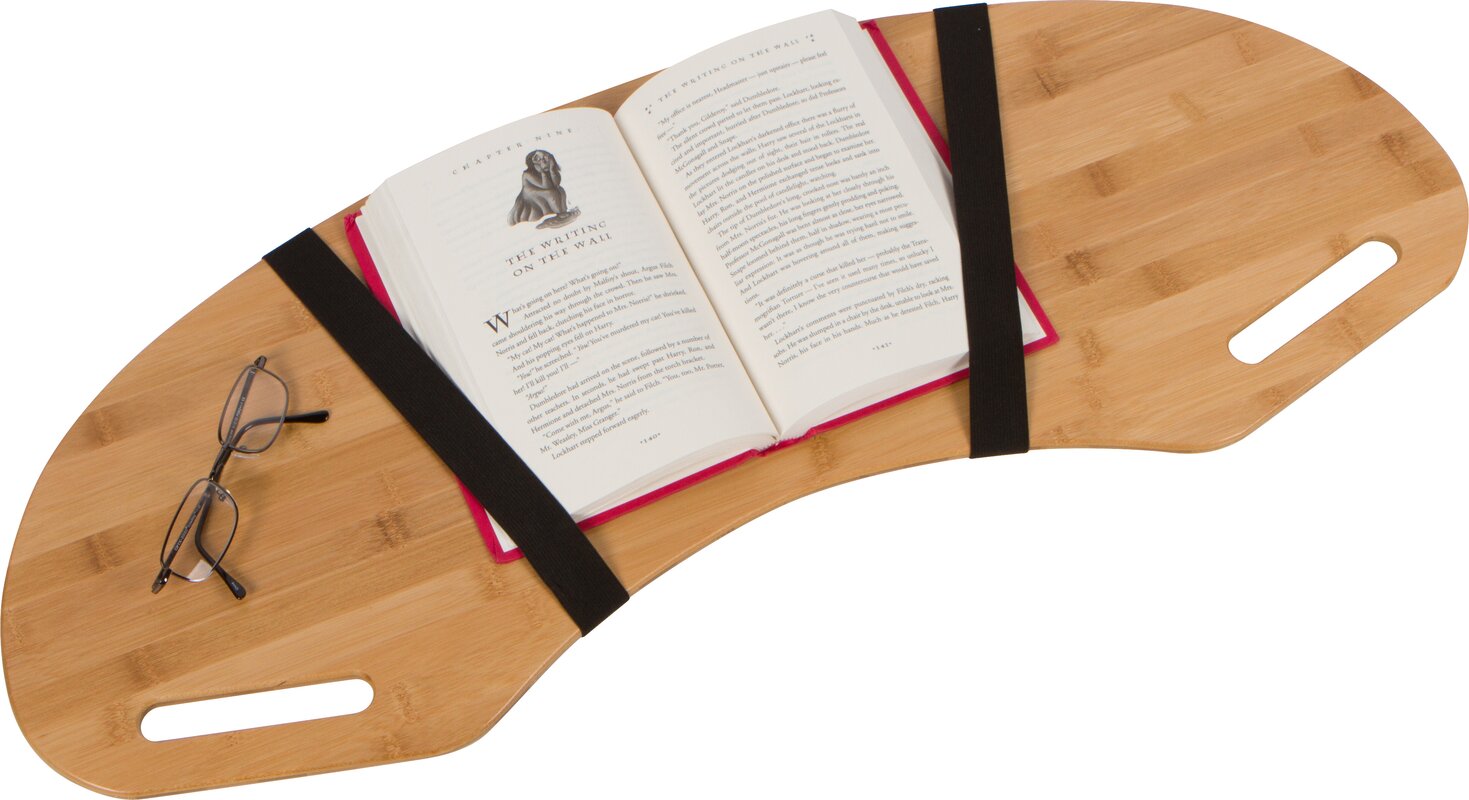
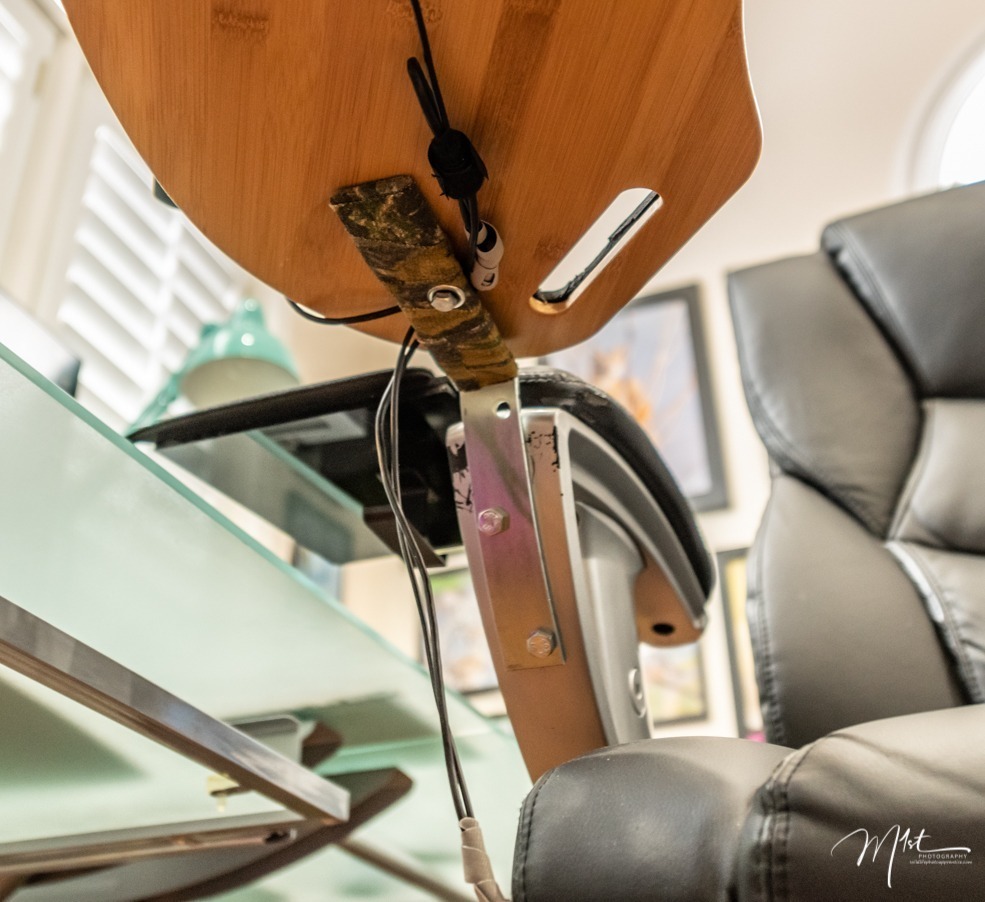
I would have to be able to swing the desktop out of the way to sit in the chair and then reposition it for working. After some thinking and searching, I decided on a Bamboo lap desk. I purchased it from Amazon for $34. With a little amateur engineering, it would end up working quite well.
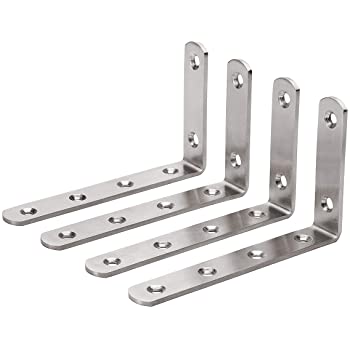
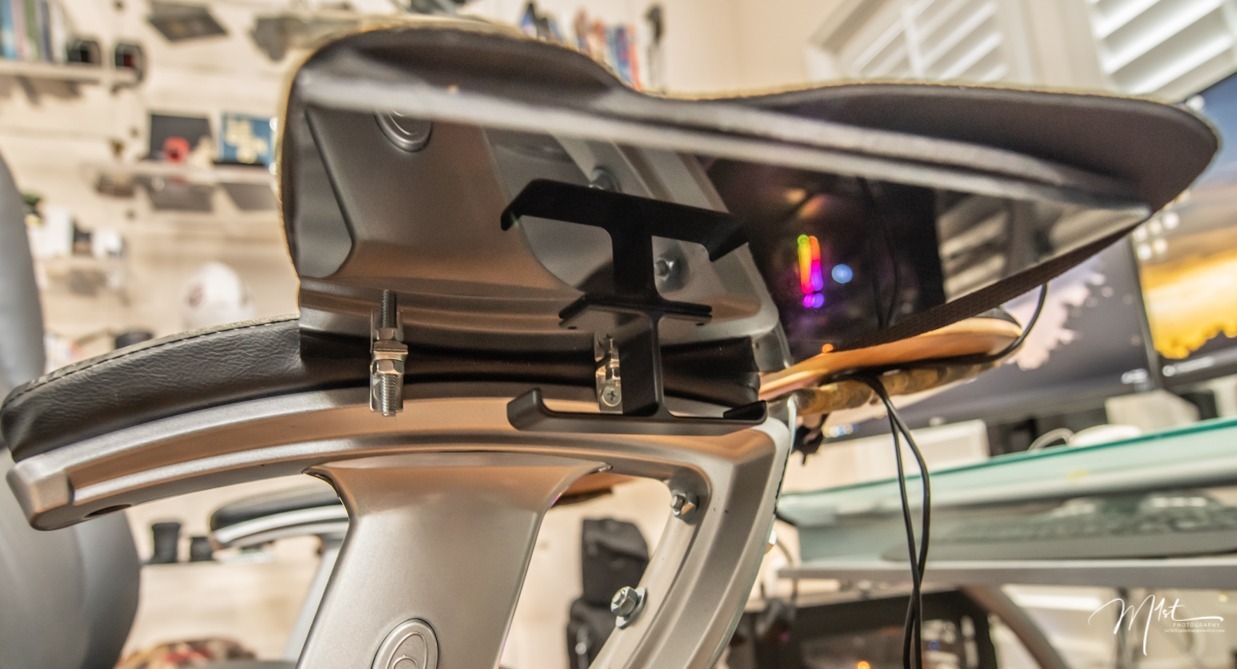
Next, the lap table would need stable support so I chose two right-angle brackets available from any hardware store. I got mine at Ace Hardware. Using a drill, 3/8″ bolts, nuts, and washers the brackets were attached to the arms of the chair. The brackets were easily bent to the proper contour and angle using pliers. I increased the angle slightly to give a more comfortable angle to the desk. The ends were padded with what I had handy, camo tape, and adhesive foam.
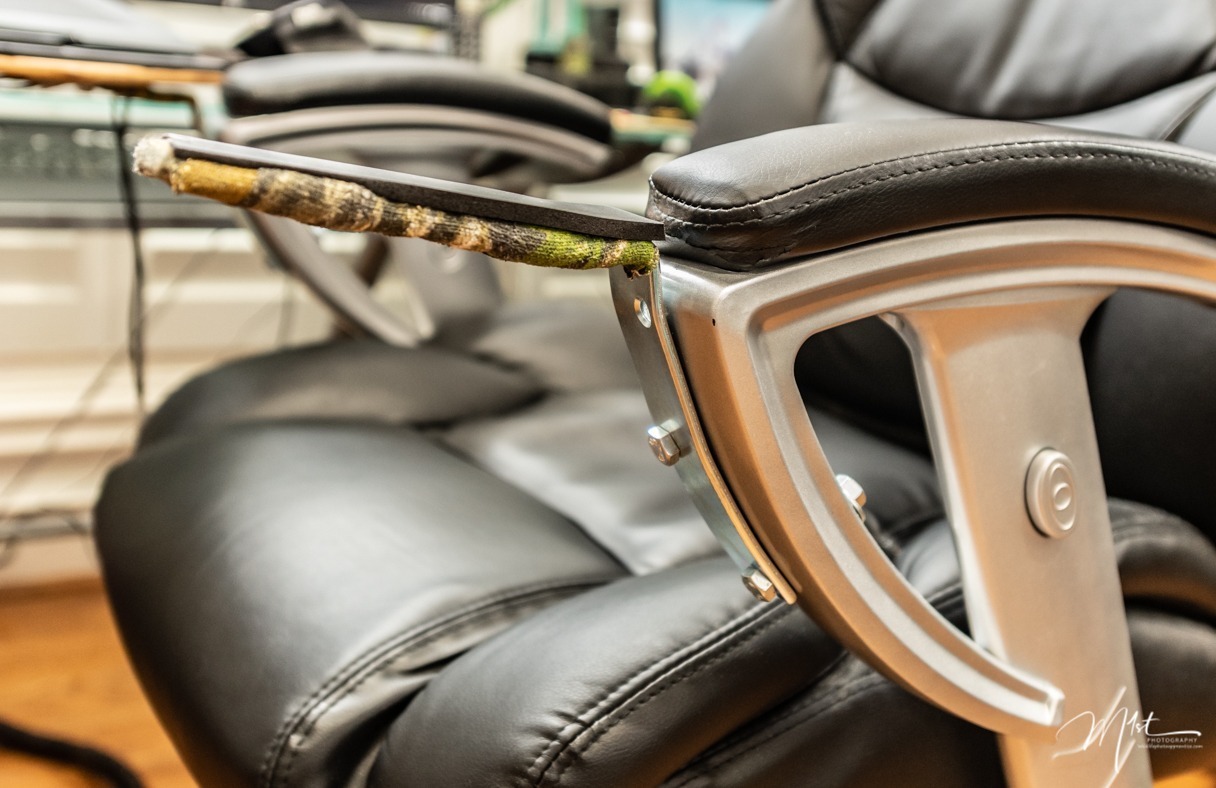
The right side of the lap table was fixed to the angle bracket again with a 3/8″bolt, nut, and washers. This allowed it to rotate about a fixed point as needed to get into and out of the chair.
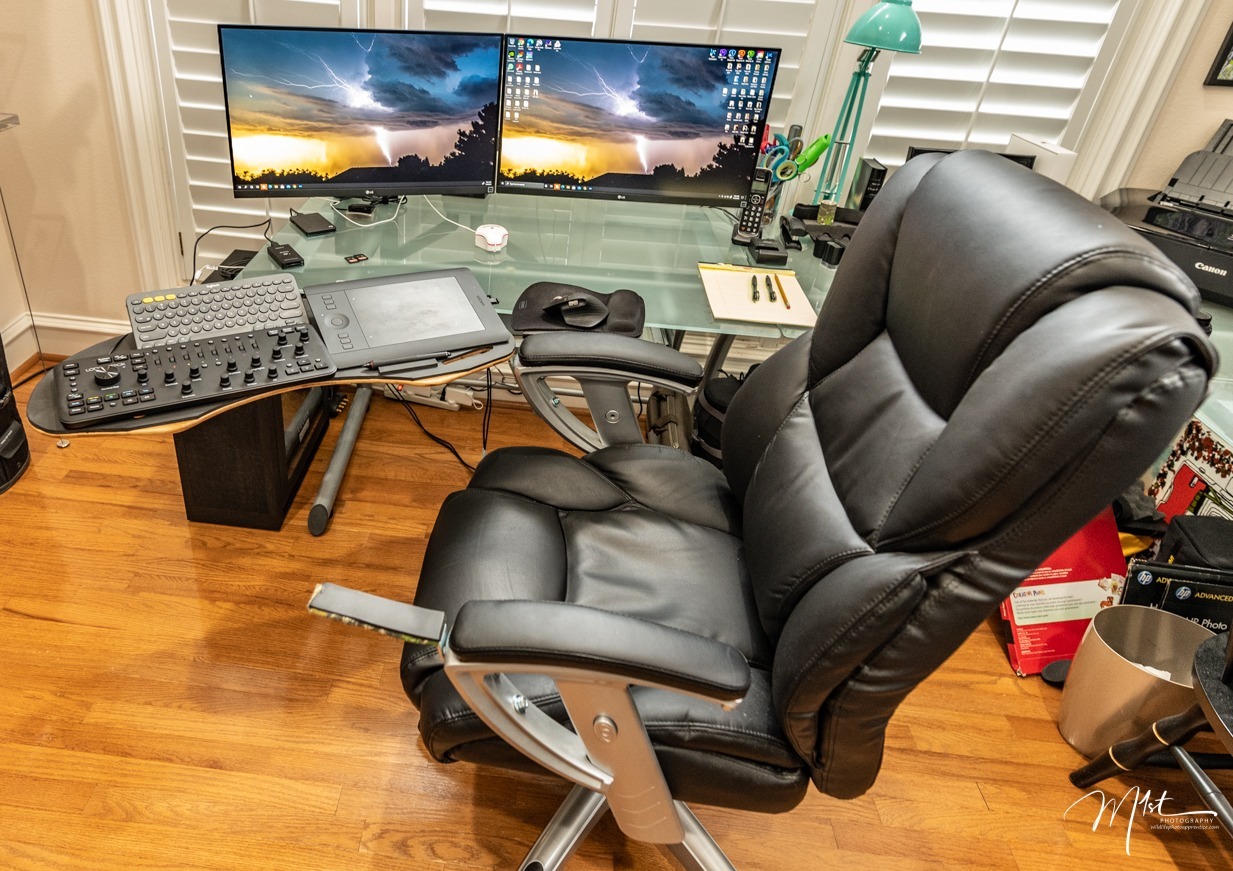

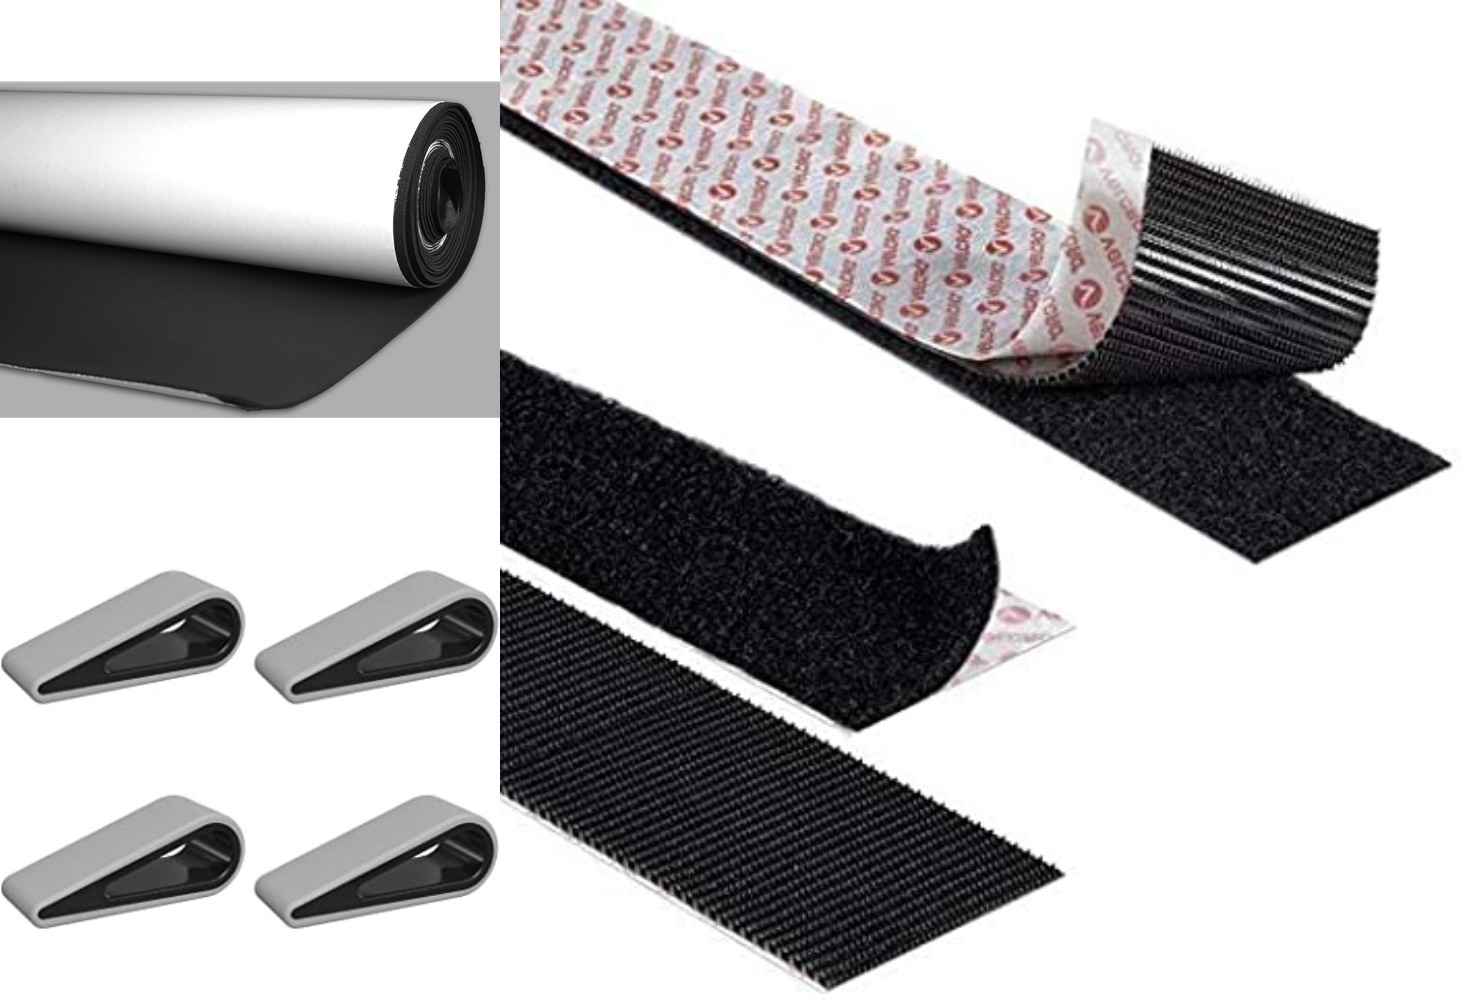
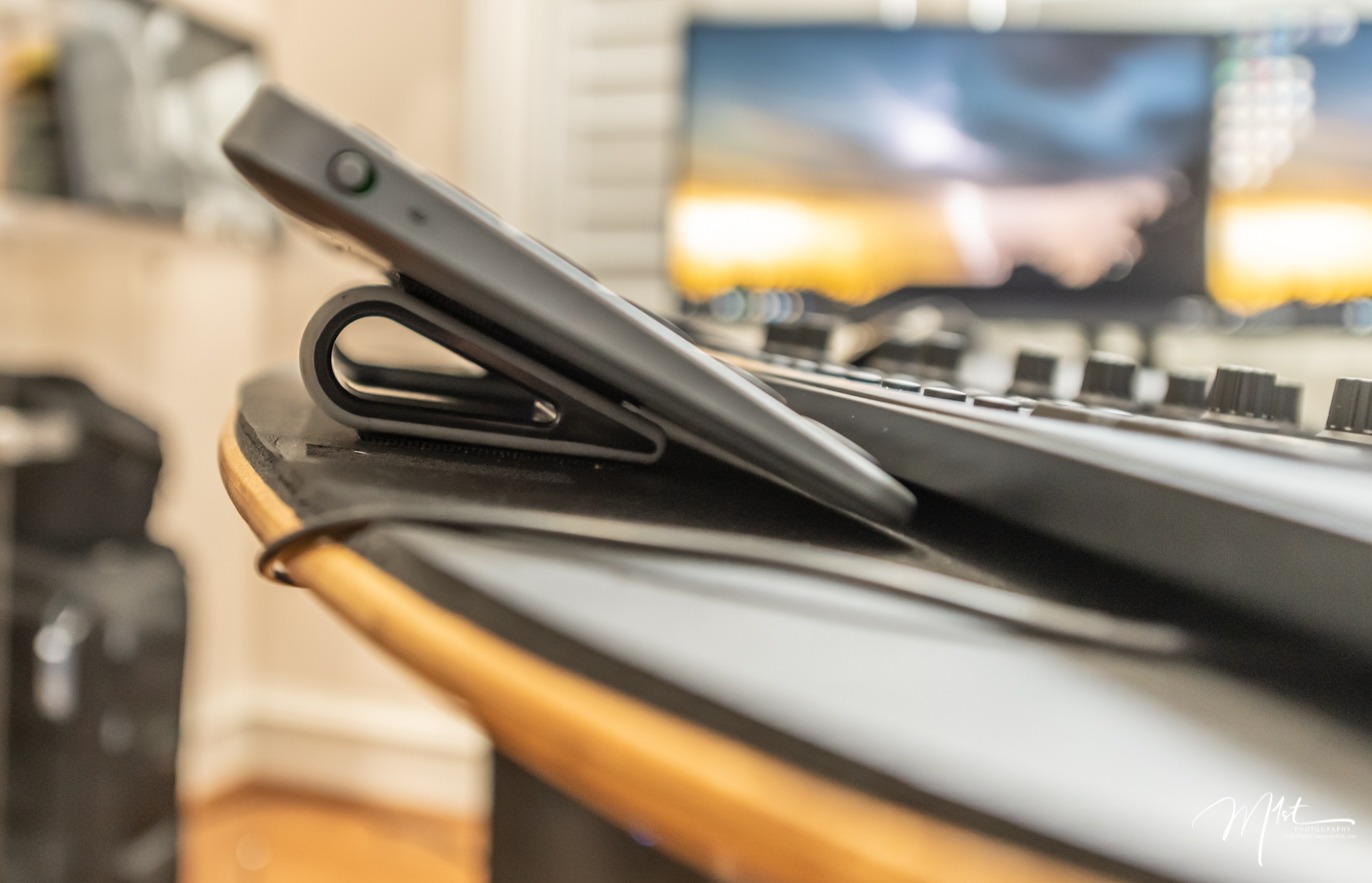
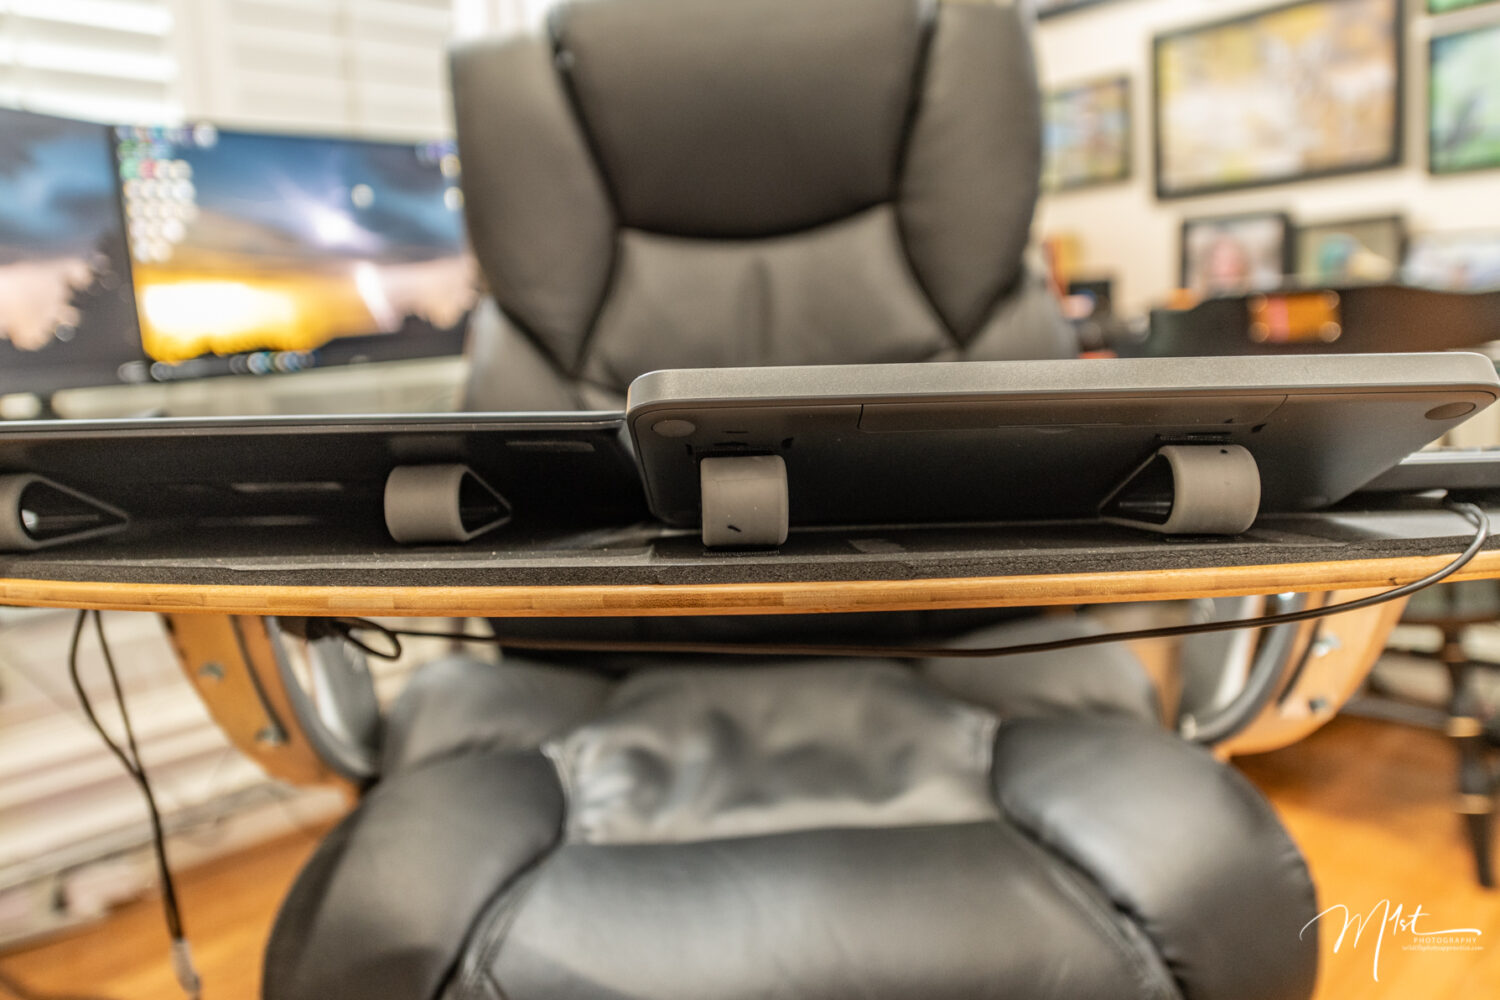
The Bamboo desk surface was hard and slippery and there would need to be some adjustment to improve the use and feel. I added a layer of 1/4″ adhesive foam to the entire surface which gave it a nice soft tactile feel. The keyboard, Wacom tablet, and Loupedeck were attached to the surface with strips of adhesive Velcro. The angle of the Wacom tablet and keyboard were further enhanced with small desktop wedges made specifically for the purpose and also obtained from Amazon.
In a similar fashion, an 8″x 8″x 1/4″ piece of plexiglass was attached to the lateral portion of the right chair arm using smaller angle brackets, nuts, bolts, and washers. This serves as a platform to support my mouse and mouse pad. its position is comfortable and natural. It works well and I can mouse for hours without discomfort.
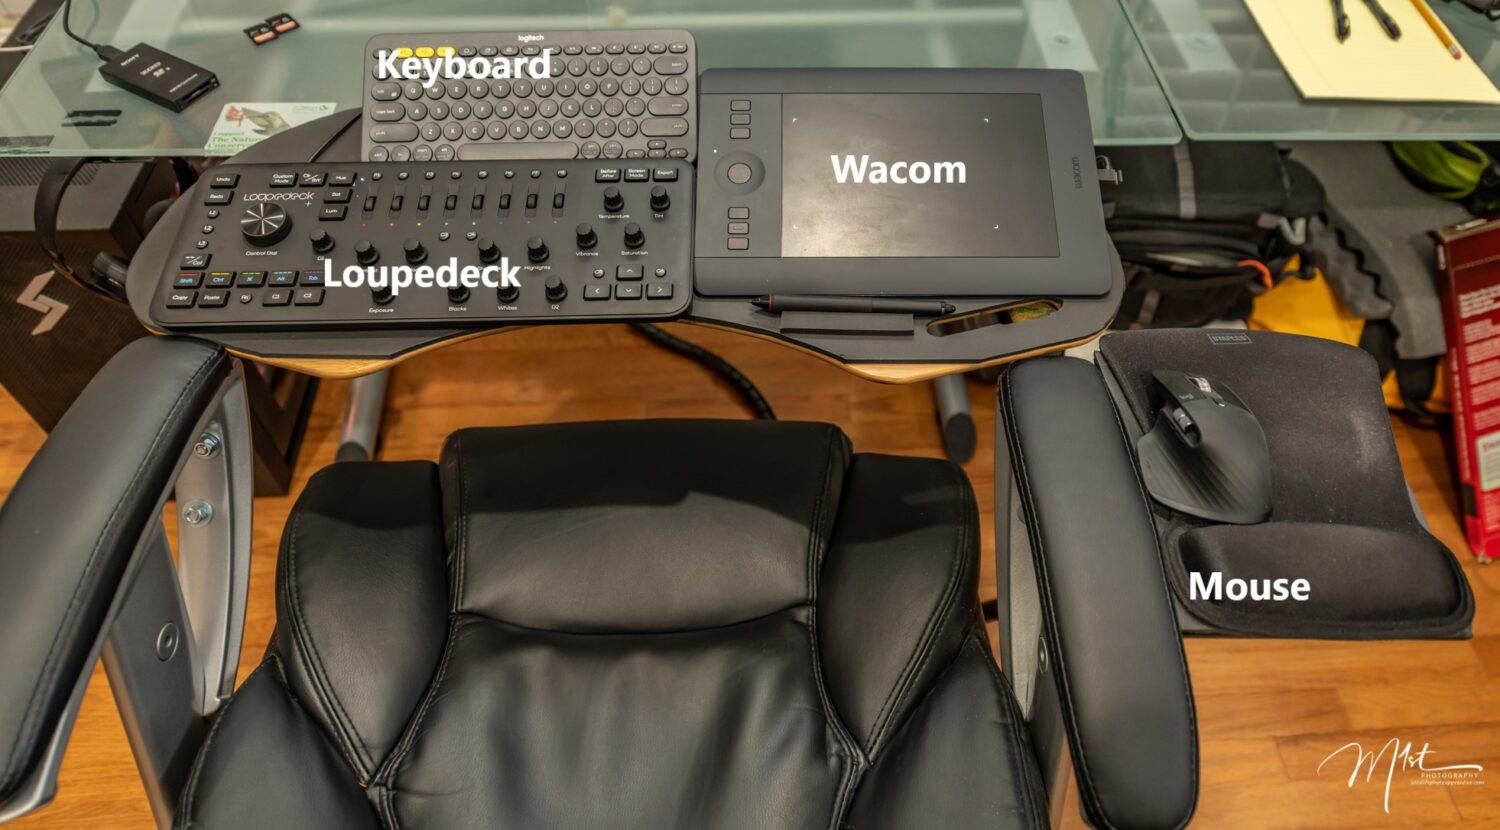
All the peripherals are within easy reach. The Wacom tablet is perfectly positioned for instinctive use. The Loupedeck is ideally positioned as well. Both the Loupedeck panel and Wacom tablet remain wired. The wires are long enough to provide adequate freedom of movement of the entire chair. The mouse and keyboard are Bluetooth. My setup is oriented to the right with the wires routed to that side, the lap desk fixed to that side, and the mouse platform on that side. The opposite left orientation would be just as easy to set up if desired.
The project took an afternoon, using basic tools, and with a total cost of less than $500 to complete. It’s functional, efficient, and easy to use. It may not improve my photo-editing skills but it does allow me to photo edit in comfort and style.