As a wildlife photographer, I’ve found that off-the-shelf monopods and tripods often fall short of meeting the unique demands of capturing nature’s fleeting moments. Through trial and error, I’ve developed several DIY modifications that have significantly improved the functionality and comfort of my gear. In this article, I’ll share my experiences and provide step-by-step instructions for these custom enhancements.
I can’t tell you how many times I’ve thought, wow this lens is heavy, while walking with my super-telephoto lens. Currently, I have a Nikon 600mm f4, as well as an 800mm. These lenses, as well as the rest of the super-telephoto group, are heavy. Some of these lenses weigh in at around 10 lbs, give or take a pound. Lugging them around is a chore. Carrying a tripod to a shooting location far from the car can have its challenges as well. While you might occasionally take a few handheld shots with these superteles, you need to have some form of stabilization to get keeper shots consistently. The solution is a monopod or tripod with some type of head. Together with your camera, battery grip, and lens, a tripod or monopod with a head adds to the weight. There needs to be a way to carry your equipment, comfortably, over a significant distance, and have it remain relatively available for use should a wildlife photography opportunity present itself. I have looked at and tried a number of combinations and the ones I find most useful involve these modifications.
Carry Strap Modifications
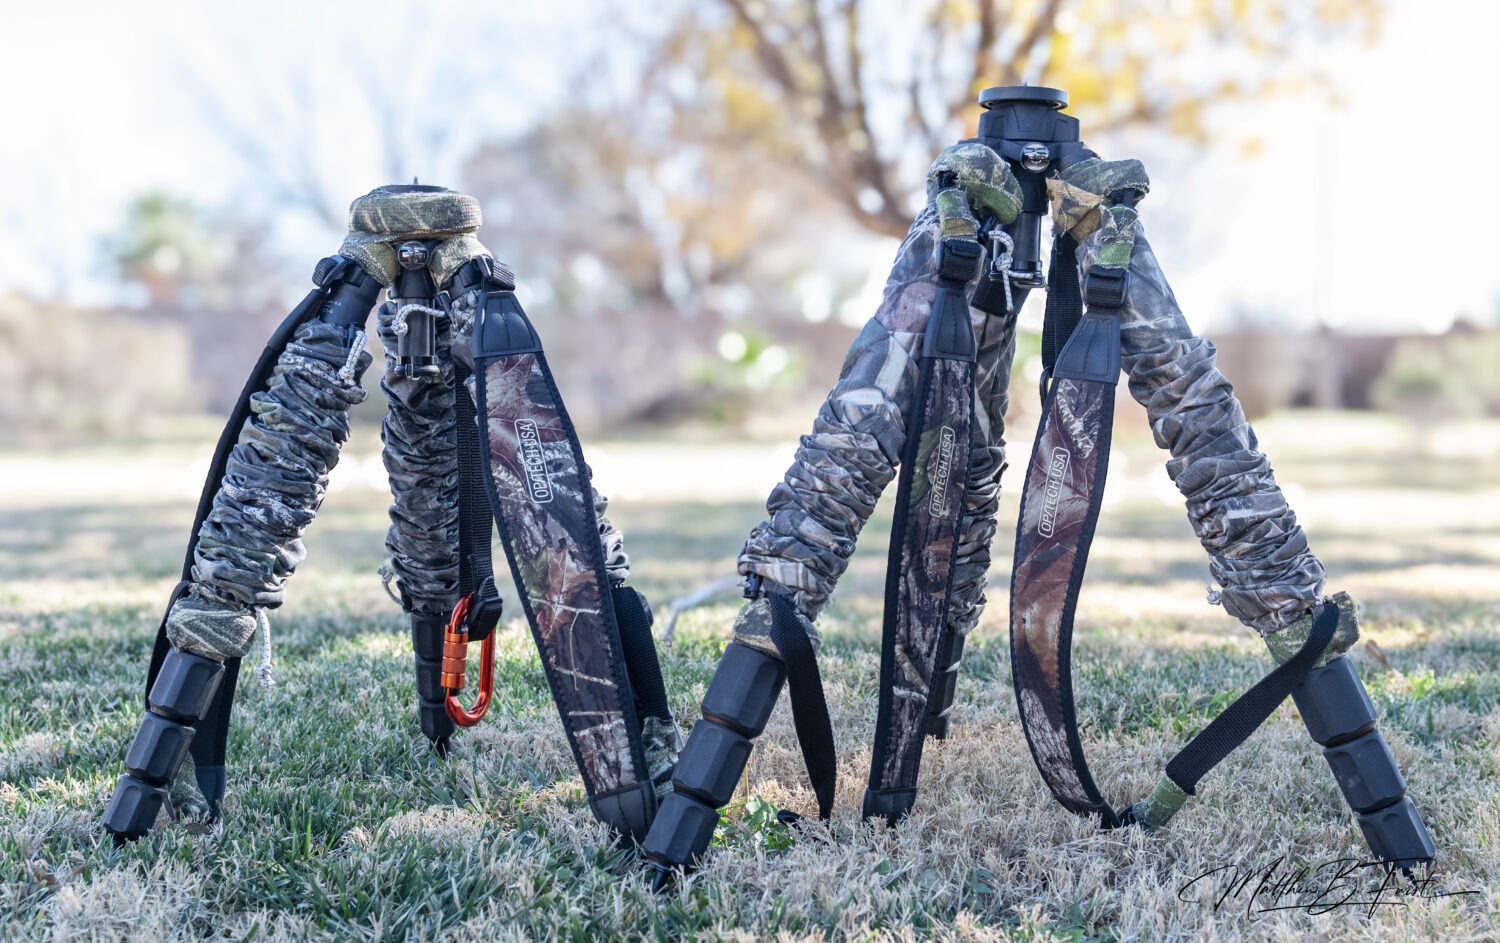
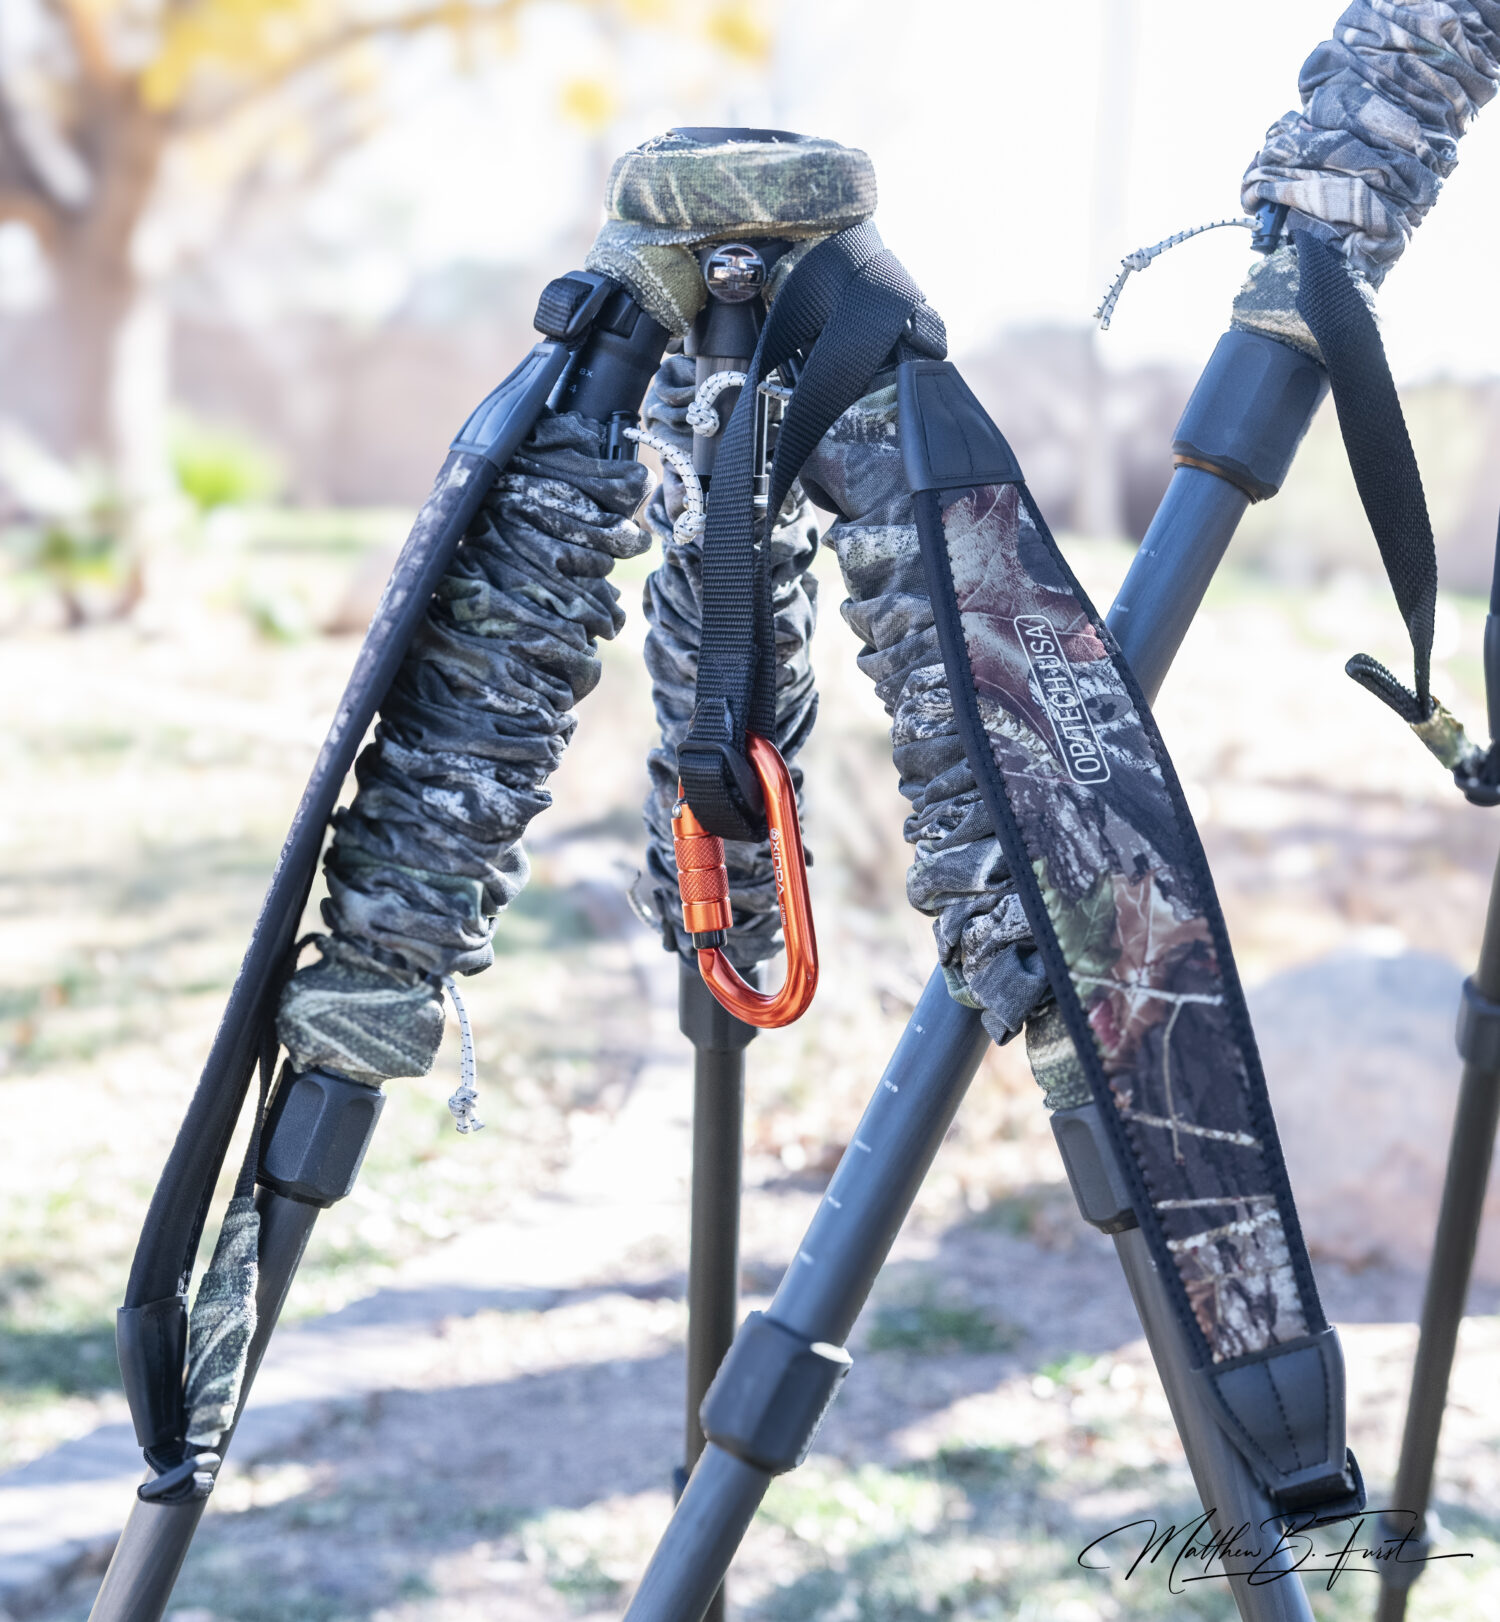
One of the most impactful changes I’ve made to my monopods and tripods is the addition of carry straps. This modification allows me to transport my gear much like a backpack, freeing up my hands and distributing the weight more evenly across my shoulders. I can hike some distance with the tripod comfortably on my back.
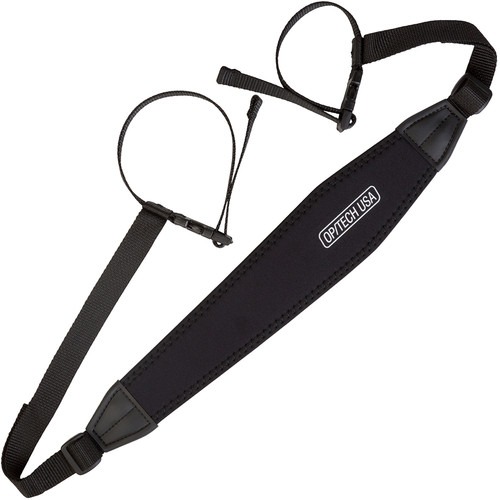
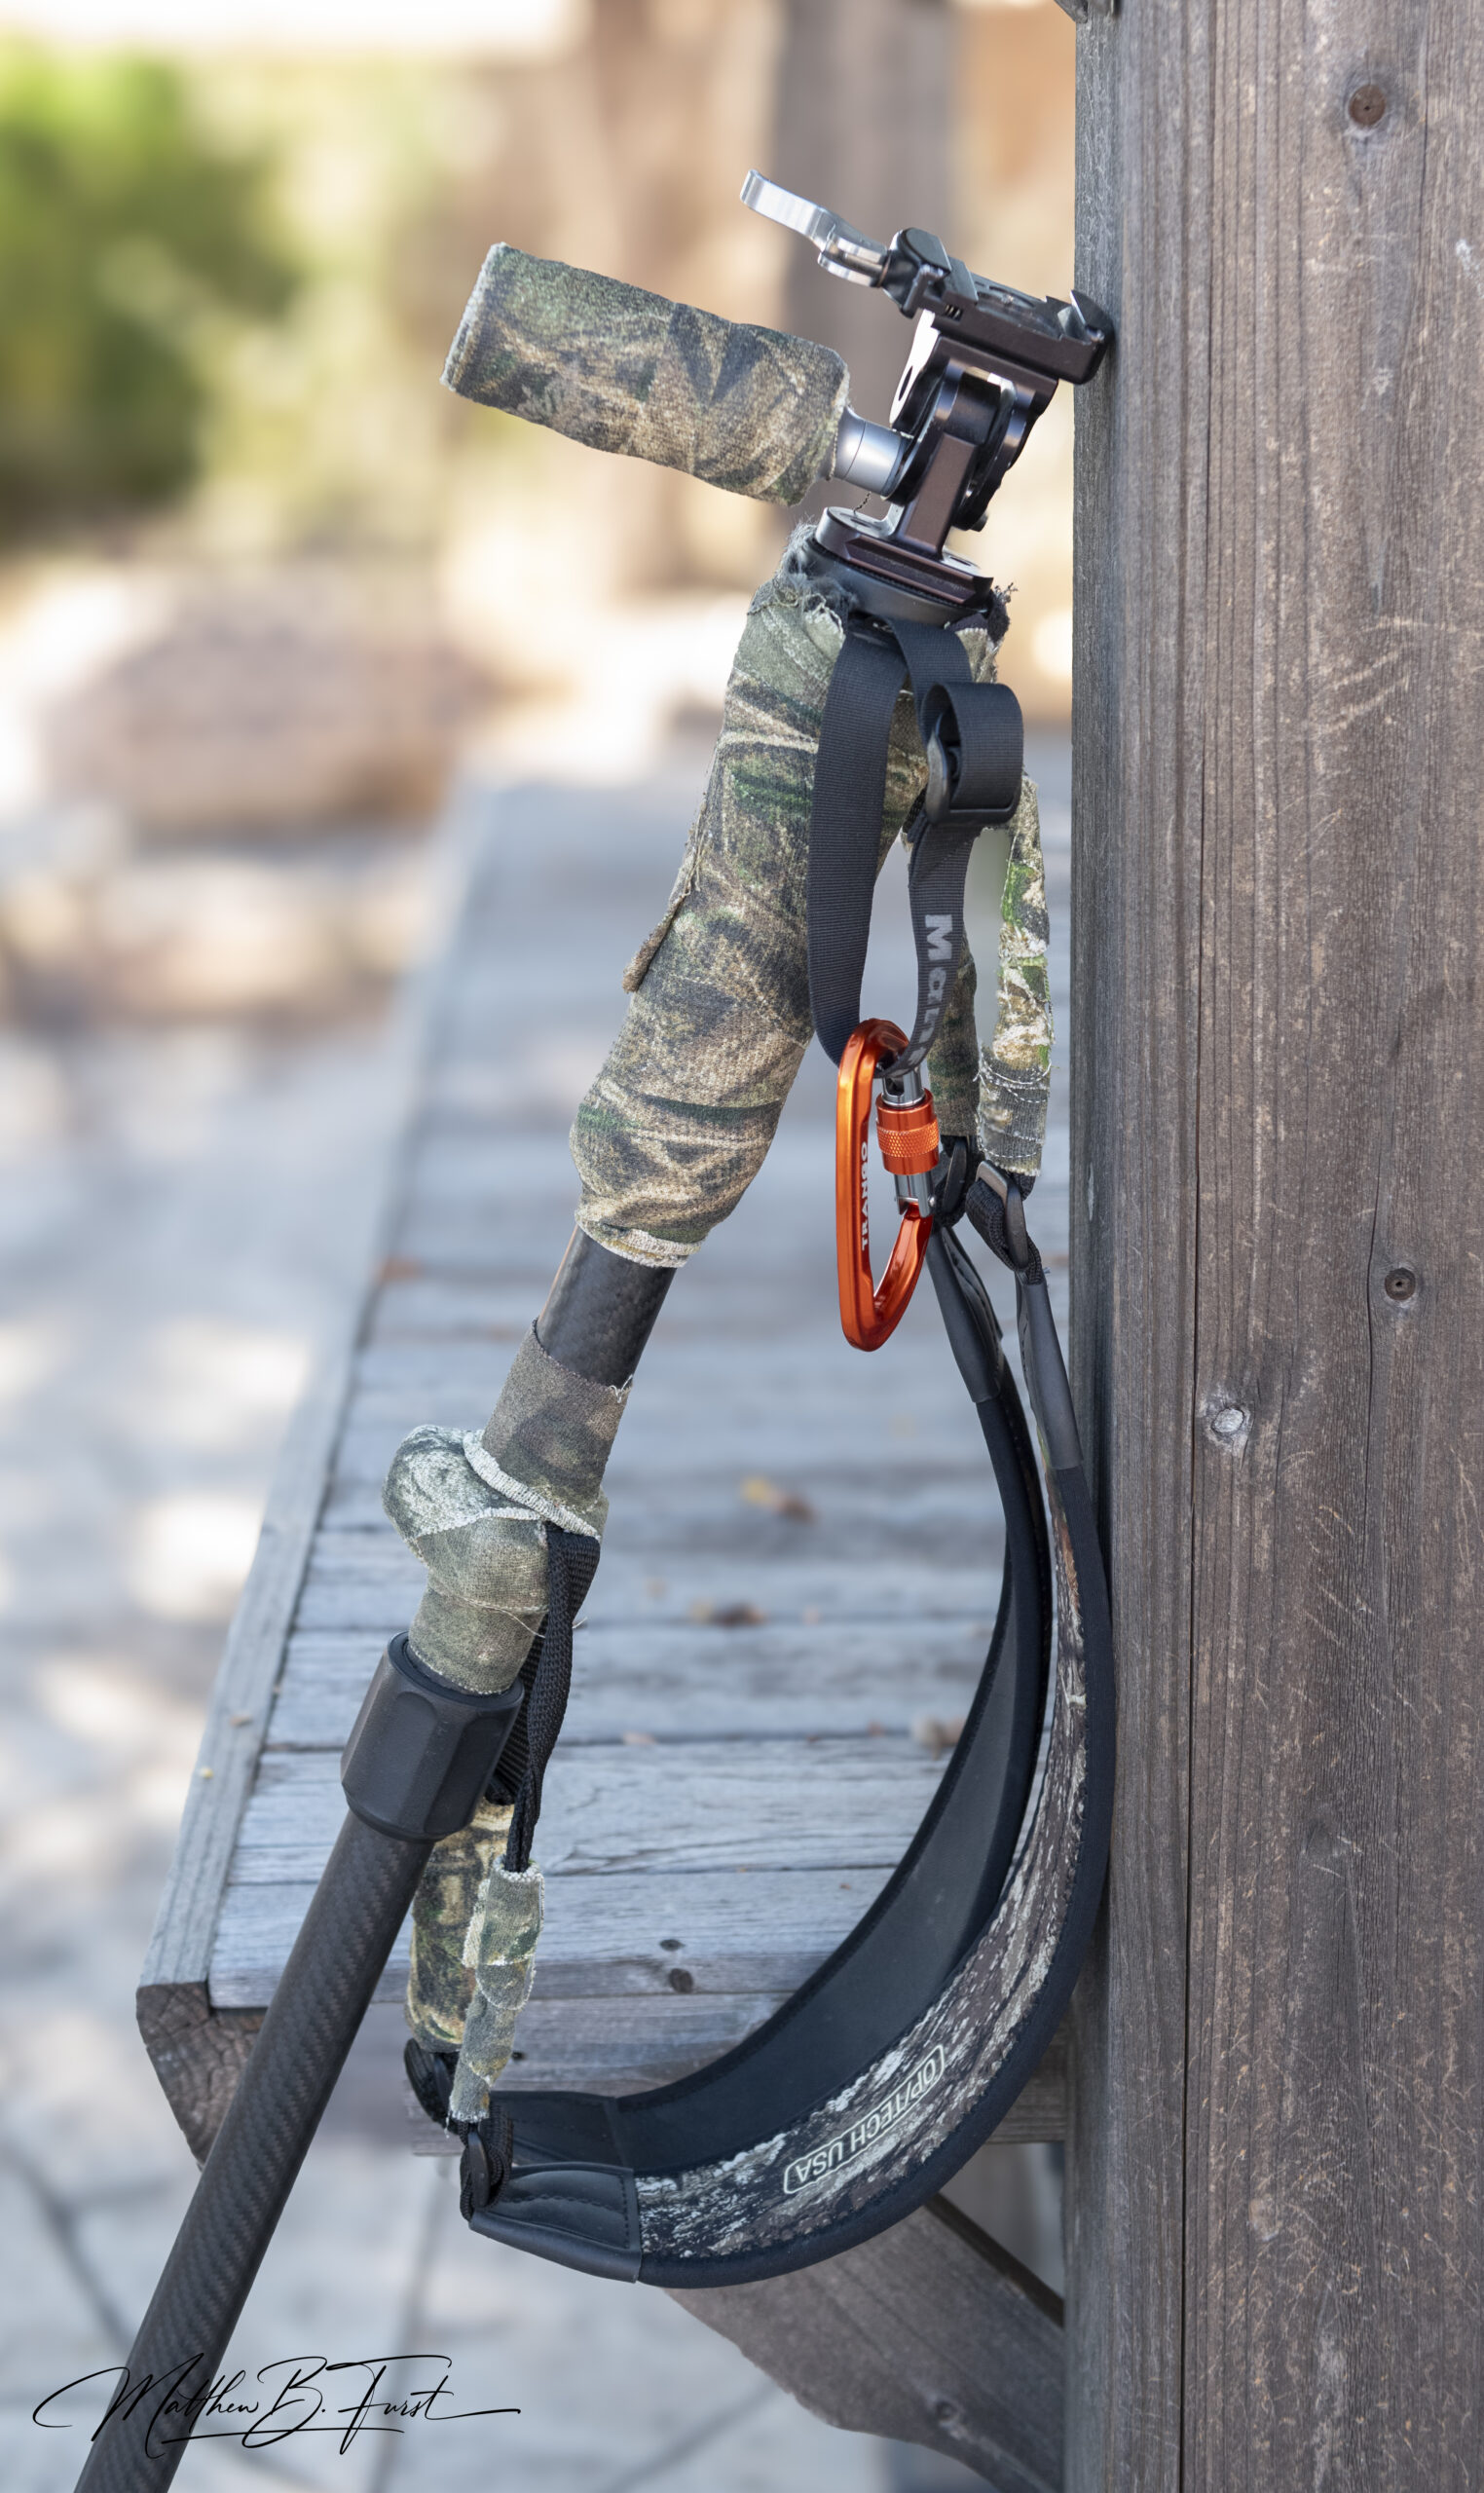
To achieve this, I used OP/TECH USA camo tripod straps. These straps are designed specifically for tripods and incorporate weight-reducing properties that make heavy loads feel up to 50% lighter. The non-slip neoprene backing ensures the strap stays securely on your shoulders, which is crucial when navigating rough terrain or managing other equipment. It’s also possible to carry the monopod comfortably over some distances with the camera and lens attached.
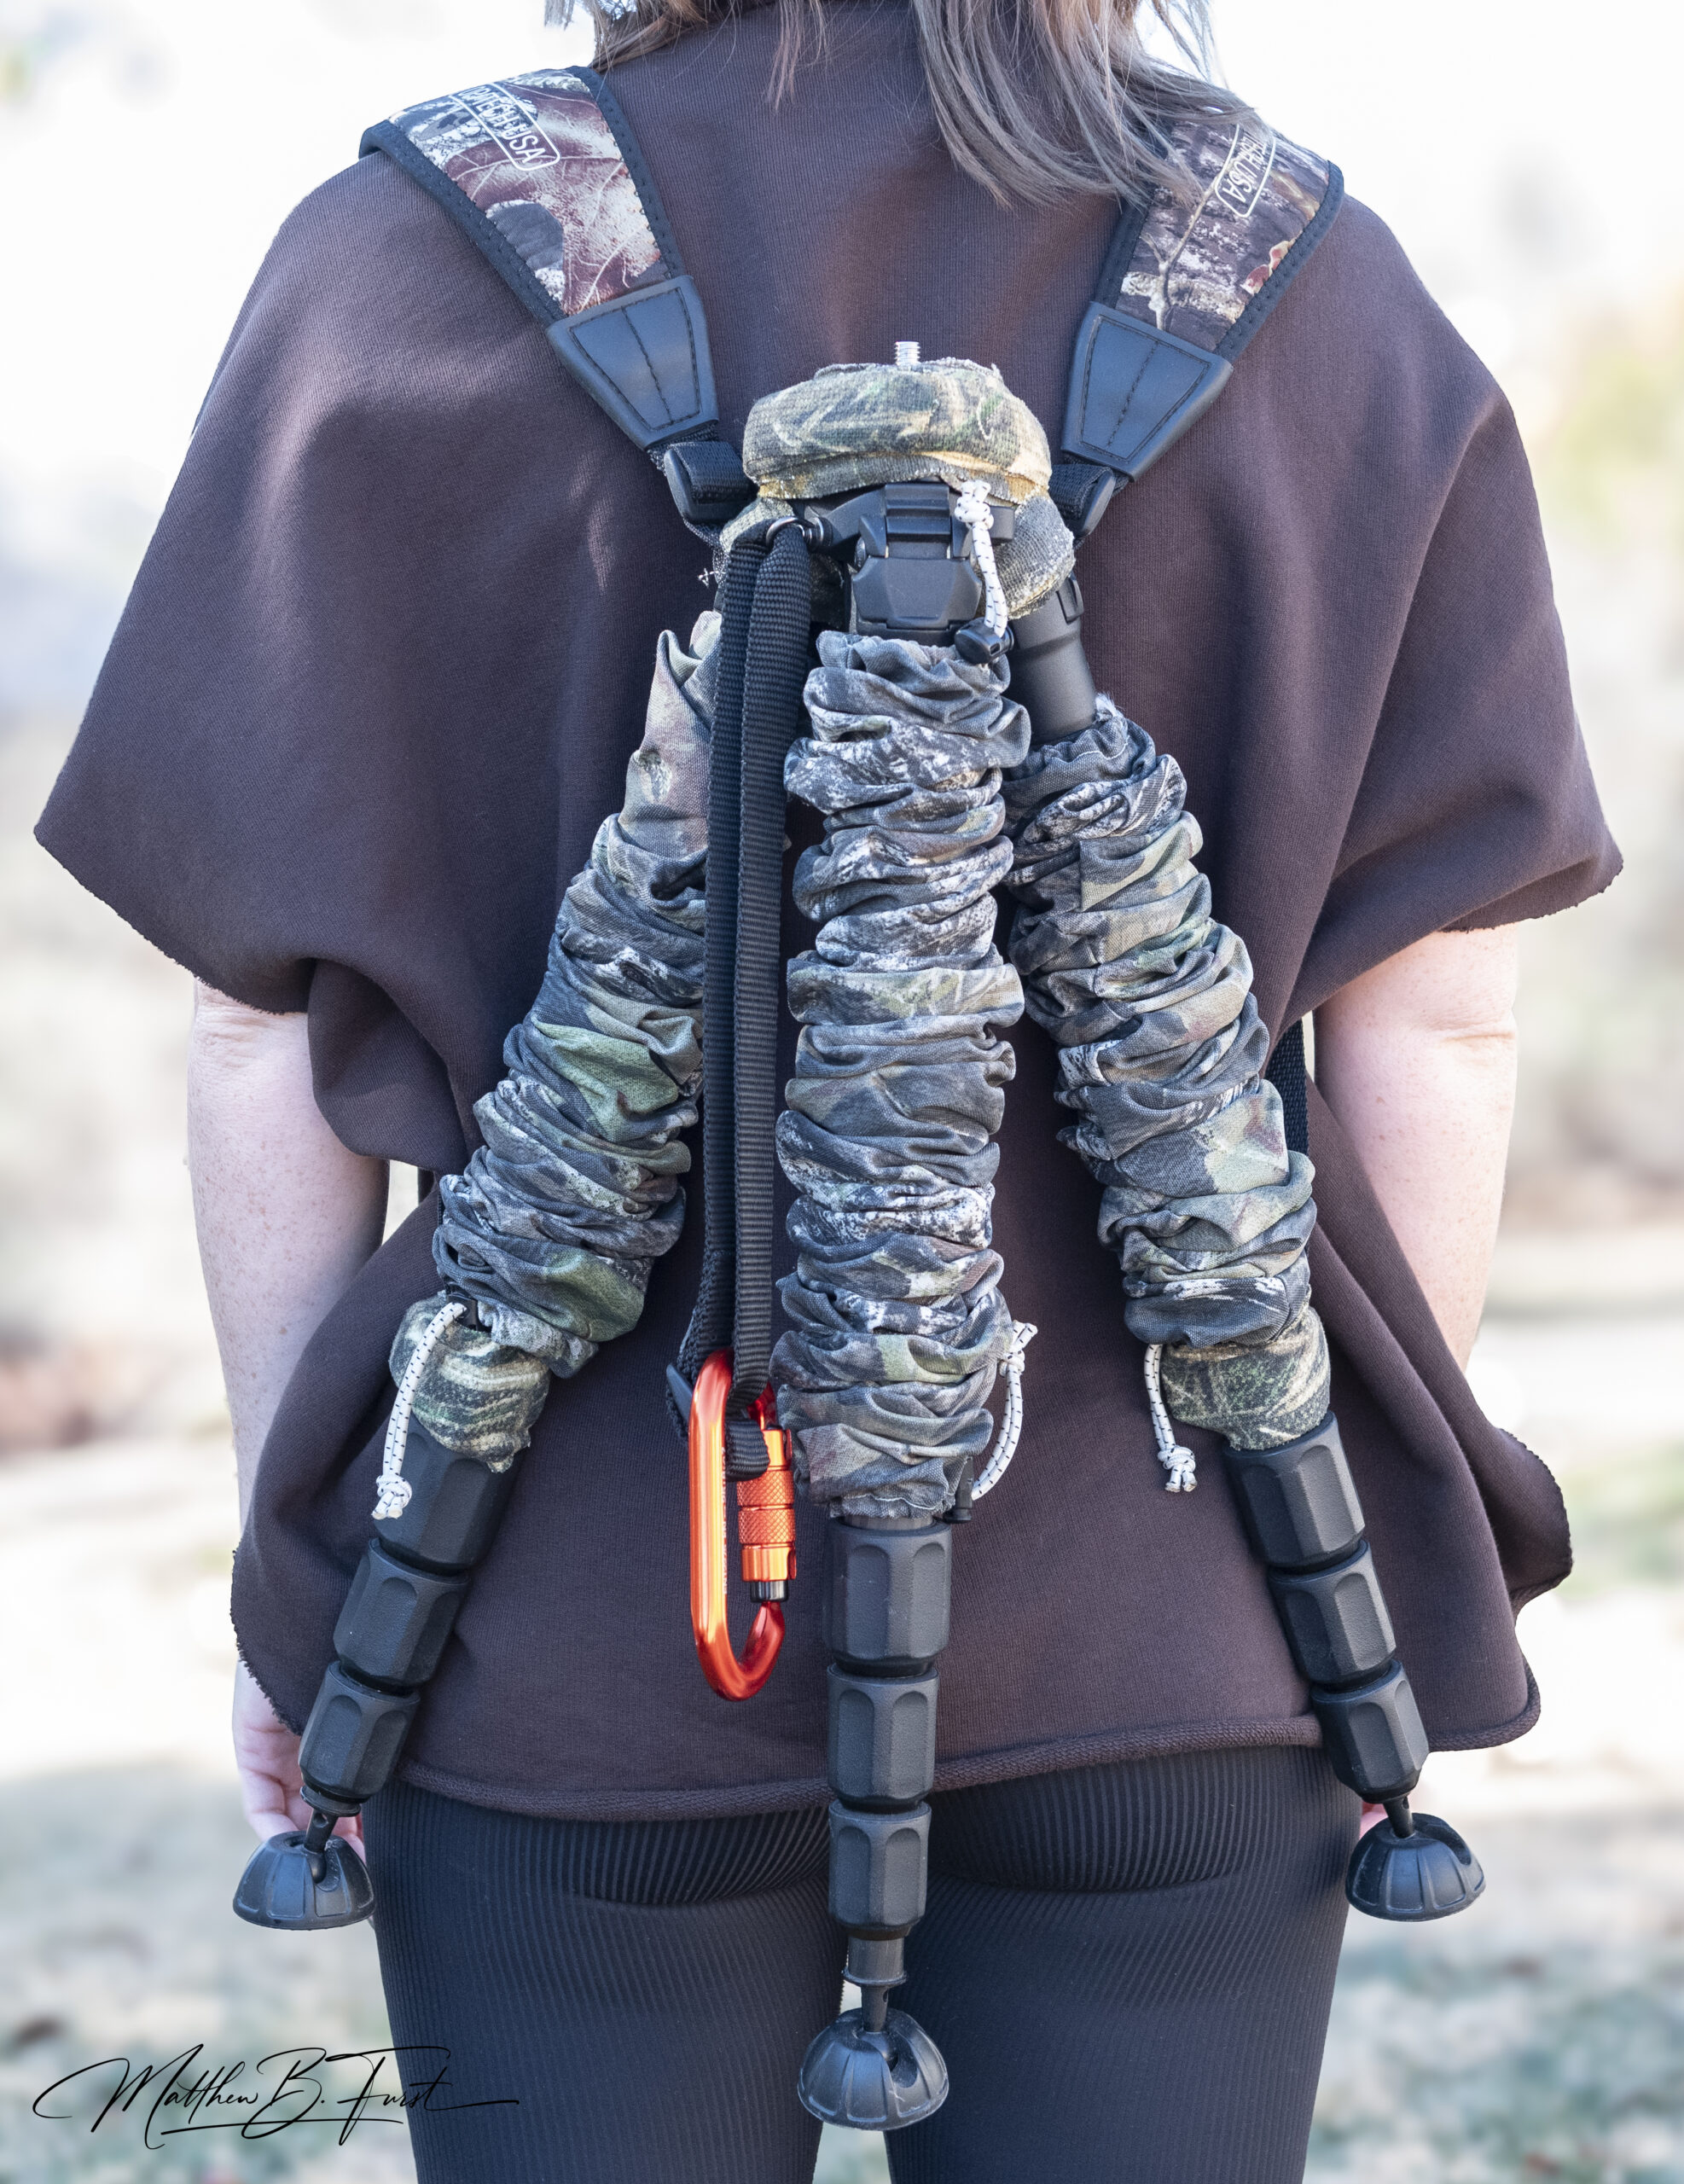
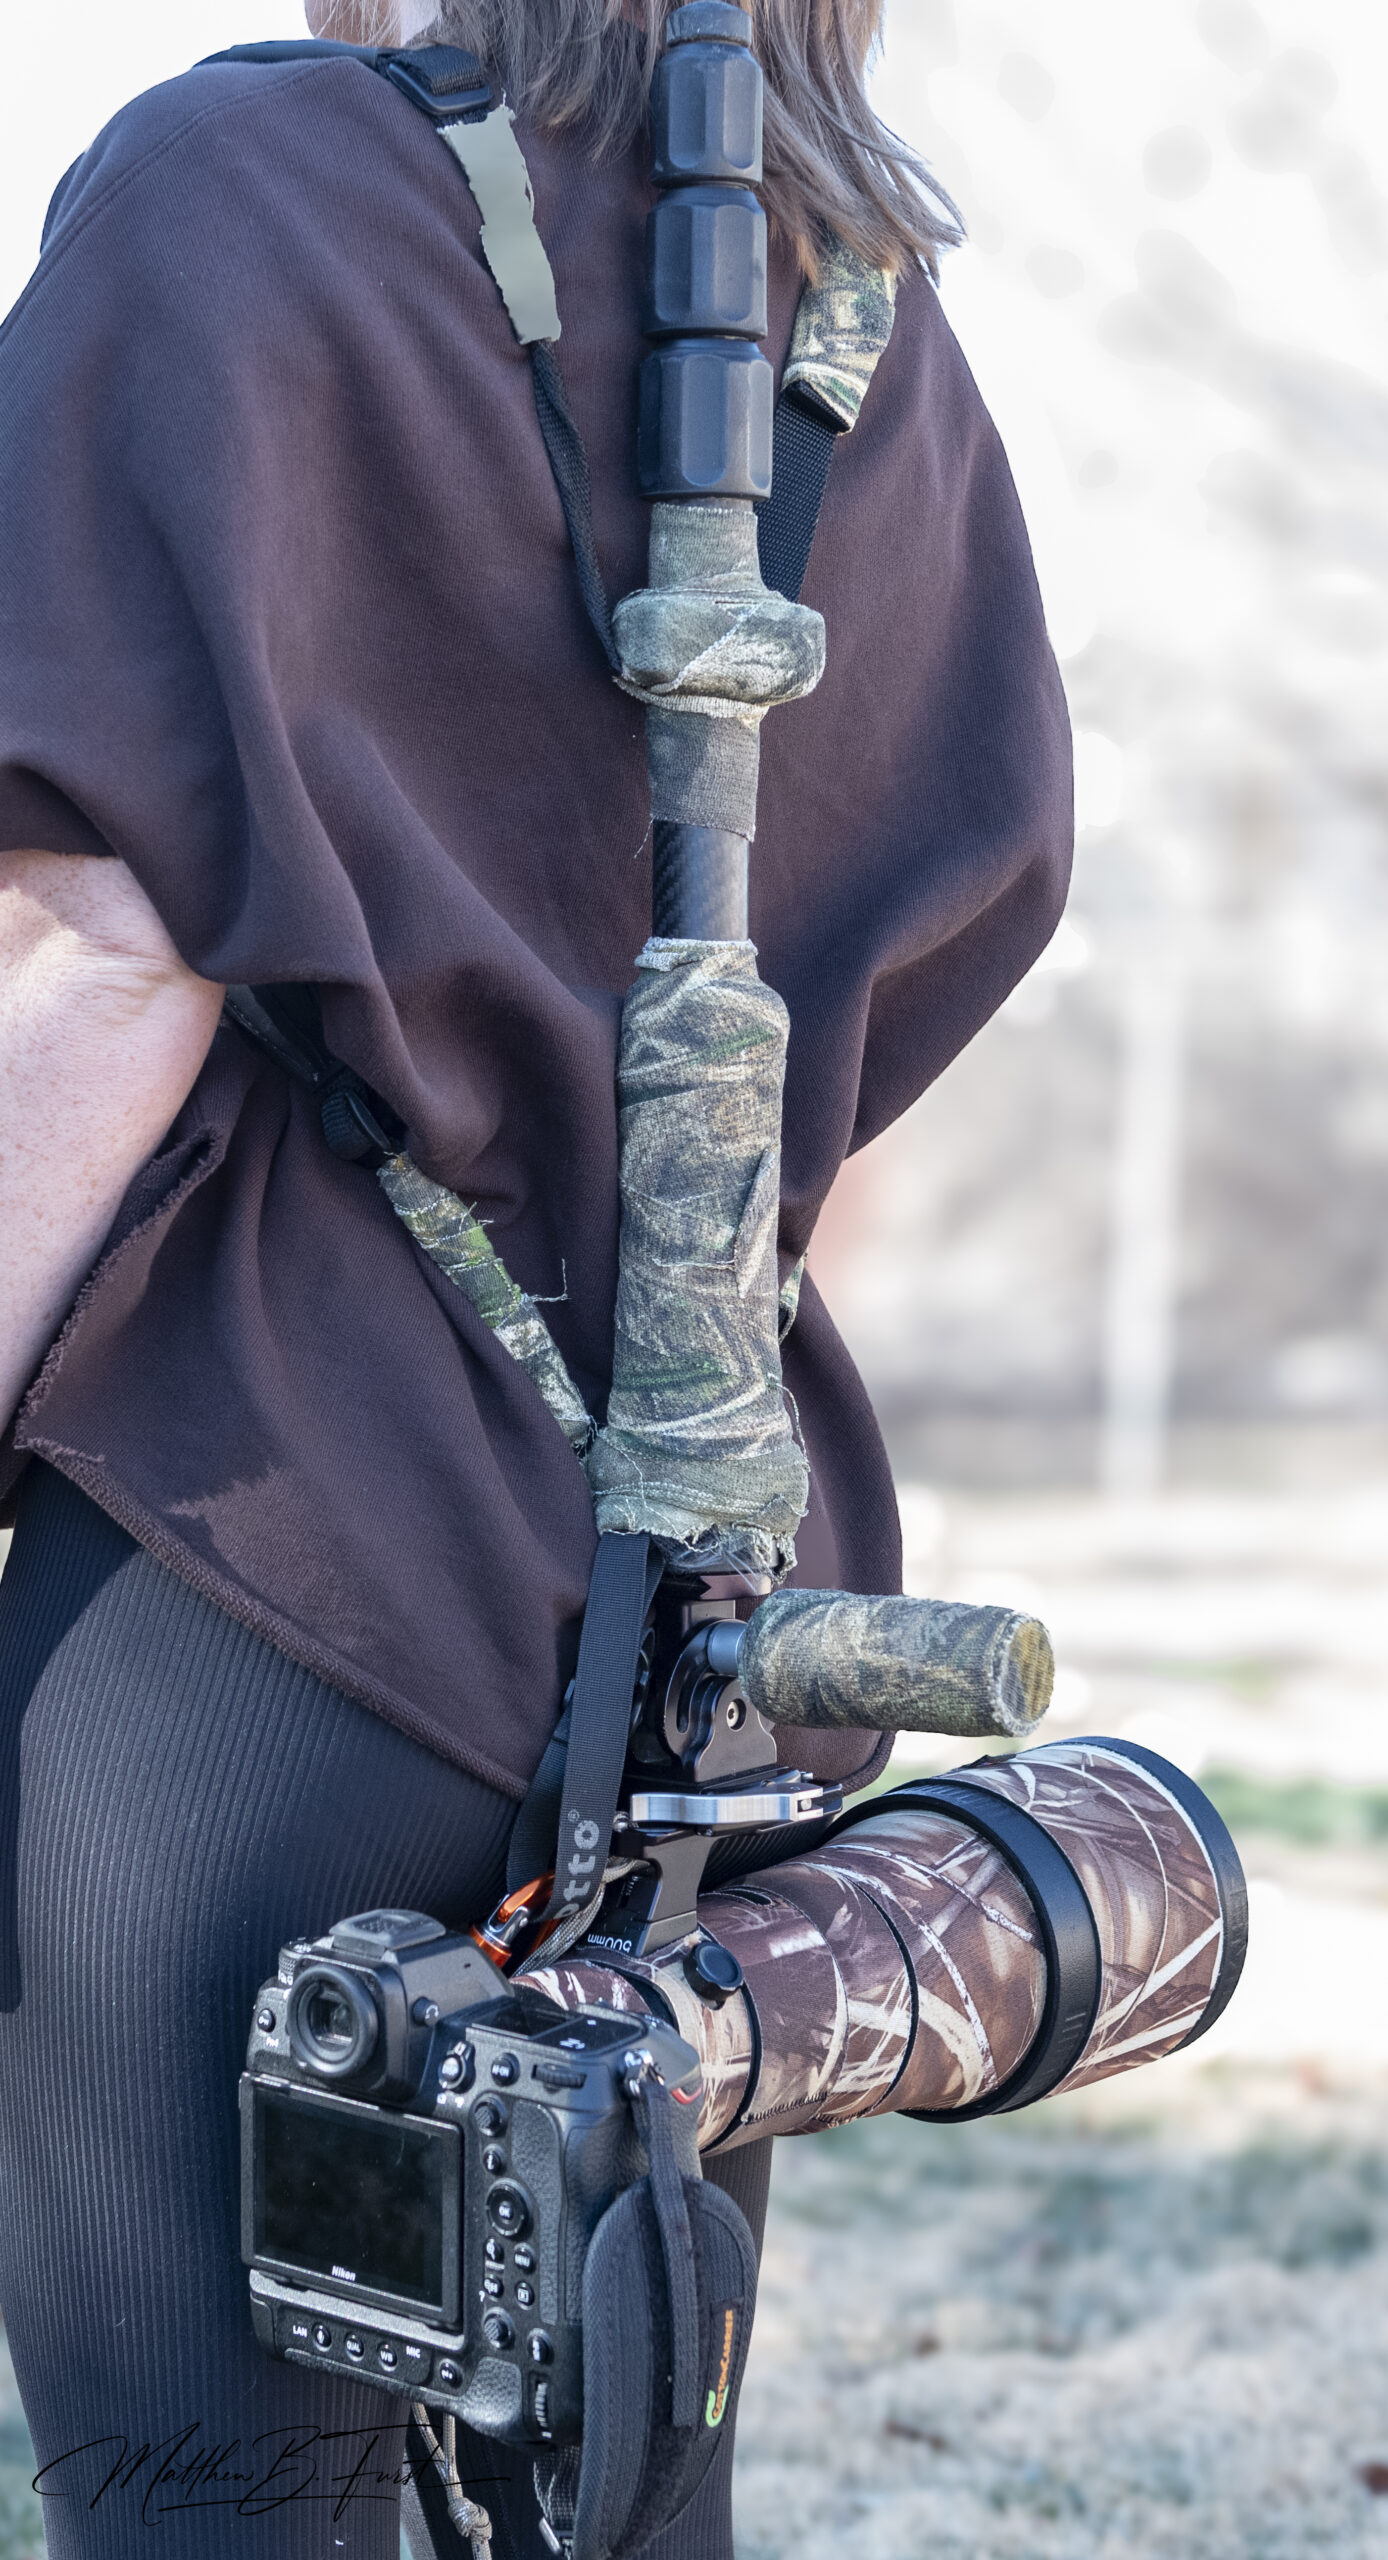
The installation process is straightforward:
- Unfasten the quick disconnect at the top of the strap.
- Wrap the webbing around the tripod’s head or the upper portion of the monopod.
- Refasten the quick disconnect and adjust for a snug fit.
- Repeat the process at the bottom, wrapping the webbing around the folded legs or base of the monopod.
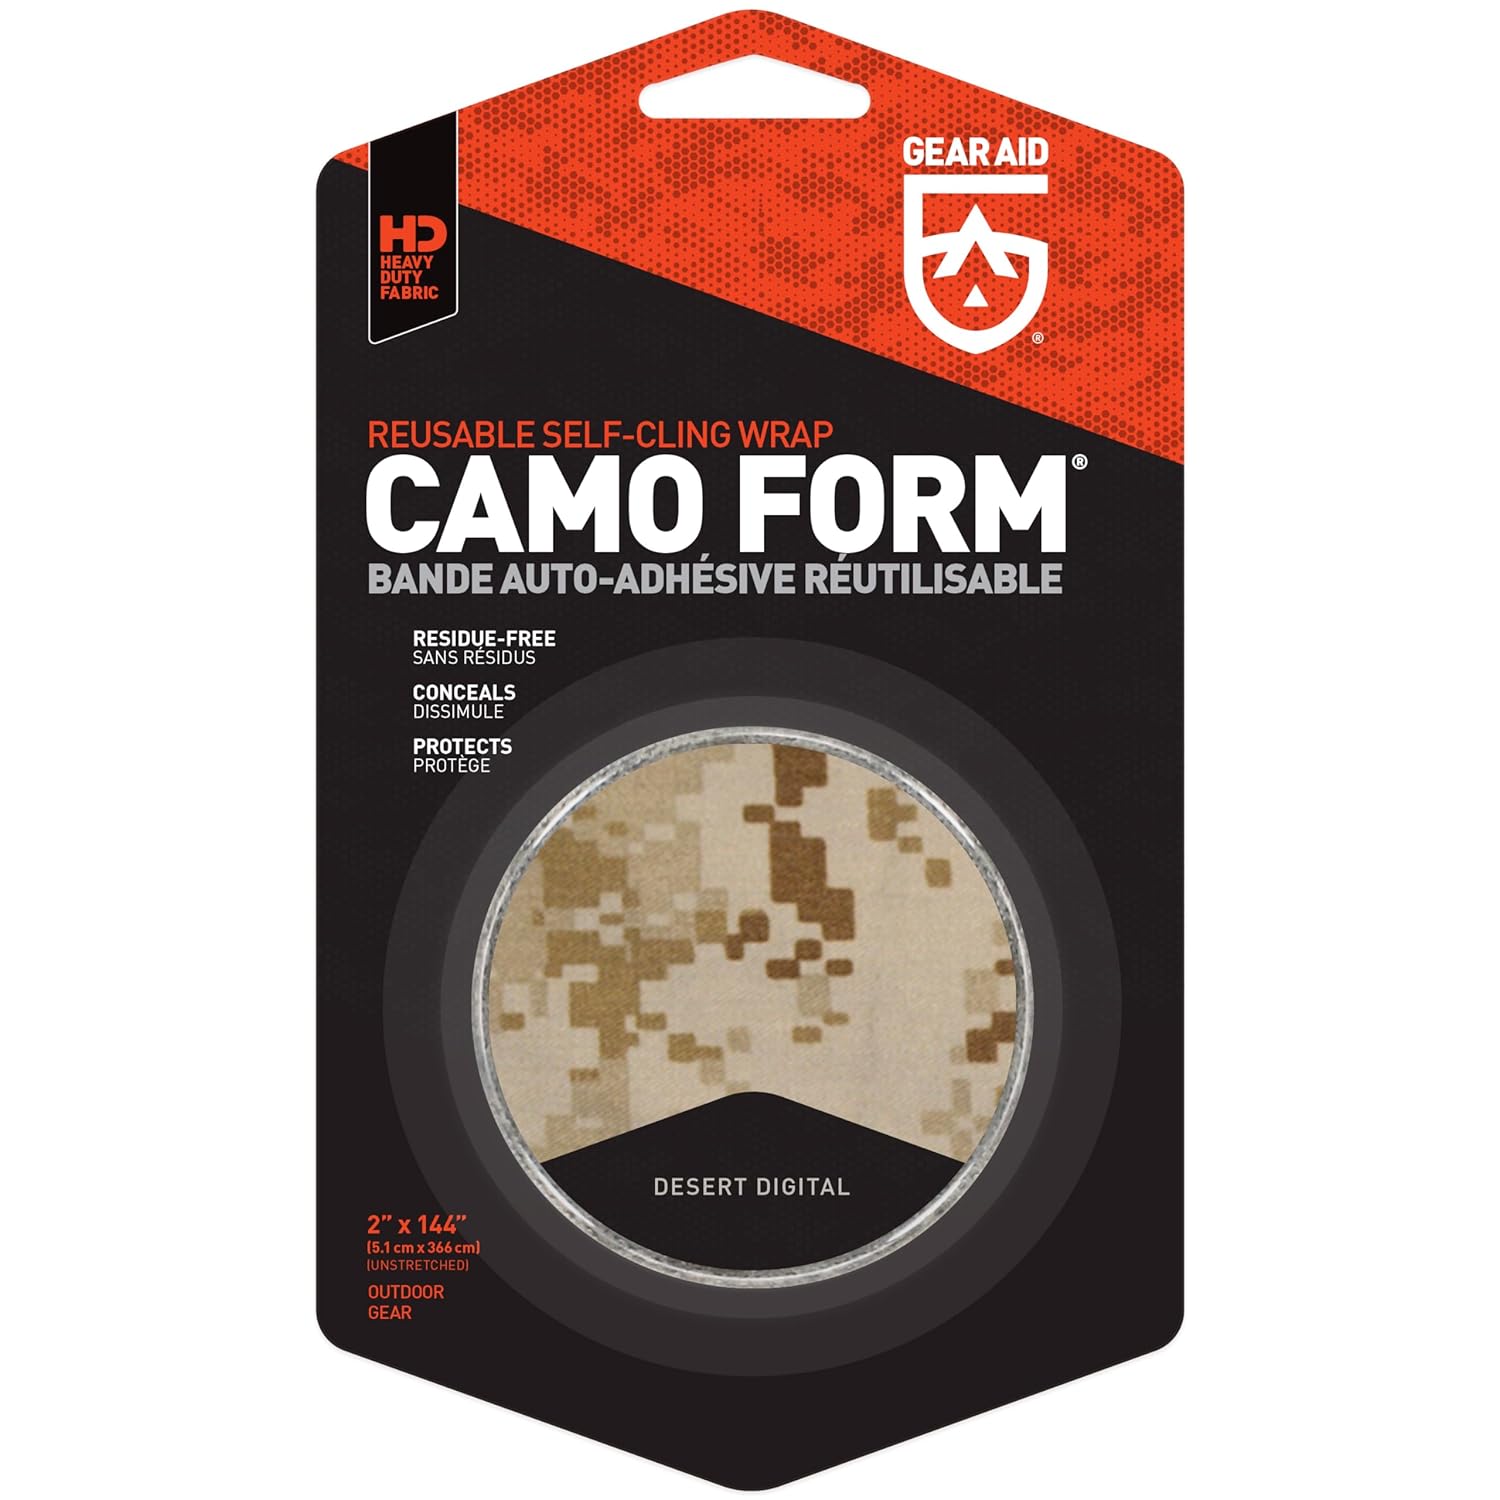
To further customize the appearance and provide additional protection, I wrapped the straps where they attach to the tripod/monopod with camoform tape. This not only helps blend the gear with natural surroundings but also adds a layer of protection ensuring the straps remain in place while providing a cleaner look.
Monopod Heads
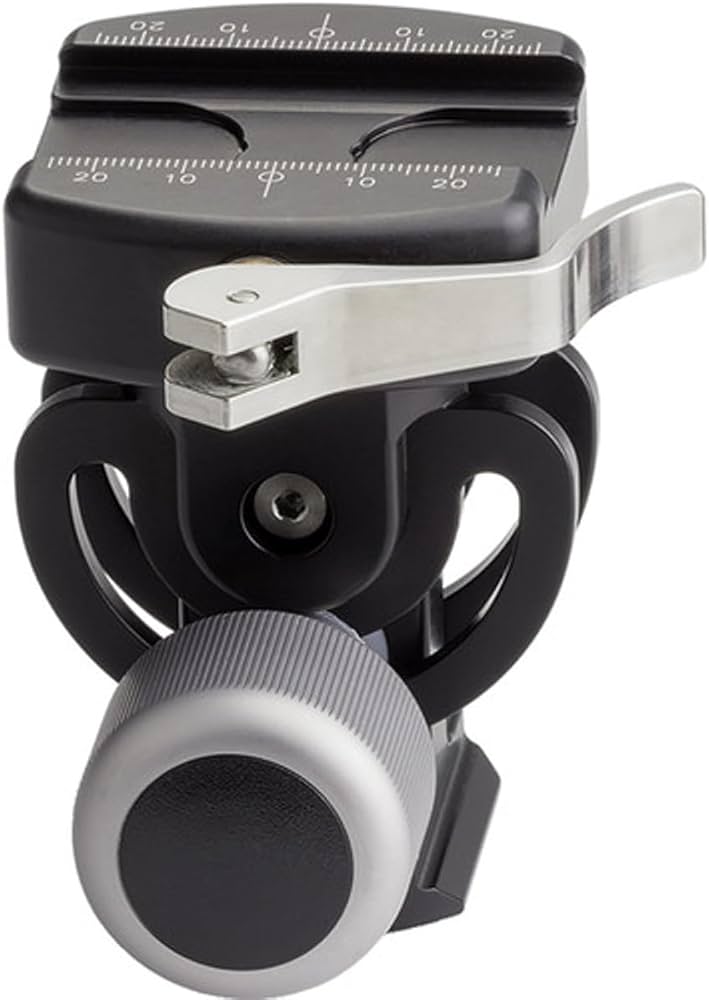
For my monopods, I’ve found that pairing them with Really Right Stuff MH-01 heads and LR-40 clamps has dramatically improved their versatility and stability. The MH-01 is a high-capacity monopod head that supports up to 75 pounds, which is more than sufficient for even the heaviest wildlife photography setups.
The MH-01 allows for smooth tilting movements, which is crucial when tracking fast-moving subjects. The addition of the LR-40 clamp provides a secure and quick-release option for attaching and detaching my camera gear. Additionally, I added a 6-inch piece of 2 1/4-inch PVC pipe to the small handle covered in Camoform tape to augment its functionality. This improves one’s ability to keep the monopod stable, makes fast adjustment easier, and is much warmer to hold onto in the winter.
Installation is simple:
- Screw the MH-01 head onto the top of the monopod.
- Attach the LR-40 clamp to the MH-01 head.
- Ensure all connections are tight and secure.
- Cut a 6-inch piece of 2 1/4-inch PVC pipe.
- Heat one end with a heat gun until soft then push over the knurled knob of the MH-01 handle. Once cool it remains securely in place.
- Cover with Camoform tape.
This combination has significantly improved my keeper rate, especially when using longer lenses in the 600mm to 800mm range. Similar versions of the same head are available from both Kirk Enterprises and Leofoto.
Safety Tethering System
To add an extra layer of security to my setup, I developed a tethering system using paracord and carabiners. This system tethers the lens and camera to the monopod hand strap mount or tripod base. It is simple to connect and disconnect. It effectively protects your expensive equipment from falling completely to the ground should the monopod or gimble head lever release or the small 3/8 inch screw attaching the monopod/tripod to the gimble head give way. It is a simple way of providing peace of mind when working in challenging environments with your monopod or tripod slung over your shoulder.
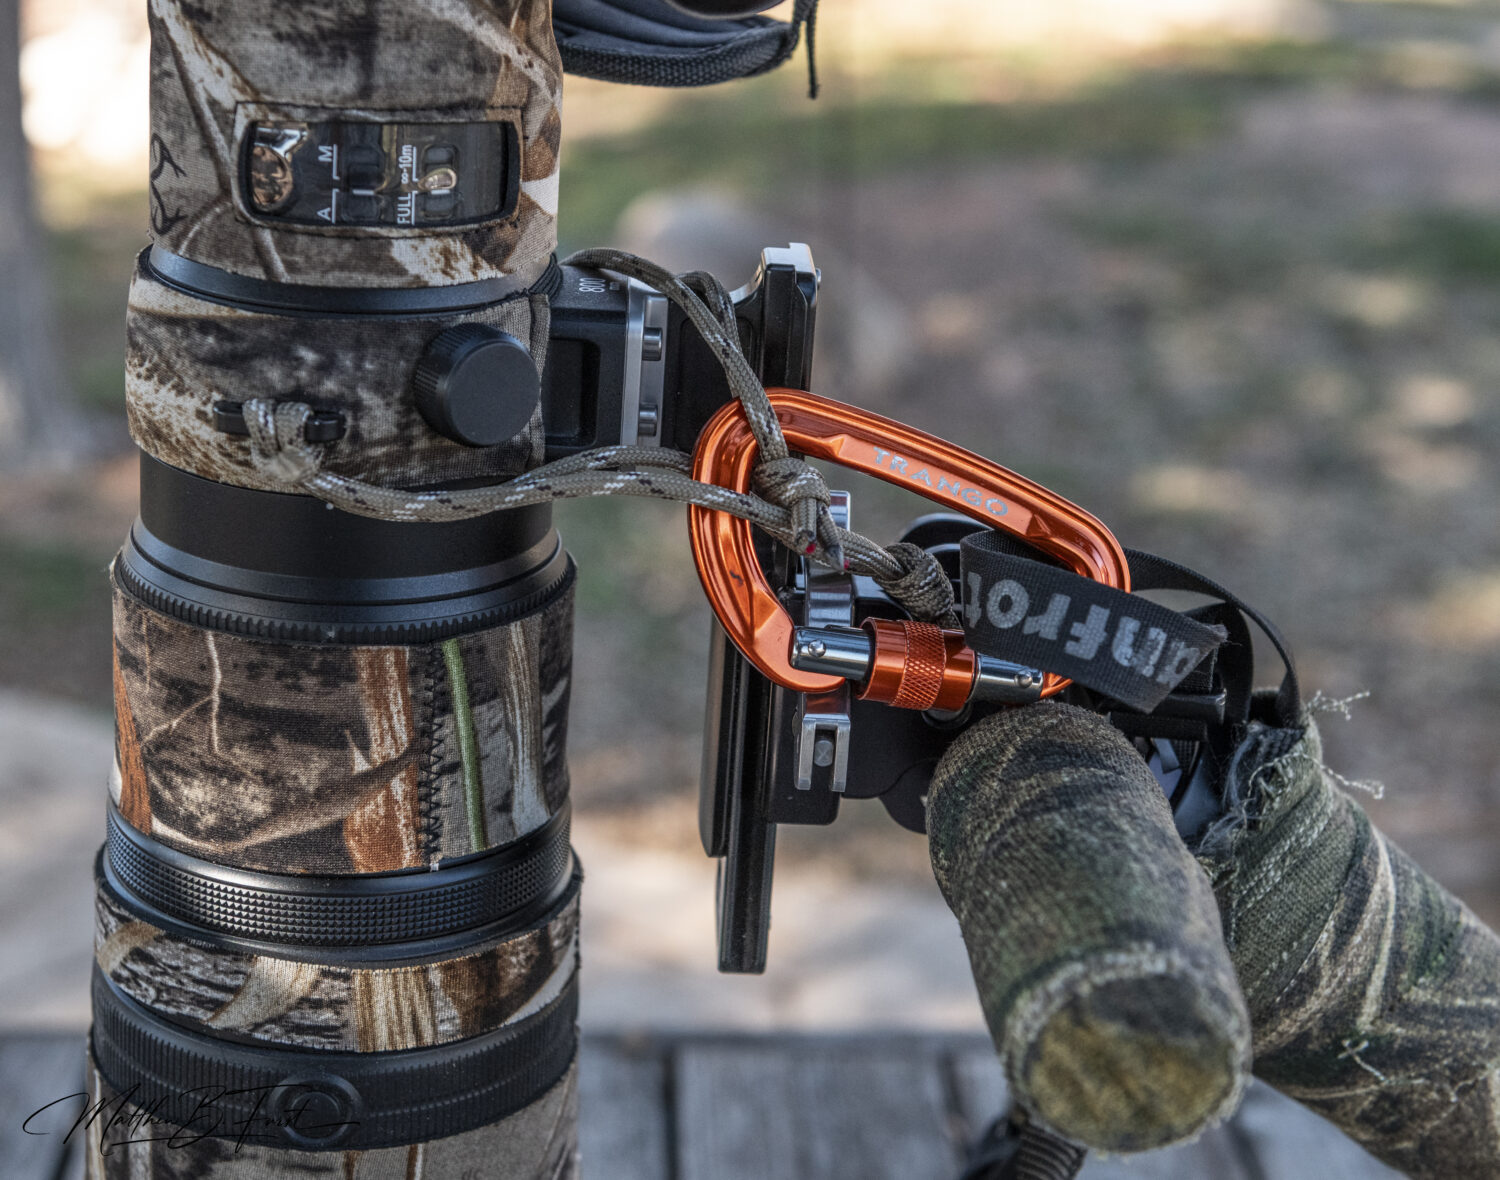
Here’s how I set it up:
- Attach a loop of paracord to each of the lens strap mounts.
- Tie a loop of nylon webbing and secure it to the base of the monopod through the carry strap mount. The strap itself works well.
- For the tripod secure a length of nylon webbing to the base using a screw-in tripod strap attachment. These are widely available on the internet.
- Ensure the loops in the paracord and nylon webbing are of appropriate lengths to allow unrestricted movement of the lens and camera body, but short enough to prevent the camera and lens from striking the ground should something unexpected occur.
- Use a carabiner to connect these webbing loops to the paracord loops on the lens and camera.
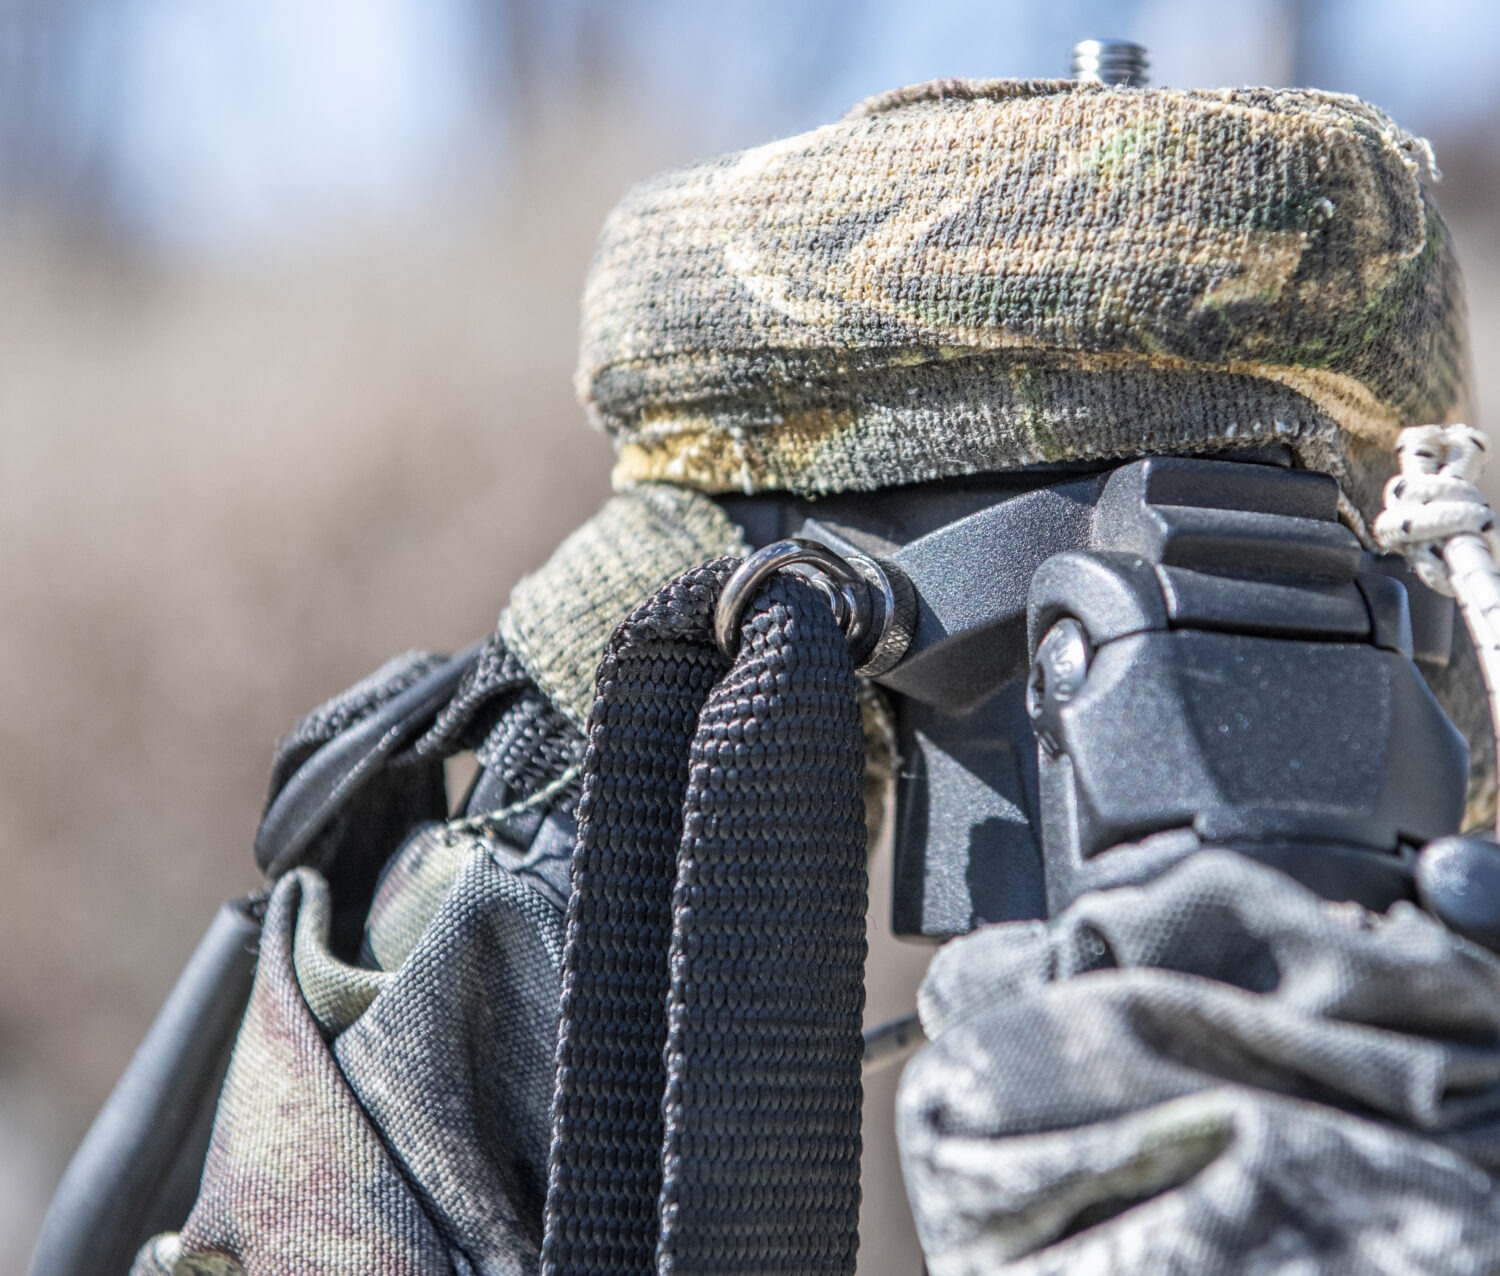
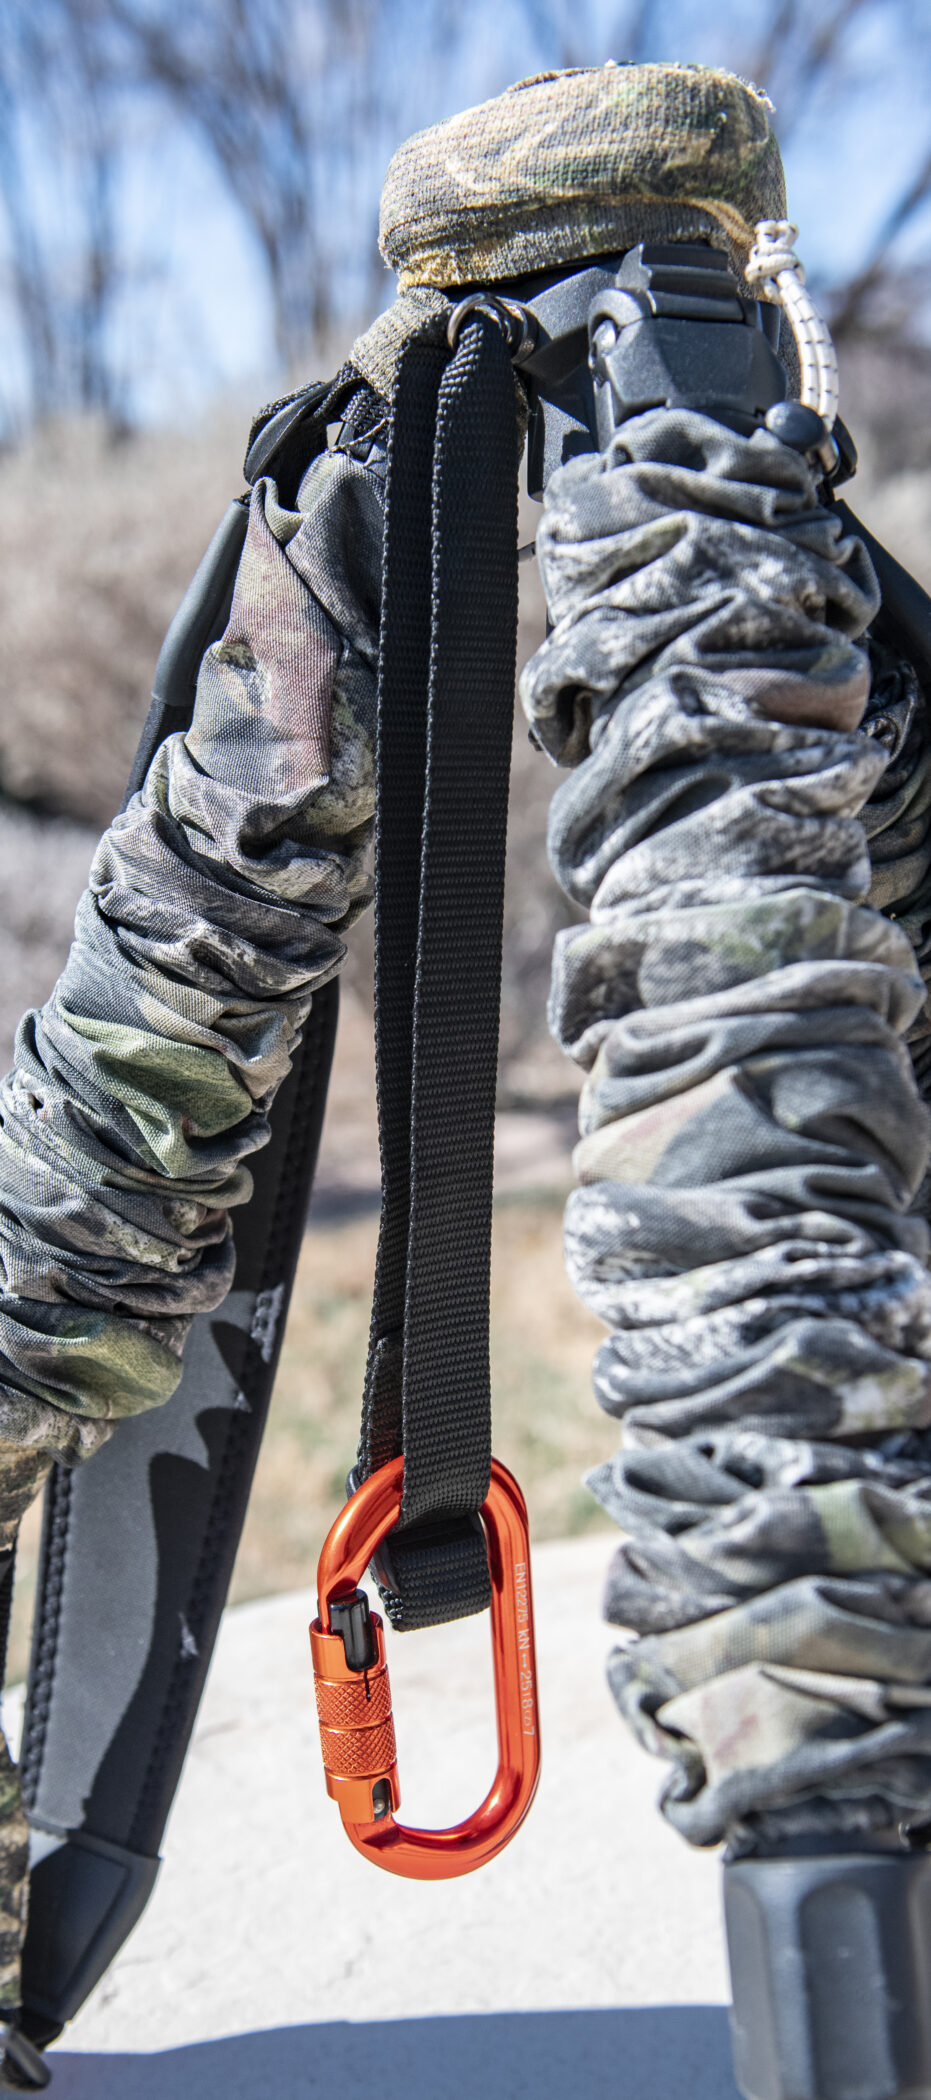
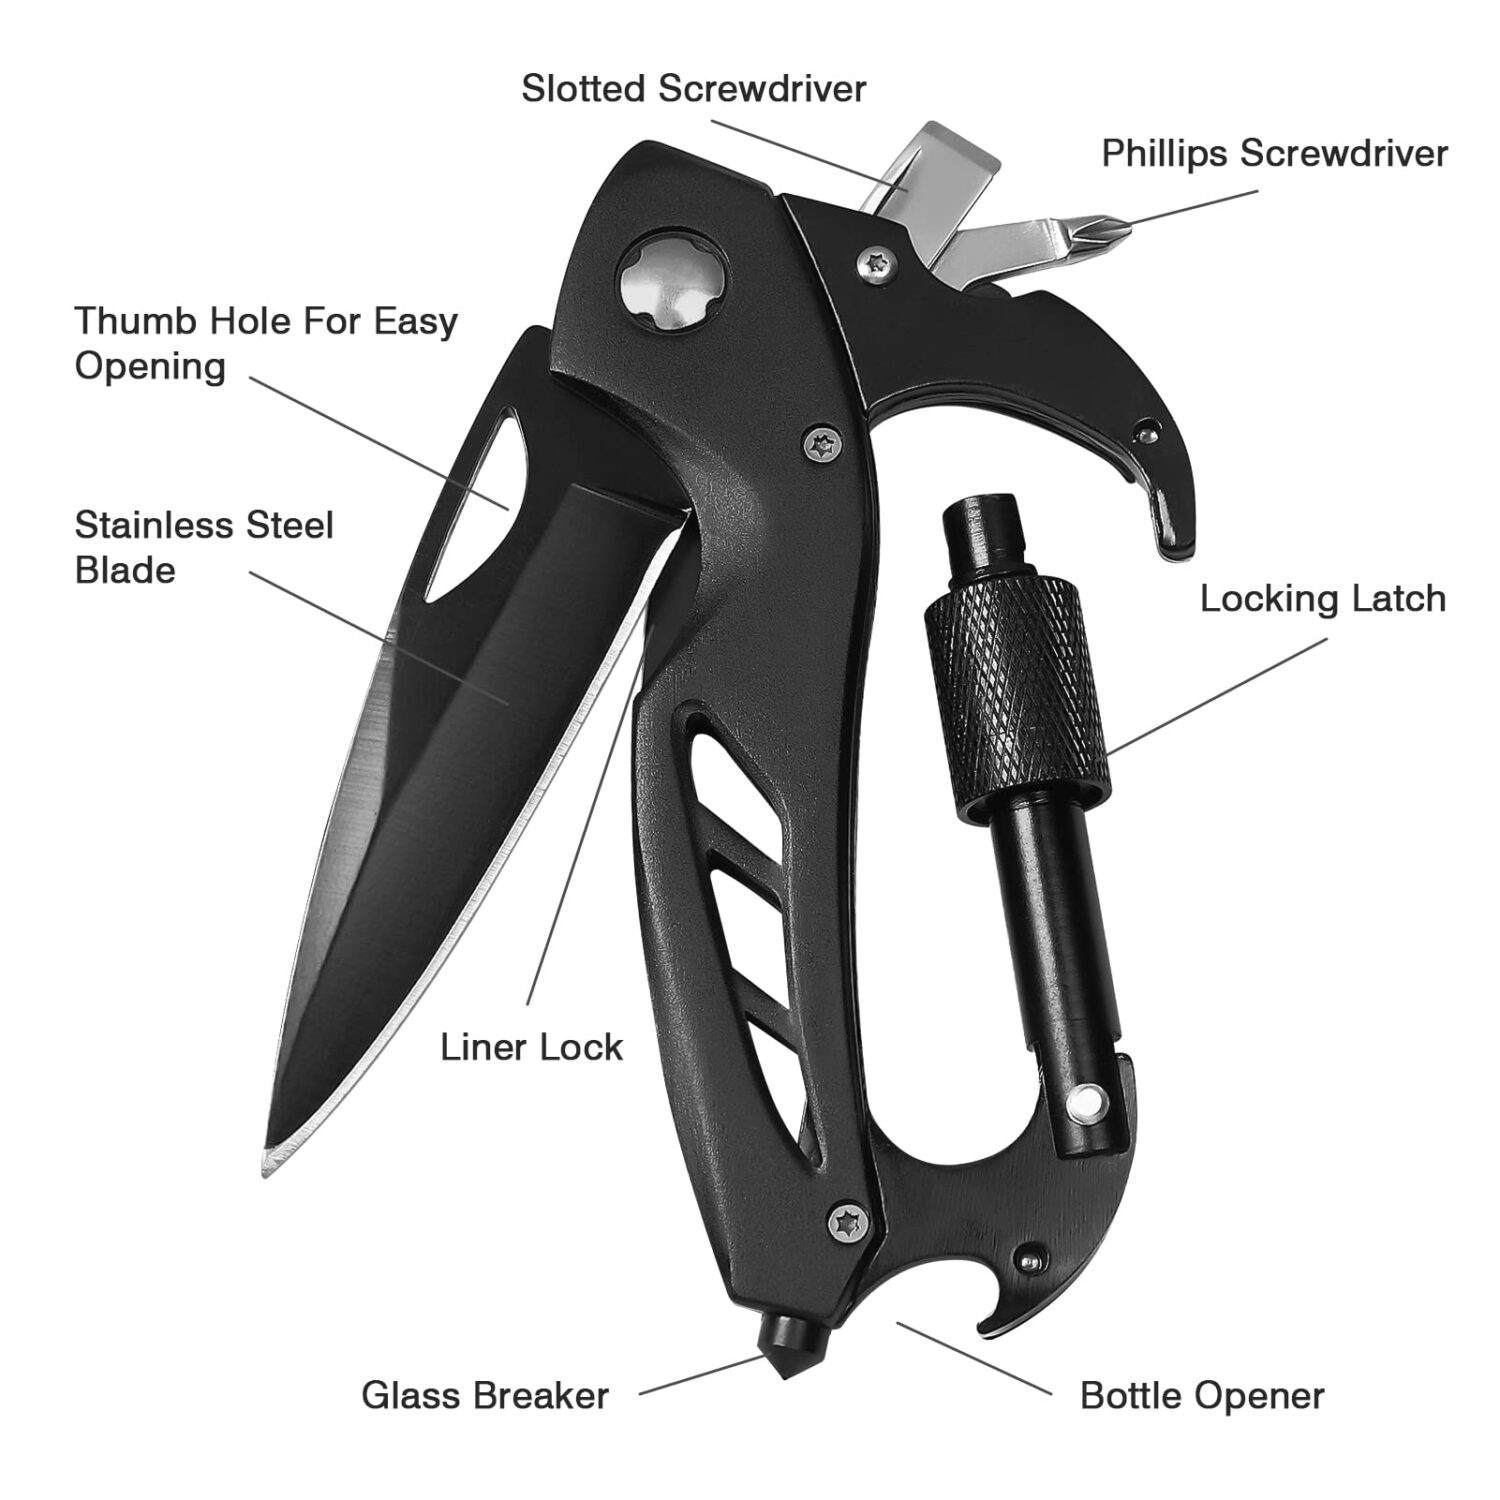
On one of my setups, I use a multitool carbiner which can come in handy in the field as well. This tethering system allows for quick attachment and detachment while ensuring that even if the clamp or screw were to fail, the gear would remain safely tethered to the monopod/tripod and prevent it from falling to the ground.
Enhanced Shoulder Padding
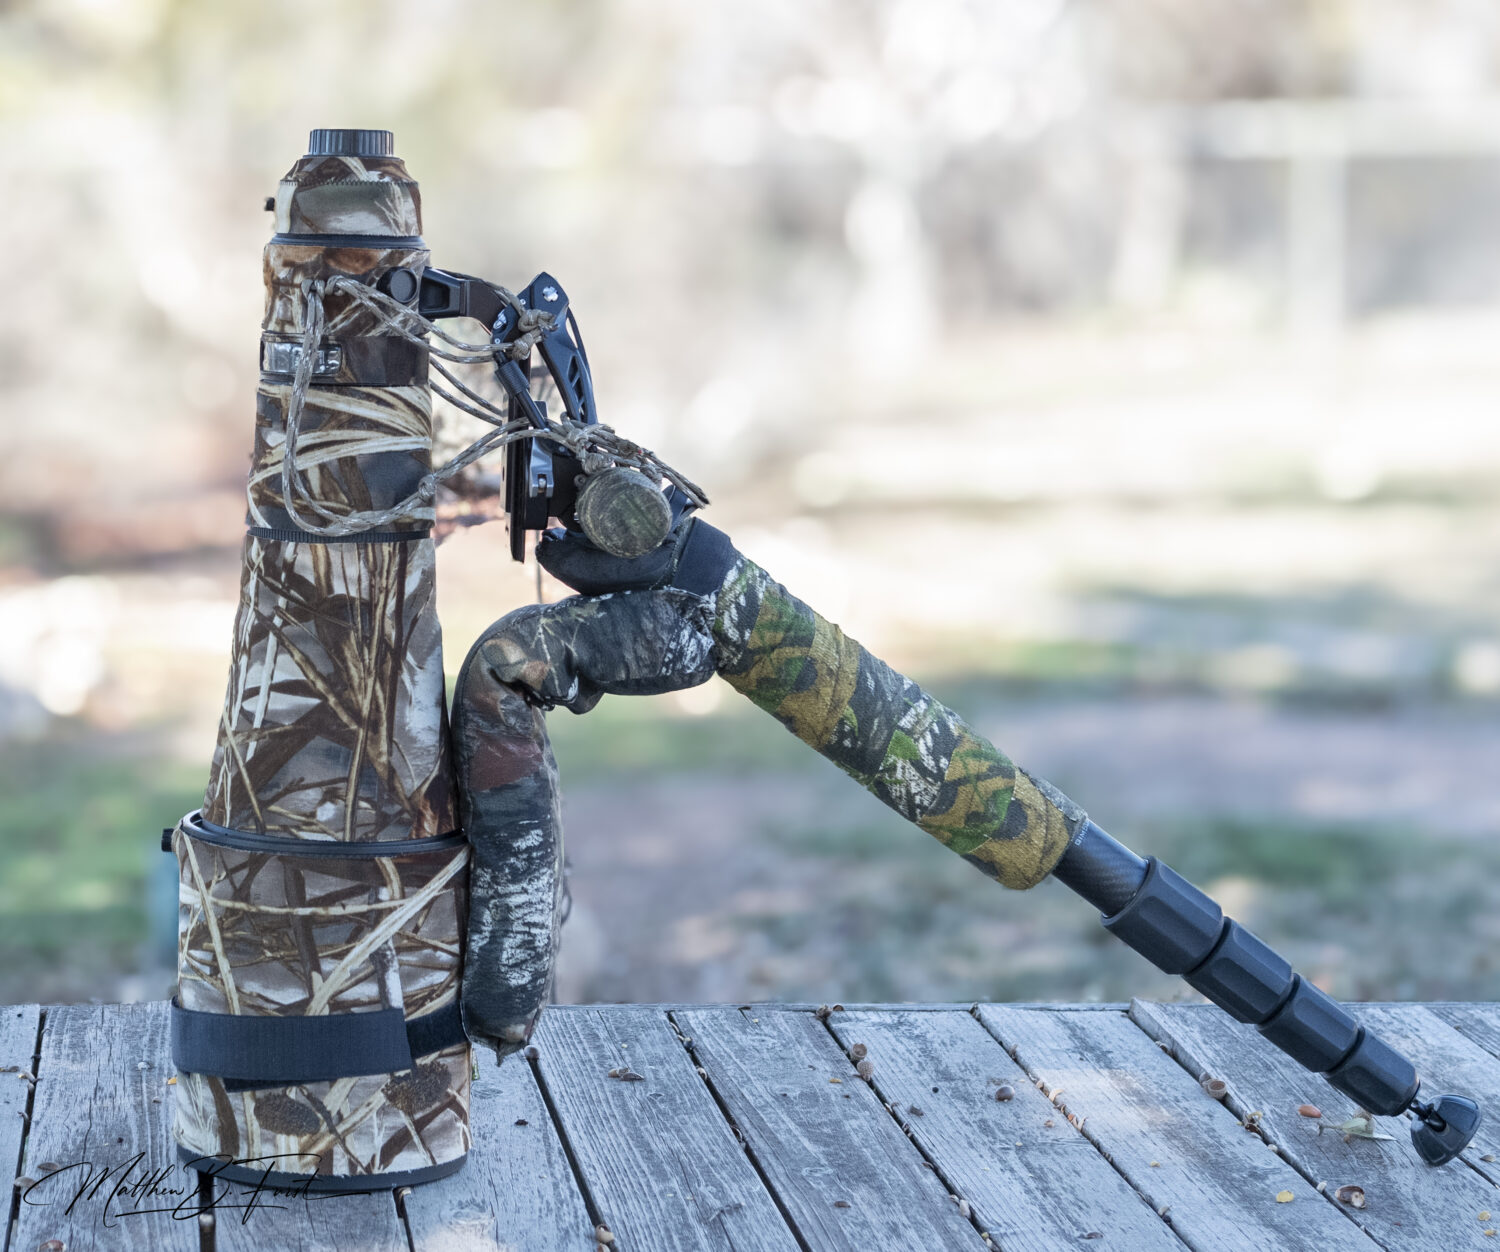
When using my monopod setup, I traditionally carry it resting on my shoulder. This provides the most versatile position to rapidly go from carrying to shooting. While most monopods provide excellent weight distribution and a soft foam handle, I’ve found that additional padding is easier on your shoulder and more beneficial for extended use. To achieve this, I applied additional padding to the handle using foam rubber and camoform tape for both my monopods. In addition, for my larger monopod and heavier 600 f4 lens, I created a custom pad with camouflage fabric secured to the monopod and lens with velcro straps which provide easy on, easy off versatility.
The process is as follows:
For the monopod handle:
- Cut a piece of foam rubber to the desired size and shape the length of the handle.
- Wrap the foam rubber with camoform tape, ensuring smooth and even coverage.
For the larger monopod:
- Using camouflage fabric, fashion a rectangle pouch long enough to span the gap between the monopod head and lens.
- Fill the pouch with foam rubber.
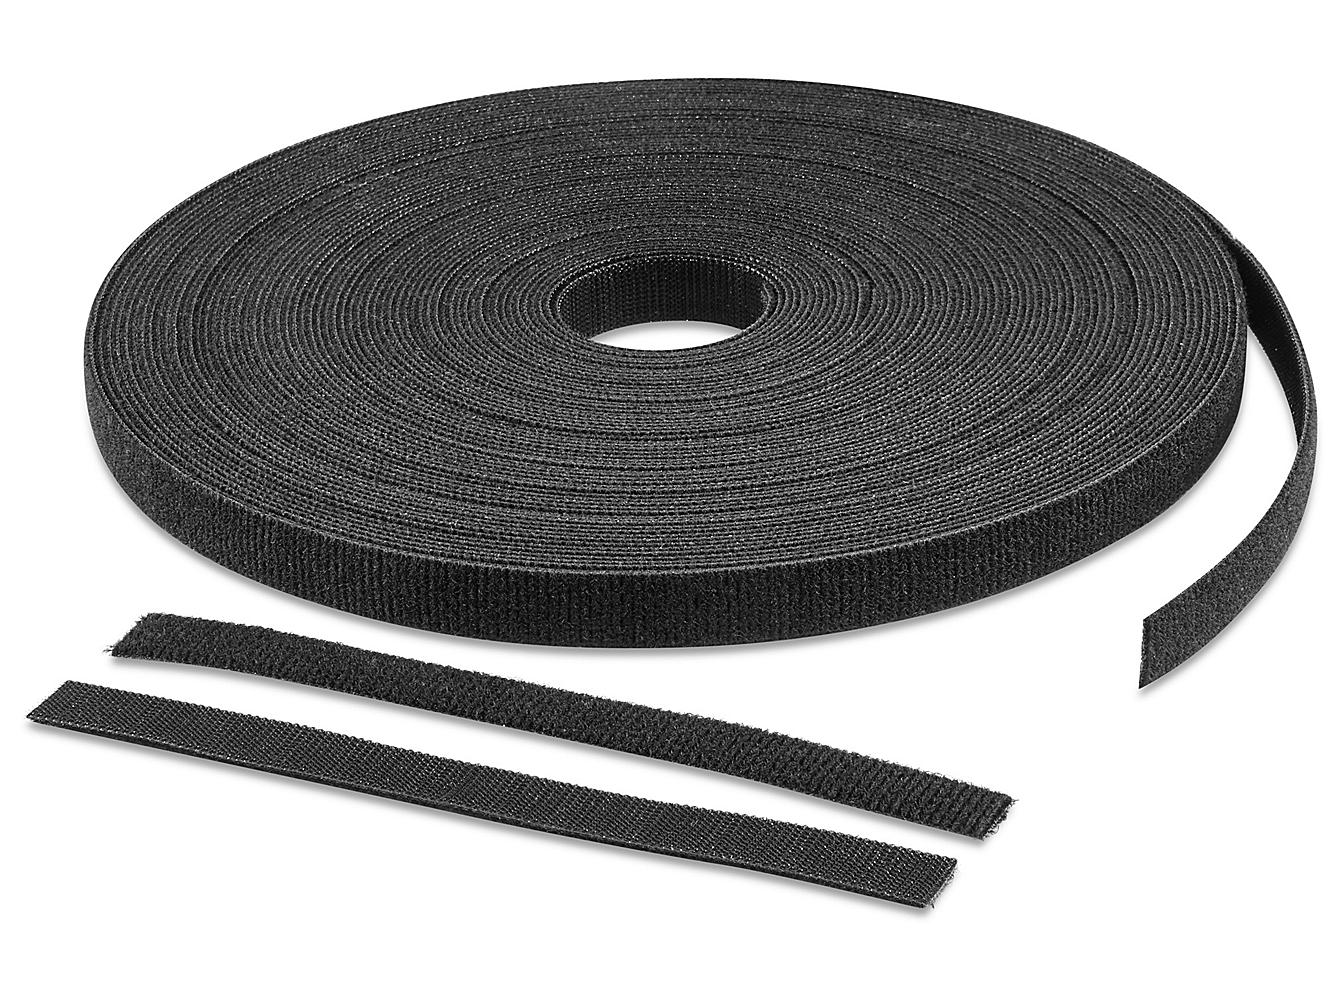
- Secure velcro straps to each end.
- Secure one end to the lens, and the other to the monopod using the velcro straps.
This extra padding has made a significant difference during long days in the field, reducing fatigue and preventing the strap from digging into my shoulder.
Customizing Leg covers
Custom camouflage leg covers for tripods are specialized protective accessories designed to shield and conceal tripod legs during outdoor photography, wildlife observation, and hunting applications. These custom-fitted sleeves are meticulously crafted to blend seamlessly with natural environments while protecting expensive tripod components from dirt, moisture, and potential scratches.
How I did it
The leg covers were created through the following steps:
- Select durable, weather-resistant camouflage fabric with appropriate pattern
- Cut fabric into precise cylindrical tubes matching specific tripod leg dimensions
- Serge or double-stitch fabric edges for reinforced durability
- Install elastic drawstrings at the top and bottom openings
- Test fit and adjust for smooth function.
Functional Benefits
These custom leg covers serve dual purposes: they provide critical environmental camouflage by breaking up the tripod’s geometric silhouette while simultaneously protecting expensive carbon fiber or aluminum legs from abrasion, mud, and sand. By matching surrounding vegetation patterns, the covers help photographers maintain a low visual profile.
Tripod camouflage covers
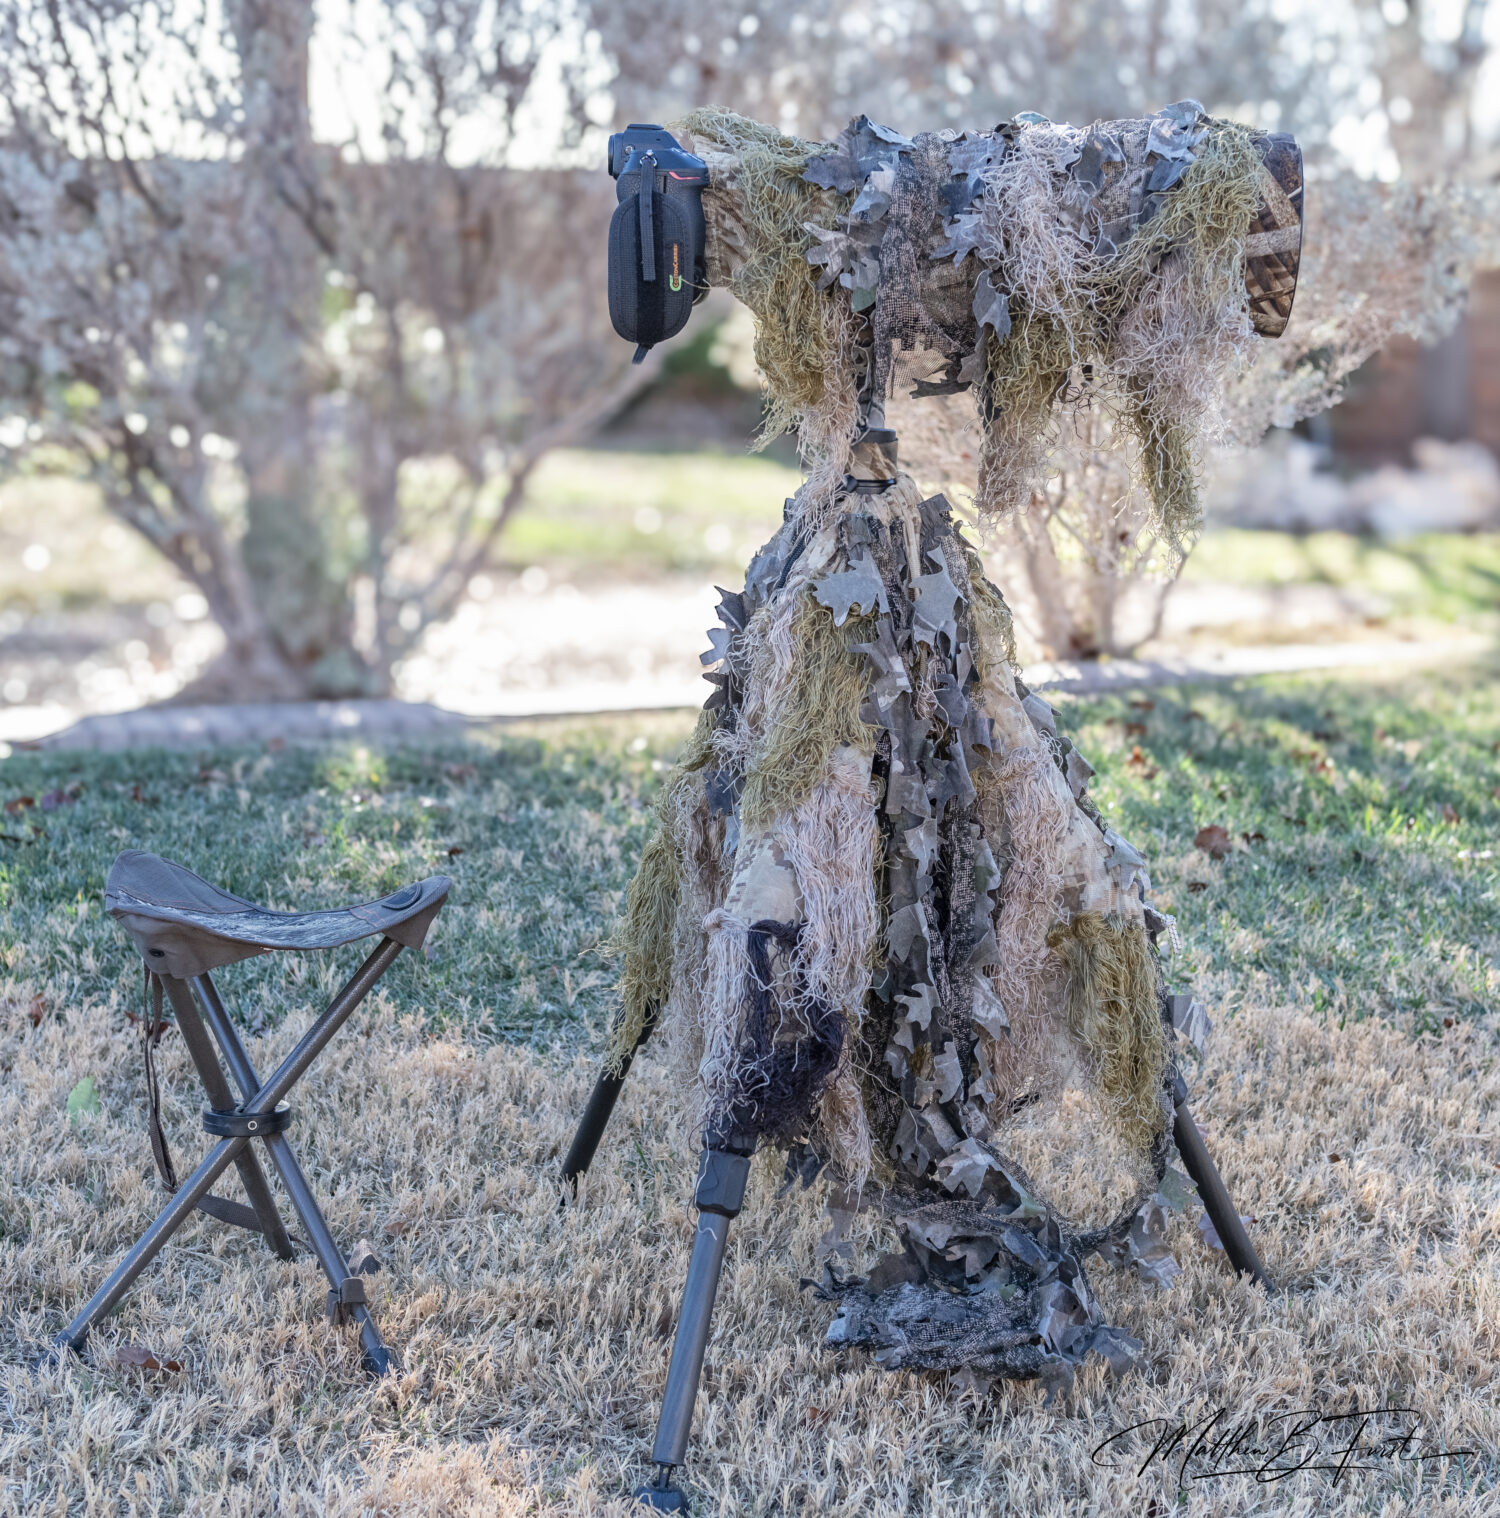
When photographing wildlife I often frequent areas where I know I will remain stationary in one spot for extended periods, setting up before sunrise on the edge of a pond or open field to capture ducks or deer for example. In these locations, I might consider a popup blind, but often find them too inconvenient to carry or impossible to set up due to the terrain. In these situations, I have fashioned further modifications for my lens and tripods by creating a camouflage cover out of a ghillie suit. They are readily available, relatively cheap, and provide excellent camouflage. Both the lens and tripod covers are easy on easy off as well. In my opinion, camouflaging a tripod using pieces from a ghillie suit is an innovative and effective way to enhance concealment in natural environments. By repurposing the sleeves of the ghillie suit, photographers can create custom lens covers that not only disguise the lens but also protect it. The pants of the suit have a drawstring waist and can be transformed into a tripod skirt, which drapes around the base of the tripod sinching around the top, further blending it into the surrounding foliage. This skirt not only masks the tripod’s structure but also helps to dampen vibrations. The loose, textured fabric of the ghillie suit effectively breaks up the outline of the lens, making it less noticeable to wildlife. When using a cheap tripod stool and sitting behind the tripod, a photographer becomes virtually invisible. Together, these adaptations provide an excellent combination of protection and concealment, allowing photographers to capture stunning images without disturbing their subjects.
Conclusion
These DIY modifications have transformed my off-the-shelf monopods and tripods into custom tools perfectly suited for wildlife photography. The carry strap system has made transportation a breeze, while the upgraded monopod heads have improved stability and versatility. The safety tethering system provides peace of mind, and the enhanced padding ensures comfort during long shoots.
By thinking creatively and not being afraid to modify expensive equipment, I’ve been able to create a setup that meets the unique demands of wildlife photography. These changes have not only improved the functionality of my gear but have also contributed to better images and a more enjoyable photography experience.
Remember, when making modifications to your equipment, always proceed with caution and test thoroughly before relying on them in the field. With careful planning and execution, you too can customize your gear to perfectly suit your photographic needs.
