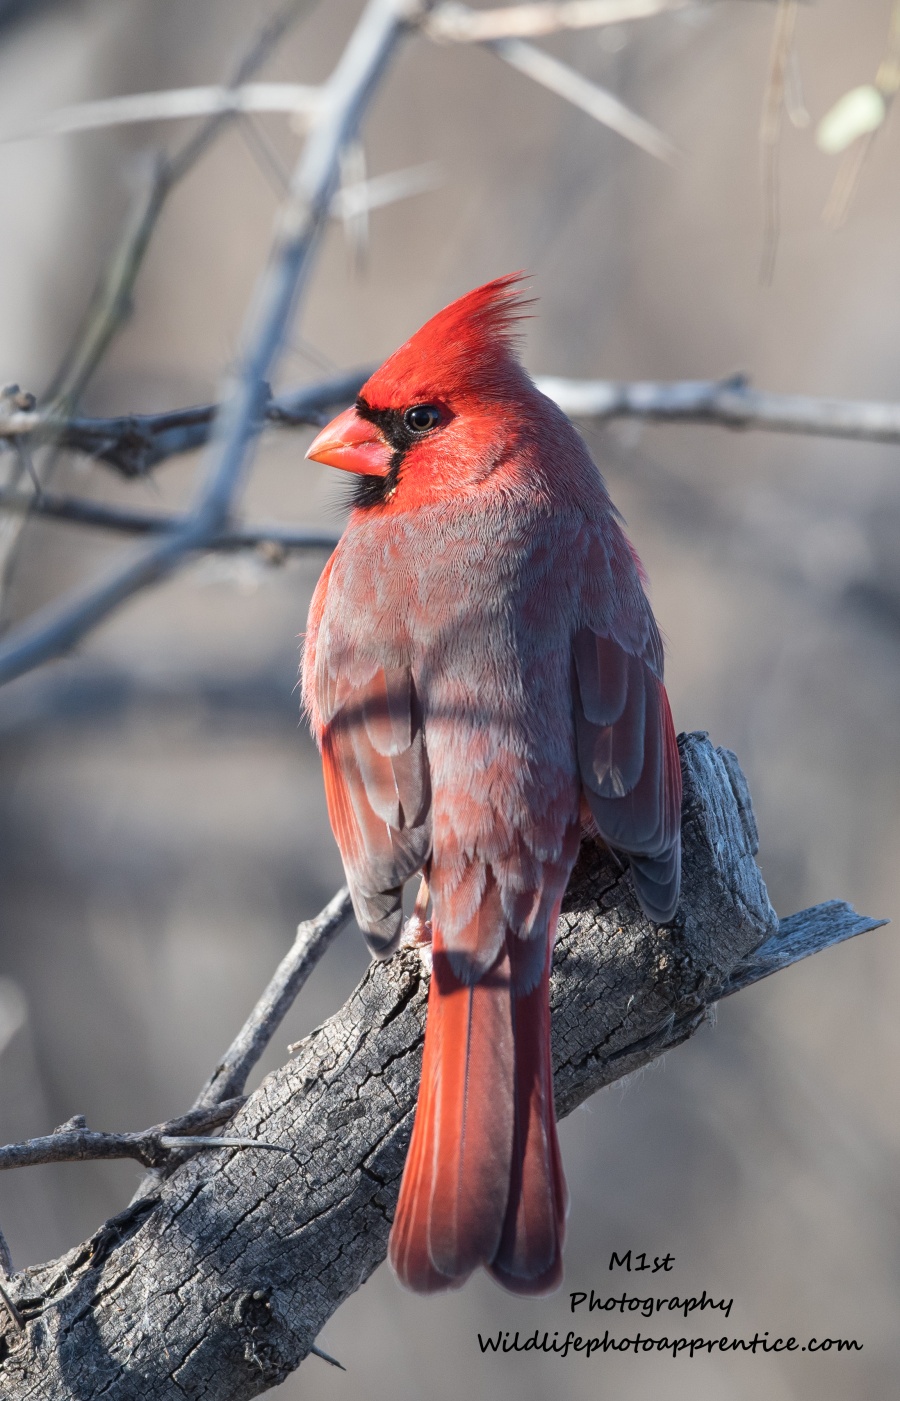
One of the most iconic lines from the 1986 movie Top Gun. If Maverick had been out shooting geese in flight, instead of shooting planes with Goose, his top priority would still have been the need for speed, but a few other things would have come in handy as well. Almost every wildlife photographer starts out photographing birds. Birds are the most readily accessible and abundant wildlife in our environment. In the beginning capturing a simple still portrait like the cardinal below is challenging and fulfilling. If we manage something sharp and clear we’re satisfied and happy. Sooner or later though we become comfortable with the techniques associated with still images, and there is a desire to challenge ourselves further. For birds this means capturing birds while in flight.
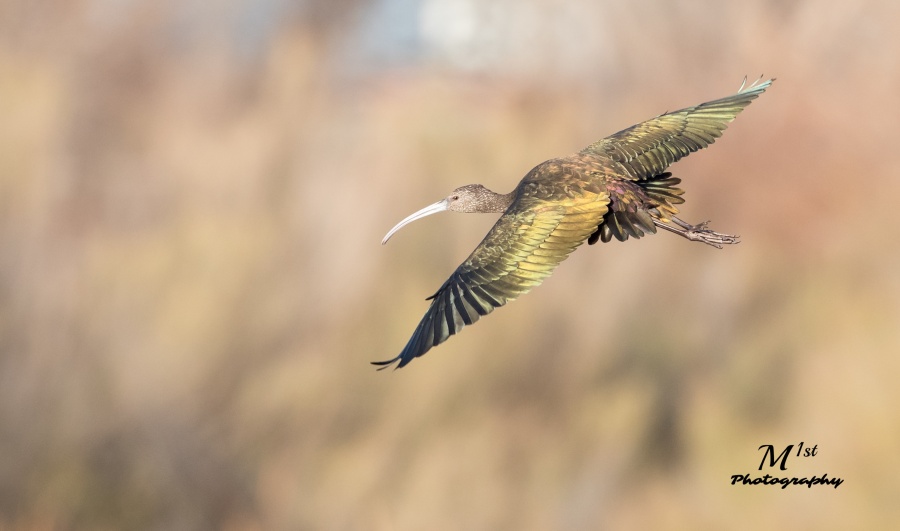
Capturing crisp sharp photographs of birds as they fly is no easy task. Lets look at some things that will improve your outcomes when attempting to photograph birds in flight and make us better wildlife photographers.
Birds travel at different speeds depending on the type of bird and conditions they are flying under. Most waterfowl for instance fly at speeds of 40 to 60 mph, with many species averaging roughly 50 mph. With a 50 mph tail wind, migrating mallards are capable of traveling 800 miles during an eight-hour flight. An Osprey in a dive can reach speeds approaching 80 mph.
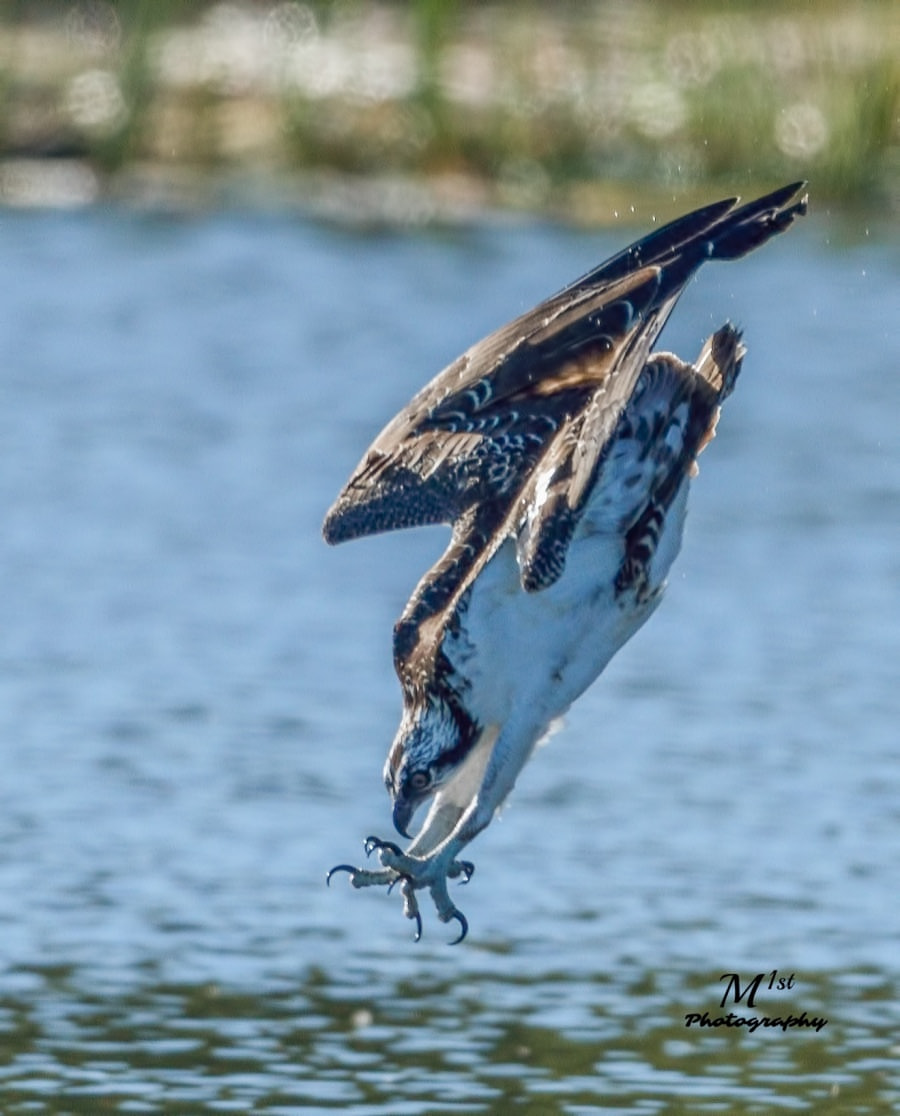
When trying to capture birds under these conditions we feel our most important need, the need for shutter speed. Shutter speeds of at least 1/1600 sec are required to freeze motion in even the most ideal situations, often with speeds of 1/2000 sec to 1/3000 sec needed to produce consistent results. Without these kinds of speeds you will find that obtaining a sharp image is almost impossible. Most of the time you will need higher ISO settings to maintain these shutter speeds, particularly if you are shooting early or late in the day when the ambient light is less intense. In addition to increased shutter speeds, you can also try several other techniques to improve your chances of getting good results shooting birds in flight.
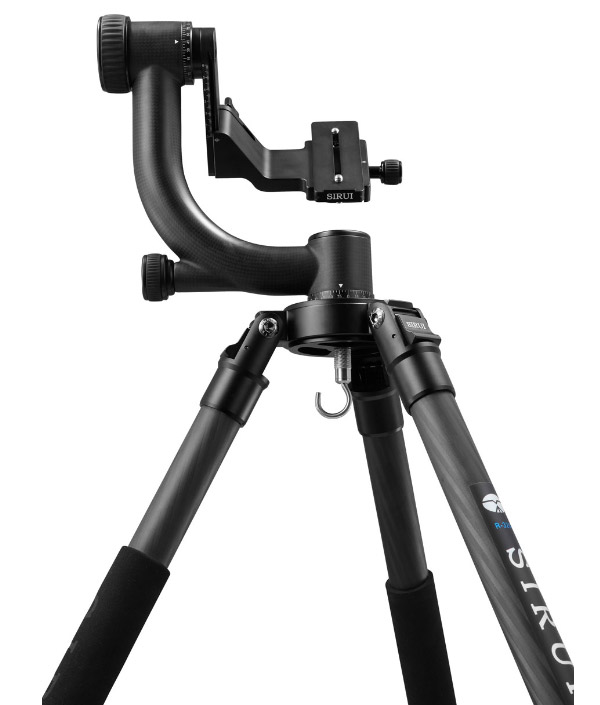
First, it is imperative that you use some type of stabilization while taking bird in flight photos. The most common is a tripod with gimbal head.
An alternative and my choice, is a mono pod with head.
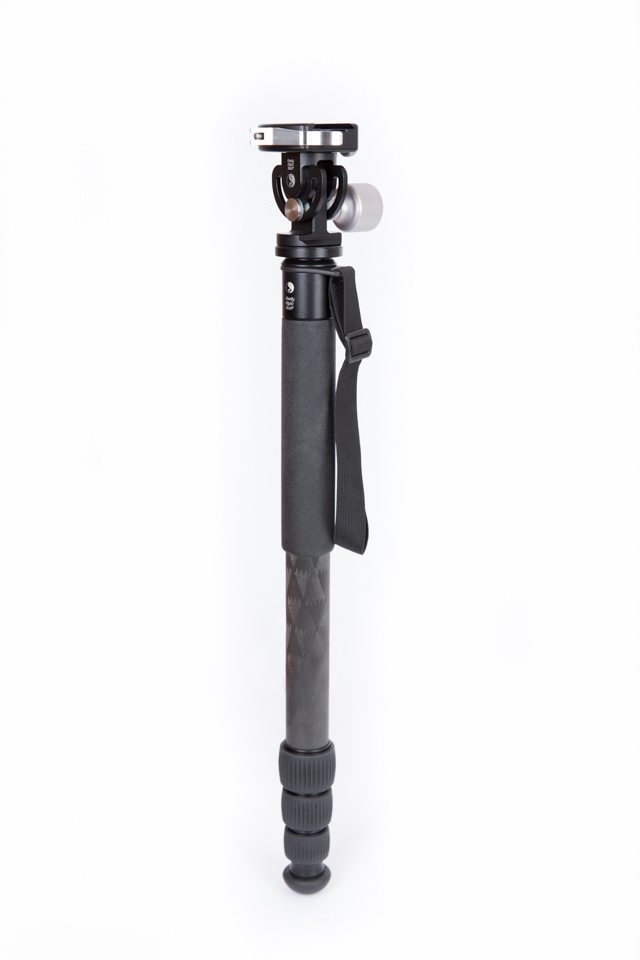
I personally find it much easier to track birds using a mono pod. A mono pod also allows you to be more mobile than a tripod and gimbal head. When not planning to move around too much and weight is not an issue, there can be no doubt that a tripod and gimbal will be more stable and give superior results. Without stabilization, using a large heavy telephoto lens for birds in flight is almost impossible.
Second, practice your panning technique for photographing moving subjects. The basic idea behind panning as a technique is that you pan your camera along in time with the moving subject and end up getting a relatively sharp subject but a blurred background. Normally this is done to give a sense of speed to the photo, but for birds in flight it also helps to keep the focus point on the subject as it moves, giving a better chance for a sharply focused photograph.
Third, keep the sun at your back to maximize lighting. By doing so you may be able to lower your ISO and still maintain an adequate shutter speed. By keeping the sun at your back, natural light will more evenly illuminate your subject giving a more even exposure.
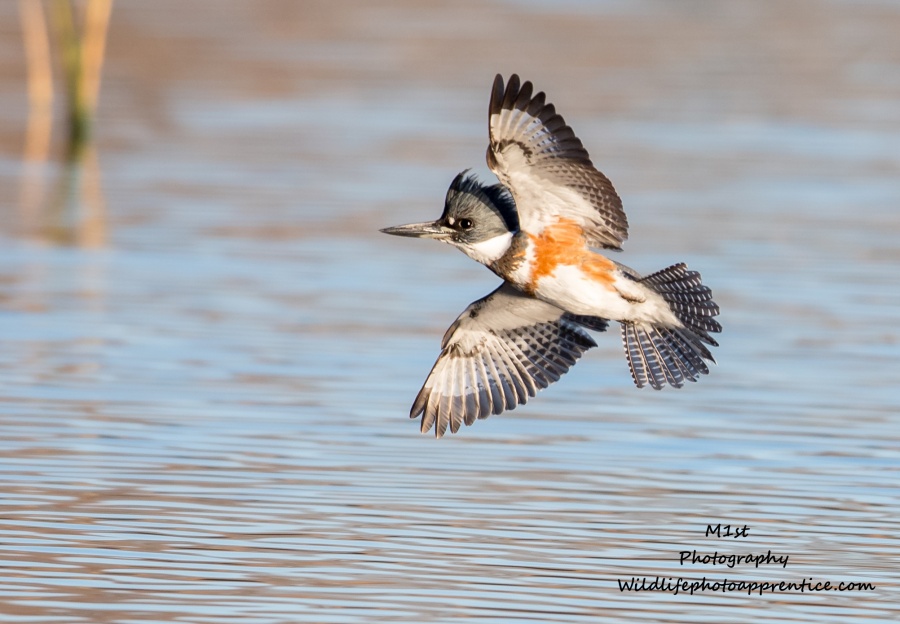
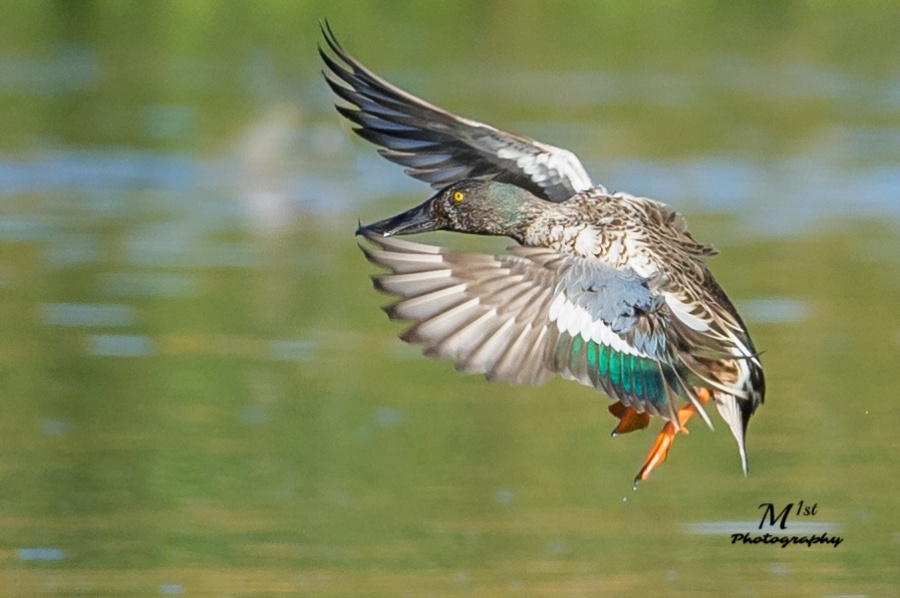
Fourth, keep the wind at your back. Birds always attempt to land into the wind. Landing is more difficult than taking off and flying, and because of the potential shock involved, the process of landing is slower and more controlled. Some birds land vertically, but most land at an angle against the wind, slowing down as they approach landing, using their spread wings and tail to slow their decent. This slowing at the time of landing can be used to our advantage and is a prime time to get great bird in flight photographs.
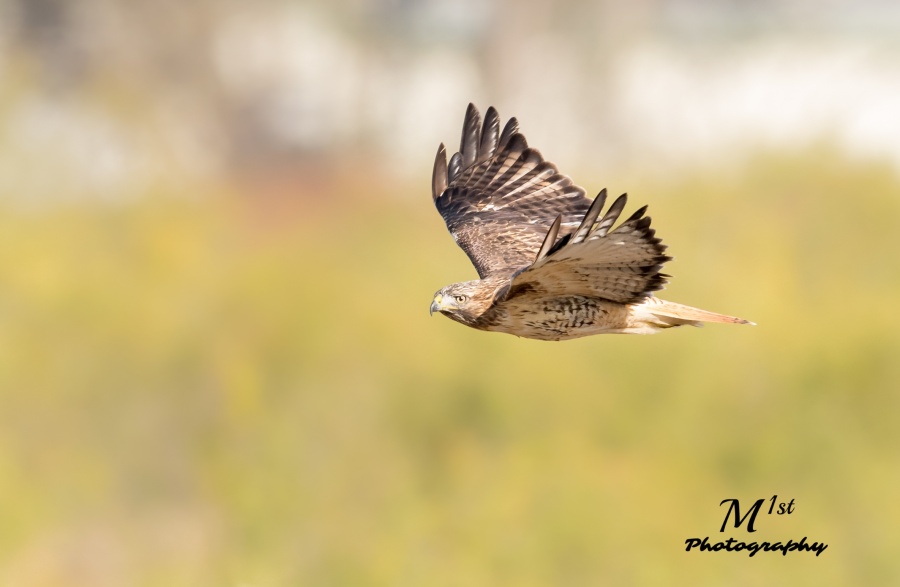
Fifth, start by shooting larger birds. Larger birds by nature fly slower and are easier to track. It is easier for your camera to lock and maintain focus on larger birds. The focus settings that you use are important but are a subject for discussion at another time.
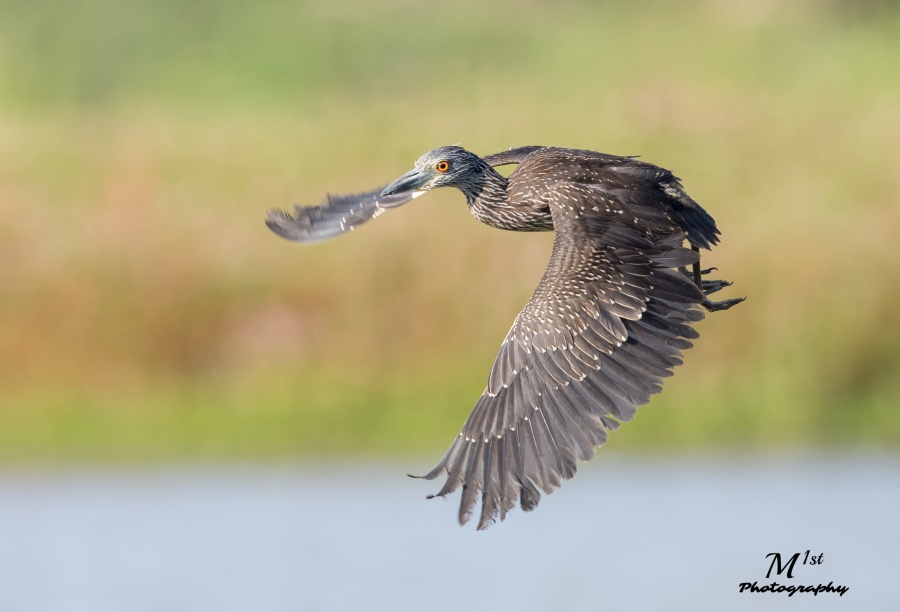
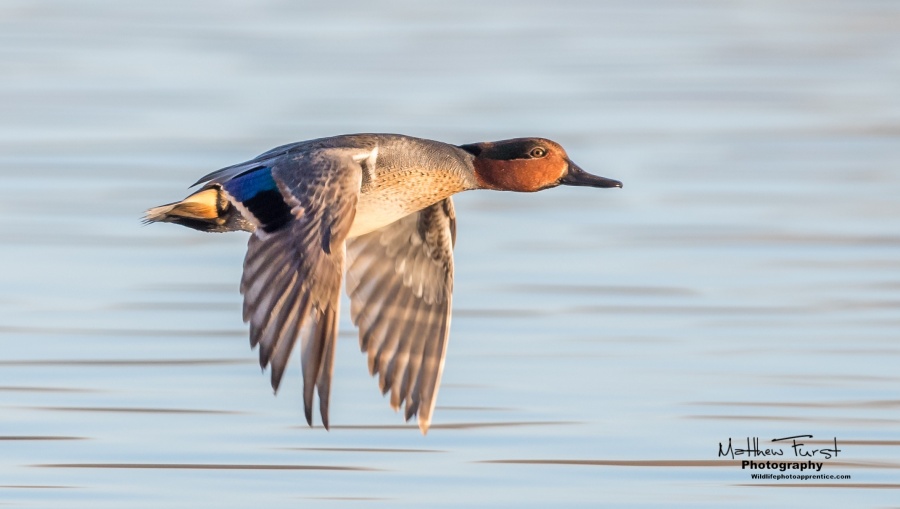
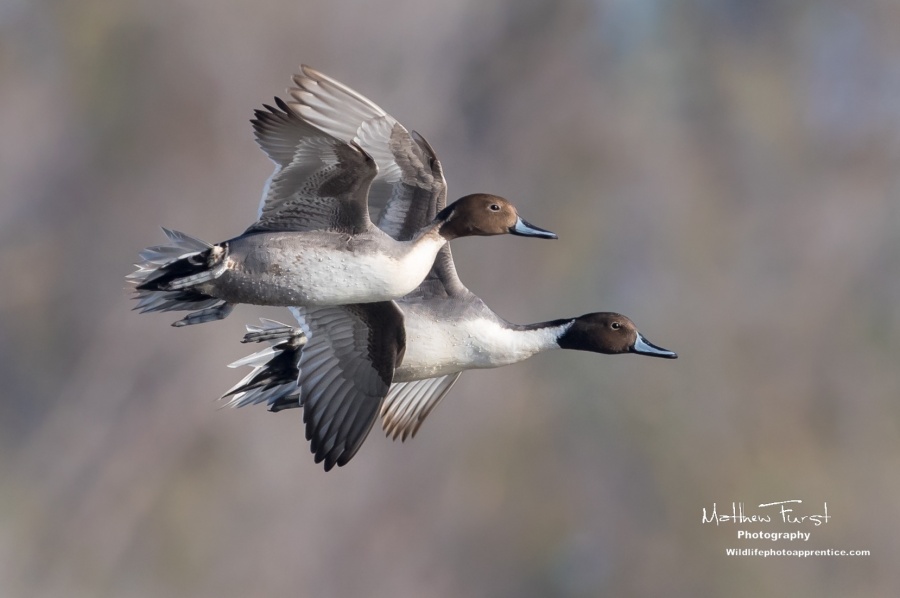
Last, start with familiar easy to find birds in open areas such as ducks on a large open pond. They are fairly predictable in their movement, tend to always land into the wind, and are large birds. The openness of the pond or lake provides additional time to locate the subject in the view finder, obtain focus, and more easily track your subject. Birds that soar, such as hawks, can be another good choice, moving slowly in a predictable circular pattern as they take advantage of rising thermals. If you miss them on the first circular pass there will often be a second or third pass to try and focus again before they move out of range.
Bird in flight photography is fast paced and fun. Using a high shutter speed, and mastering a few easy to learn techniques will greatly improve your bird in flight photographs. By learning to take bird in flight photos you will expand your portfolio with interesting and exciting photos and become a better wildlife photographer. Like Maverick, you’ll be one of the best of the best.
Wow. Great advice. Easy to follow. I am going to try this the next time I go out. I love the “Top Gun” reference.