Creating and Using Presets for Consistent Wildlife Editing
Presets are a powerful tool for wildlife photographers looking to streamline their editing workflow and maintain consistency across their images. By creating and using presets effectively, you can significantly reduce editing time while ensuring a cohesive look for your wildlife portfolio.
Storytelling is the heart of meaningful wildlife photography. It transforms mere documentation of animals into compelling visual narratives that evoke emotion, curiosity, and a deeper appreciation for the natural world. Unlike simple snapshots, storytelling images communicate more than what is visible—they interpret animal behavior, environmental context, and the often delicate relationship between wildlife and their habitats.
When first starting in wildlife photography, equipment decisions can profoundly shape both the learning experience and the final results. The temptation for newcomers is often to bypass the high upfront costs of supertelephoto prime lenses with low apertures in favor of more affordable zoom options that typically have smaller maximum apertures. While these zooms offer versatility and a gentler entry price, choosing them means accepting limitations in sharpness, light-gathering power, autofocus speed, and overall image quality—trade-offs that can ultimately hinder progress and the ability to capture stellar wildlife images, especially in challenging light. Before considering cheaper zoom lenses with higher aperture limitations, at least consider what you might be giving up.
We look with our eyes, but see with our souls. Wildlife photography is a discipline that often divides itself into two distinct yet intertwining domains: the technical and the creative, looking and seeing. Both are essential for producing images that resonate, but their paths to mastery offer very different challenges and rewards. Looking can be practiced through repetition and measurement; seeing can only be cultivated through awareness and connection. This article explores these two facets in depth, illustrating how understanding their synergy can transform your wildlife images from simple records into true works of art.
When I first decided to take the plunge and switch to a mirrorless camera for my wildlife photography, I was a bit hesitant. I had been completely satisfied with my Nikon D500 and thought it was one of the best wildlife cameras I had ever owned. The thought of relearning a new camera gave me some pause. After purchasing and using my Nikon Z9, I realized very quickly that this camera was either going to be an unruly beast or a tireless companion, depending entirely on how I set it up. Over time, I realized the difference between missed opportunities and photographs worth framing, time and time again, came down to just how intuitive I could make my use of the Z9 in the field.
In the heart of the wilderness lies a captivating realm awaiting the discerning eye of the wildlife photographer. Every rustle of leaves, each fleeting glimpse of an elusive creature, presents an opportunity to immortalize the beauty of the wildlife. In the pursuit of these moments, photographers are presented with a compelling choice: should they immerse themselves in the art of field craft, stealthily navigating the terrain to get up close and personal, or should they rely on the extended reach of a powerful telephoto lens, capturing the essence of wildlife from a respectful distance? In this blog, we embark on a journey to compare and contrast the benefits of these two distinct yet intertwined approaches – the intimate finesse of fieldcraft and the amplified vision of increased focal lengths – both vying for supremacy in the captivating realm of wildlife photography.
When it comes to wildlife photography, capturing the perfect moment in the field is just the beginning. These finishing touches applied in post-processing can elevate your images from good to extraordinary. In this final article in the Lightroom series, we’ll explore several crucial aspects of refining your wildlife photos, including lens corrections and transform tools, and using the Effects panel to add mood.
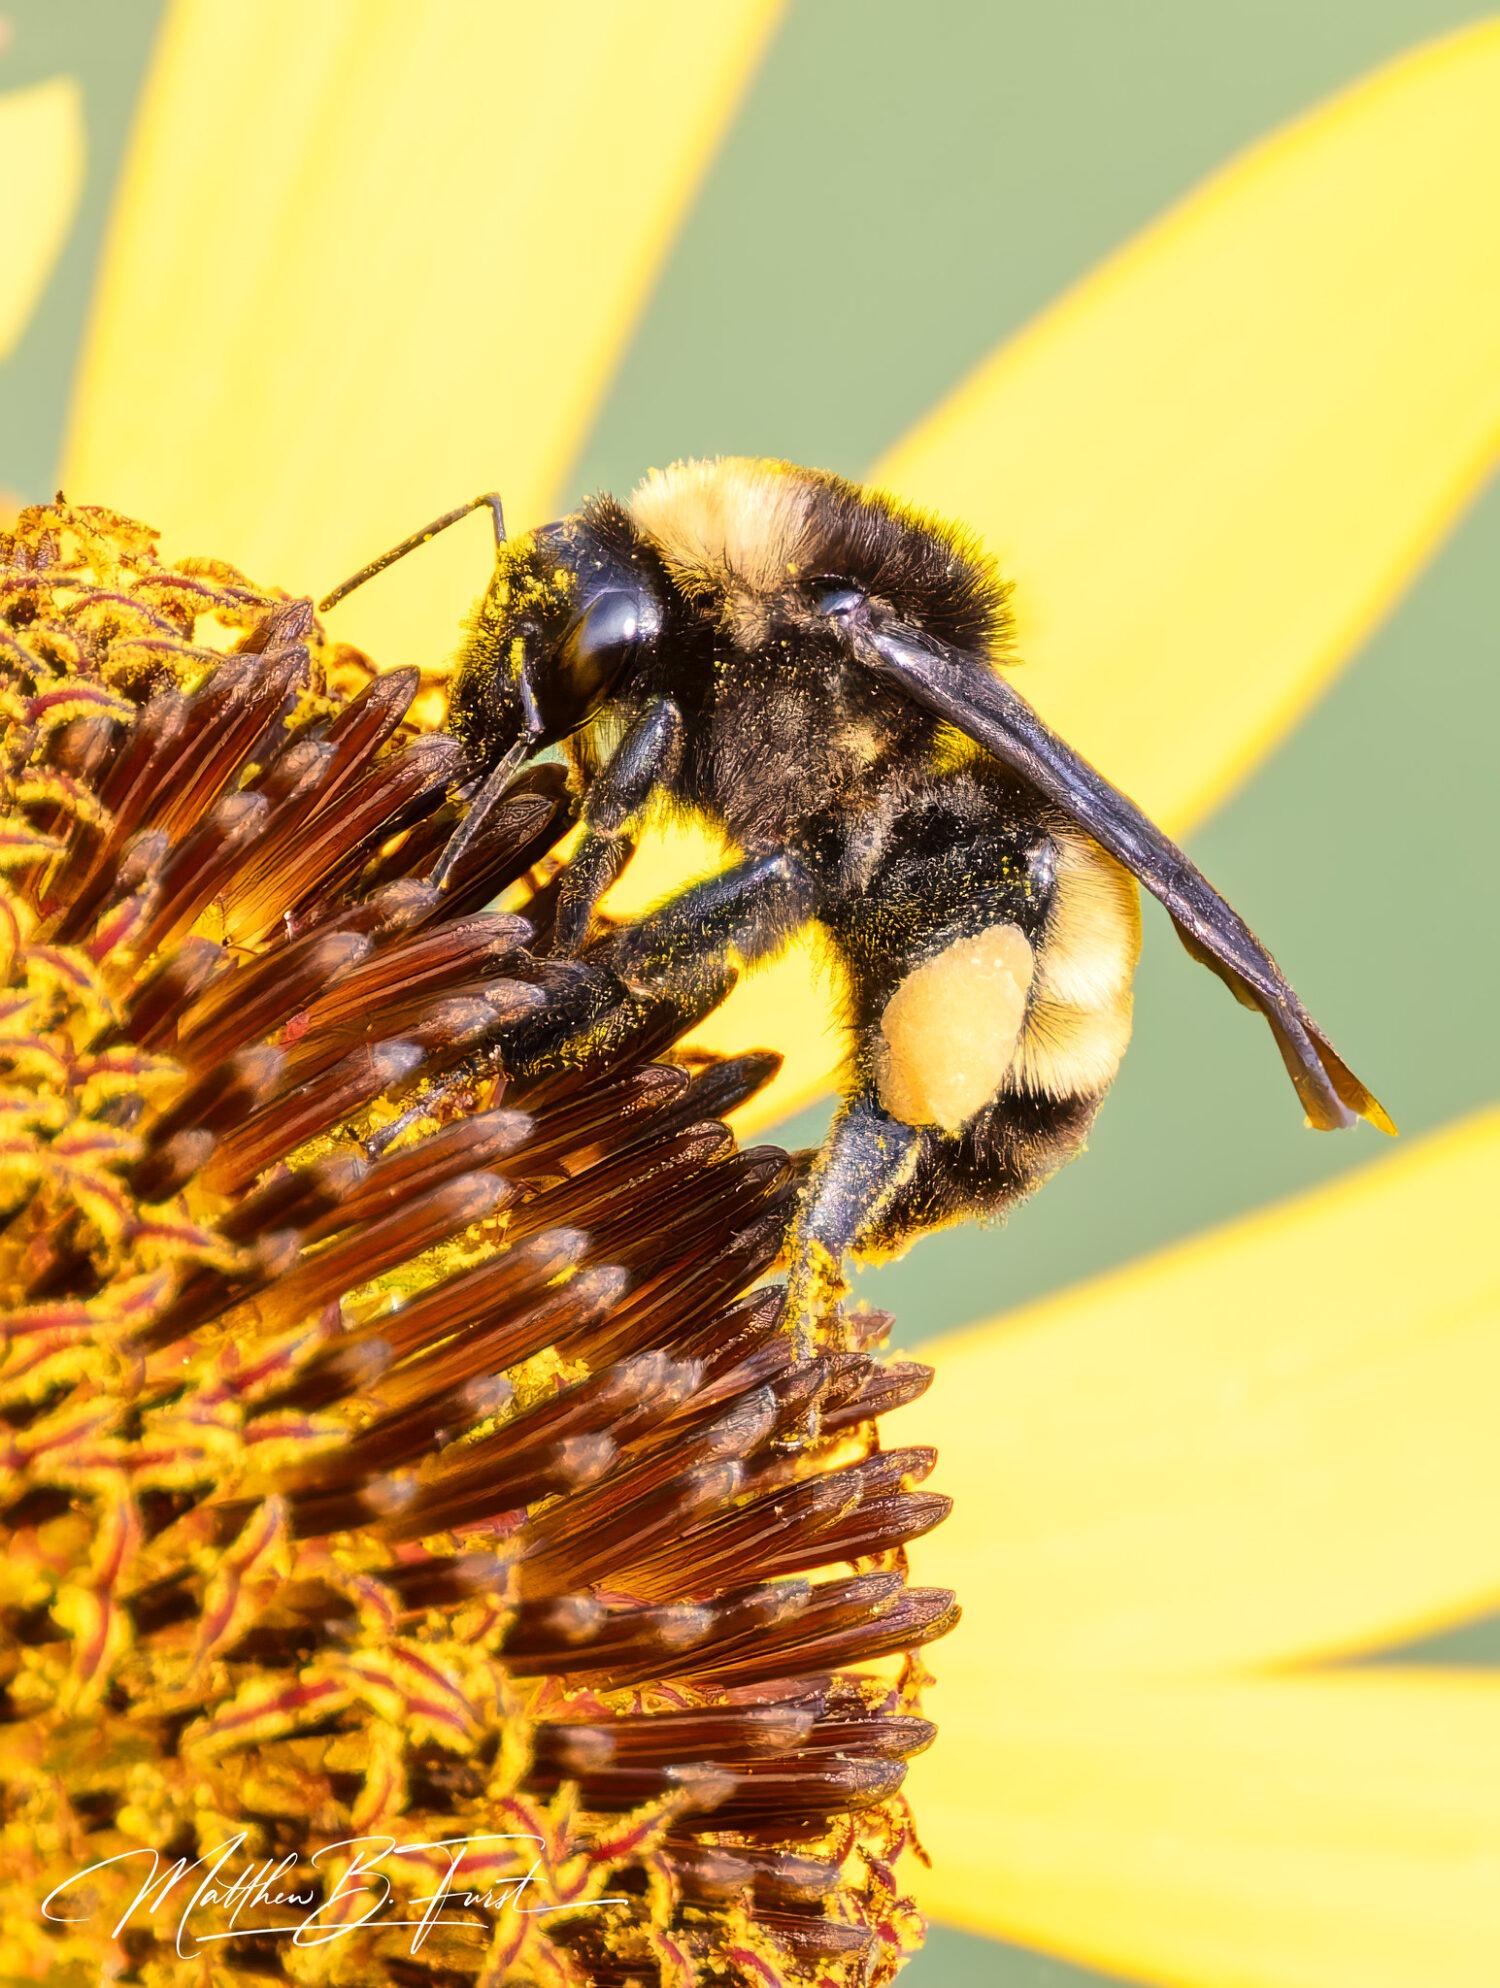
Wildlife photography often requires advanced editing techniques to truly bring out the beauty and detail of animal subjects. In this article, we’ll explore three powerful tools in Adobe Lightroom that can elevate your wildlife images: the Tone Curve, HSL adjustments, and sharpening and noise reduction techniques.
A Wildlife Bird Photography Adventure to Port Aransas, Texas
As an amateur wildlife photographer from Texas, as well as a father of a large family, I’m always searching for destinations that let me indulge my passion for bird photography while also serving as ideal family vacation spots. Port Aransas is one of those rare gems—a vibrant coastal town where I can capture a myriad of fascinating wildlife subjects against a stunning Gulf backdrop, all while my family enjoys sun-soaked days on the beach and delicious local cuisine. It’s the perfect blend of adventure and relaxation, making every trip both a photographic journey and a memorable family getaway.
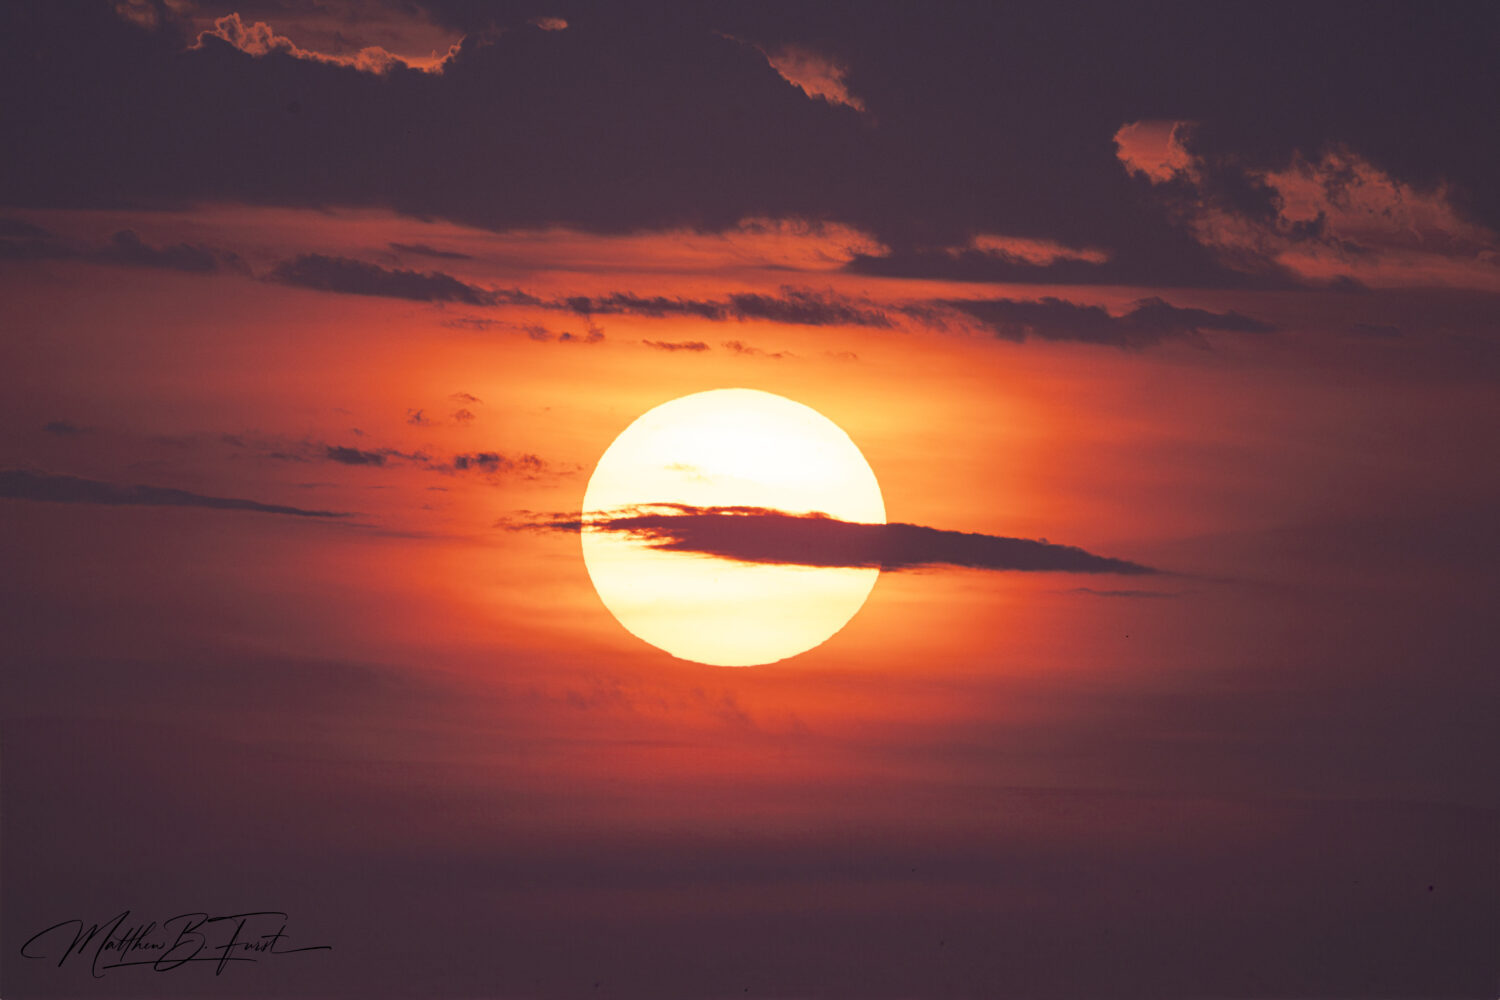
Color grading is a crucial step in wildlife photography post-processing that can transform a good photo into a stunning piece of art. When done effectively, it enhances the mood, atmosphere, and overall impact of your images, making them stand out in your portfolio.