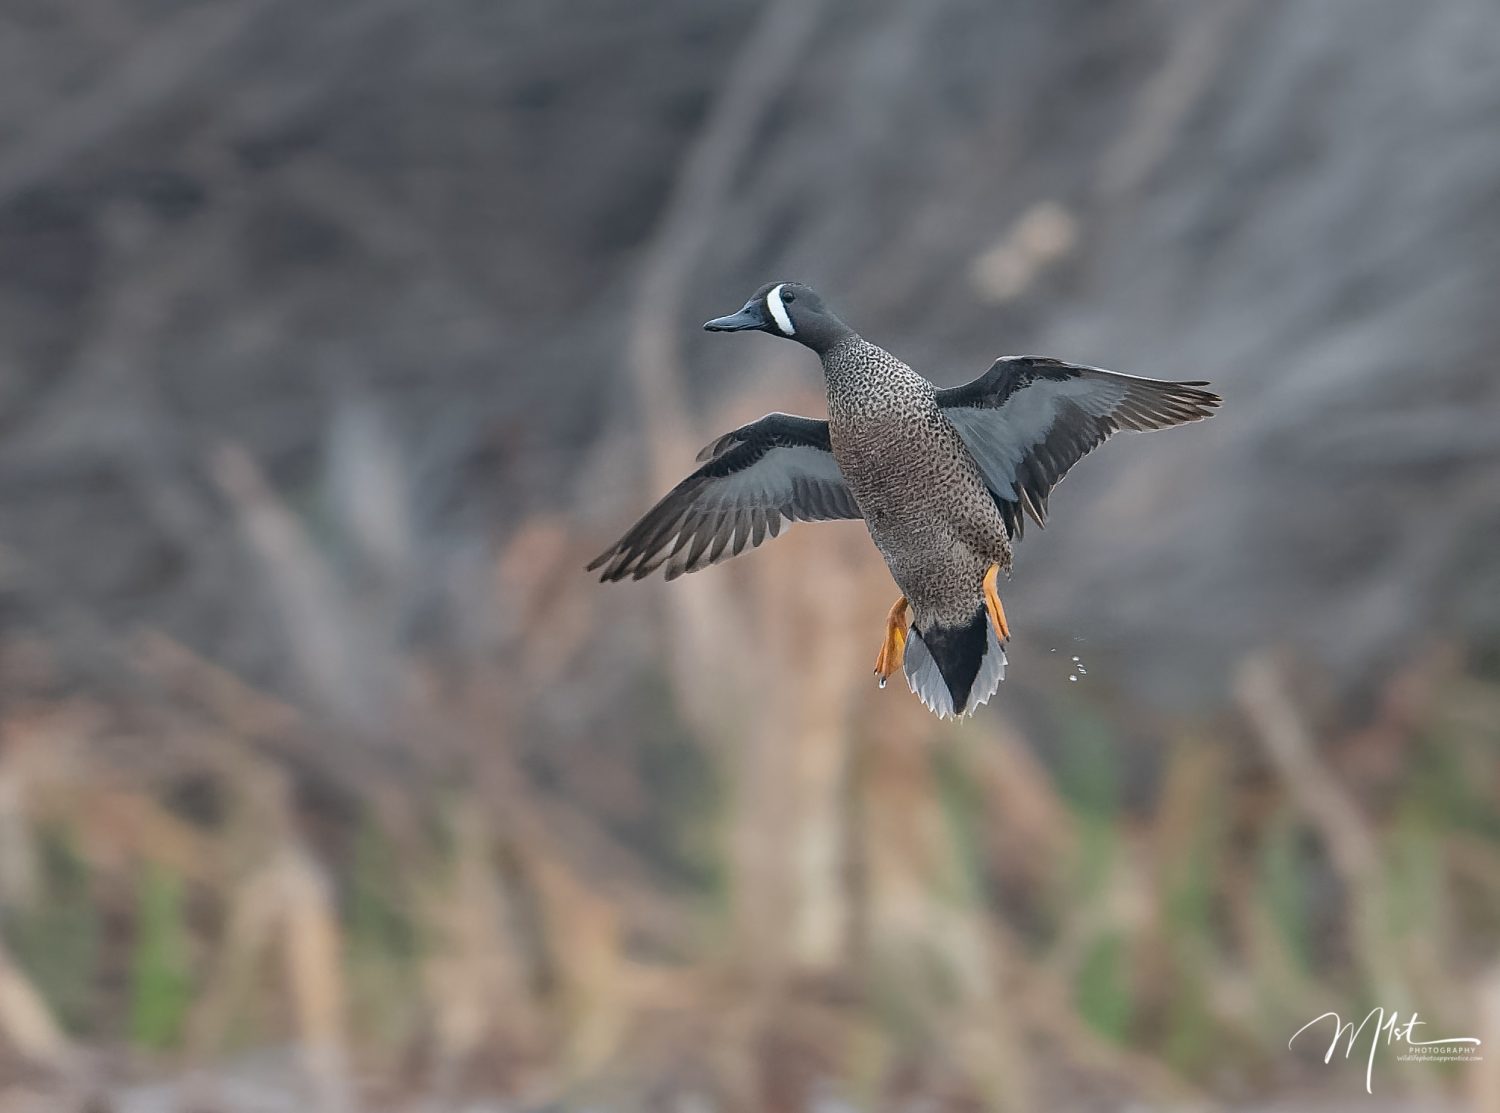
Keeping your ducks in a row is an old expression for sure but some expressions remain useful and are timeless. Photographing wildlife is complex and involves a process with many individual steps or “ducks” to keep in sequence if you want to achieve the best outcome. Most people who haven’t tried wildlife photography before think you just walk out the front door, take a photo of an animal, and put it online, perhaps because these days with smartphones that’s exactly how most photographs are taken. Those of us who photograph wildlife regularly for business or pleasure know it’s a bit more complicated than that. To produce your average random wildlife photo you could just depend on getting lucky once in a while but to produce good quality wildlife photos consistently, they have to be preceded by a significant amount of study and preparation, as well as a multistep post-processing routine. Photographing Ducks is fun and is a good way to illustrate the multiple steps that are involved. Lets’ take a look at how I like to keep my ducks in a row while photographing ducks.
Getting the actual ducks in a row.
Before the shutter is pressed for the first time there are a few “ducks” I like to line up to improve my chances of getting a great photo. While we will be discussing ducks in this blog, you could easily apply these principles to any species you wish to pursue and photograph.
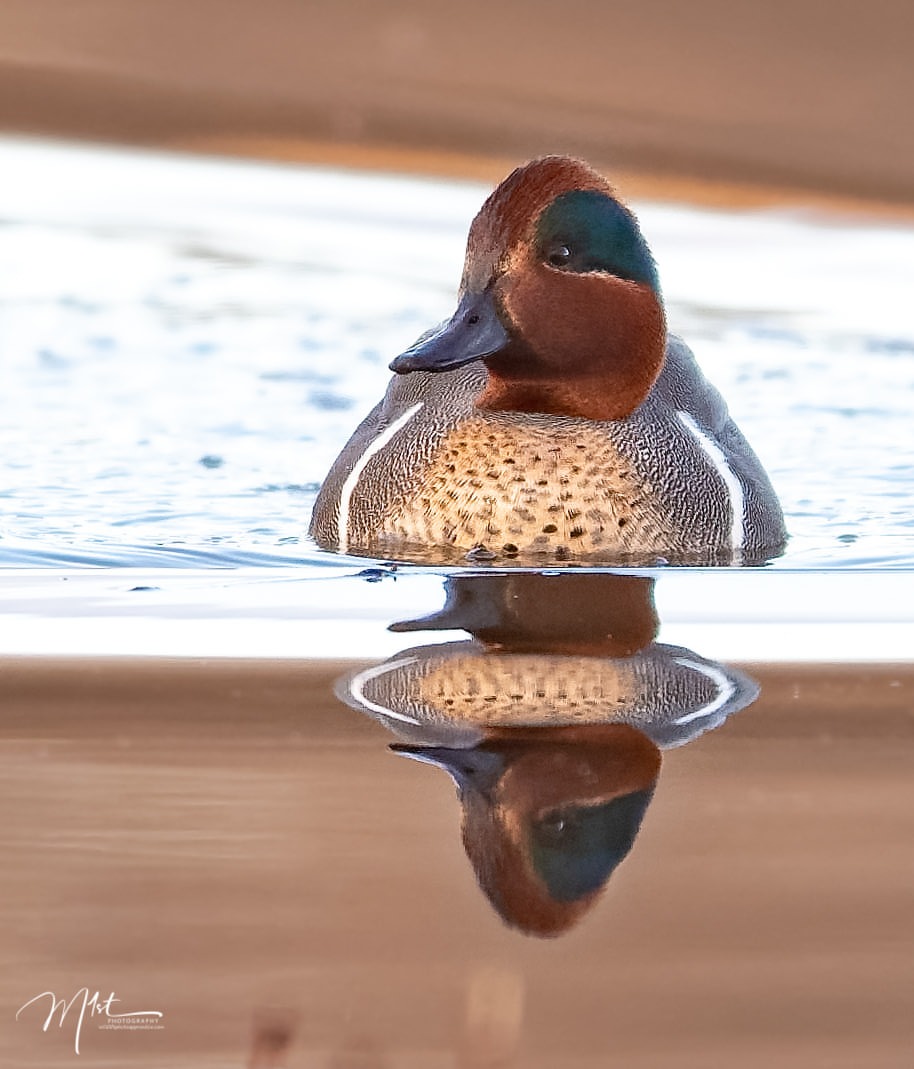
#1. It sounds silly but you must start by Identifying a location in your area likely to have ducks. Ducks live on water and without it, you won’t find any ducks. Living in West Texas we are fortunate that we live along the central flyway used by a significant number of migrating ducks. Find a park with a pond or any body of water and there will usually be ducks. Wild ducks are preferable to domesticated ducks because of their variety and tendency to be active but any duck will do.

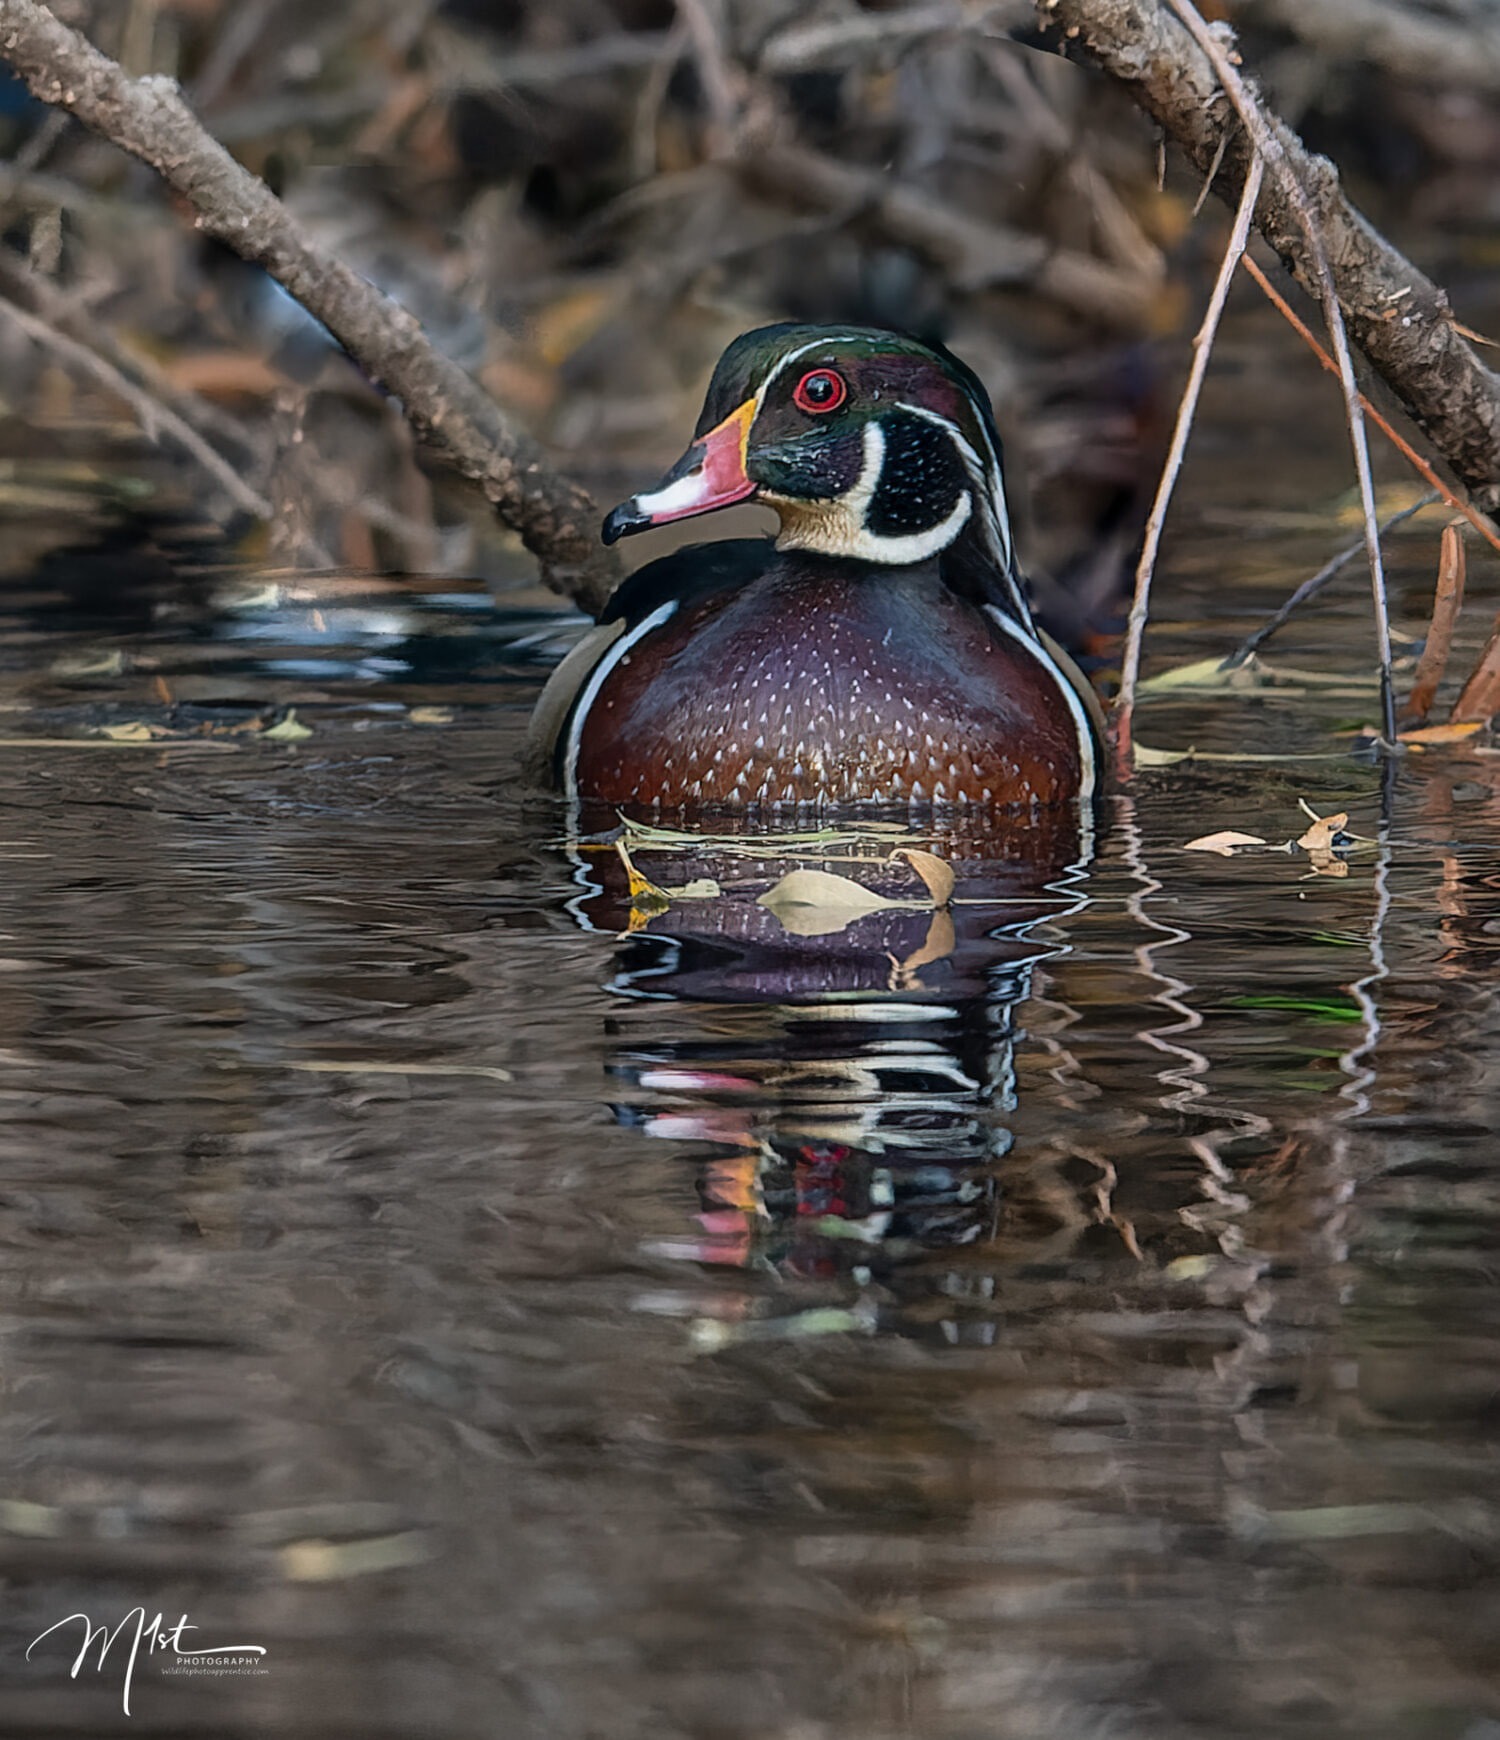
#2. Study the individual type of duck you intend to photograph. If you want to photograph wood ducks, for example, go on Ebirds and study their distribution in the US at different times of the year and their migration patterns. Understand the type of habitat they are likely to be found in. Be familiar with their breeding habits and calls. The more you know, the more you are likely to achieve your goal of finding and photographing them.
#3. Scout the location beforehand and review the lighting of the area using an app like the Photographers Ephemeris. Look for locations to shoot from where the sun is at your back. Look for colorful Fall or Spring backgrounds, or interesting plants or logs to include in the photo. Shoot early morning and late afternoon when the light is more dramatic and the ducks are more active.
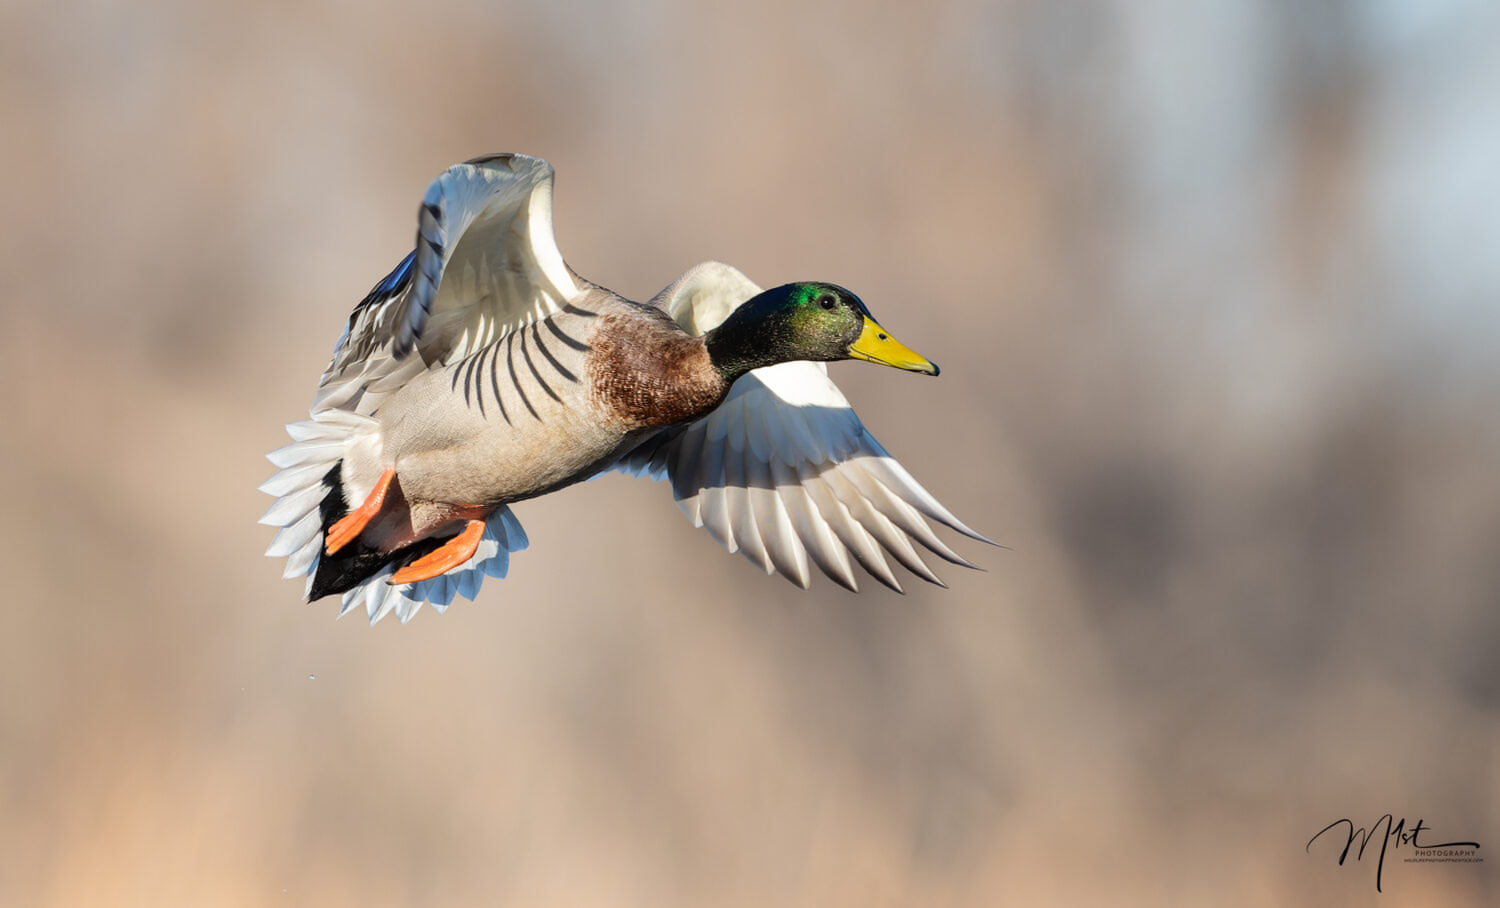
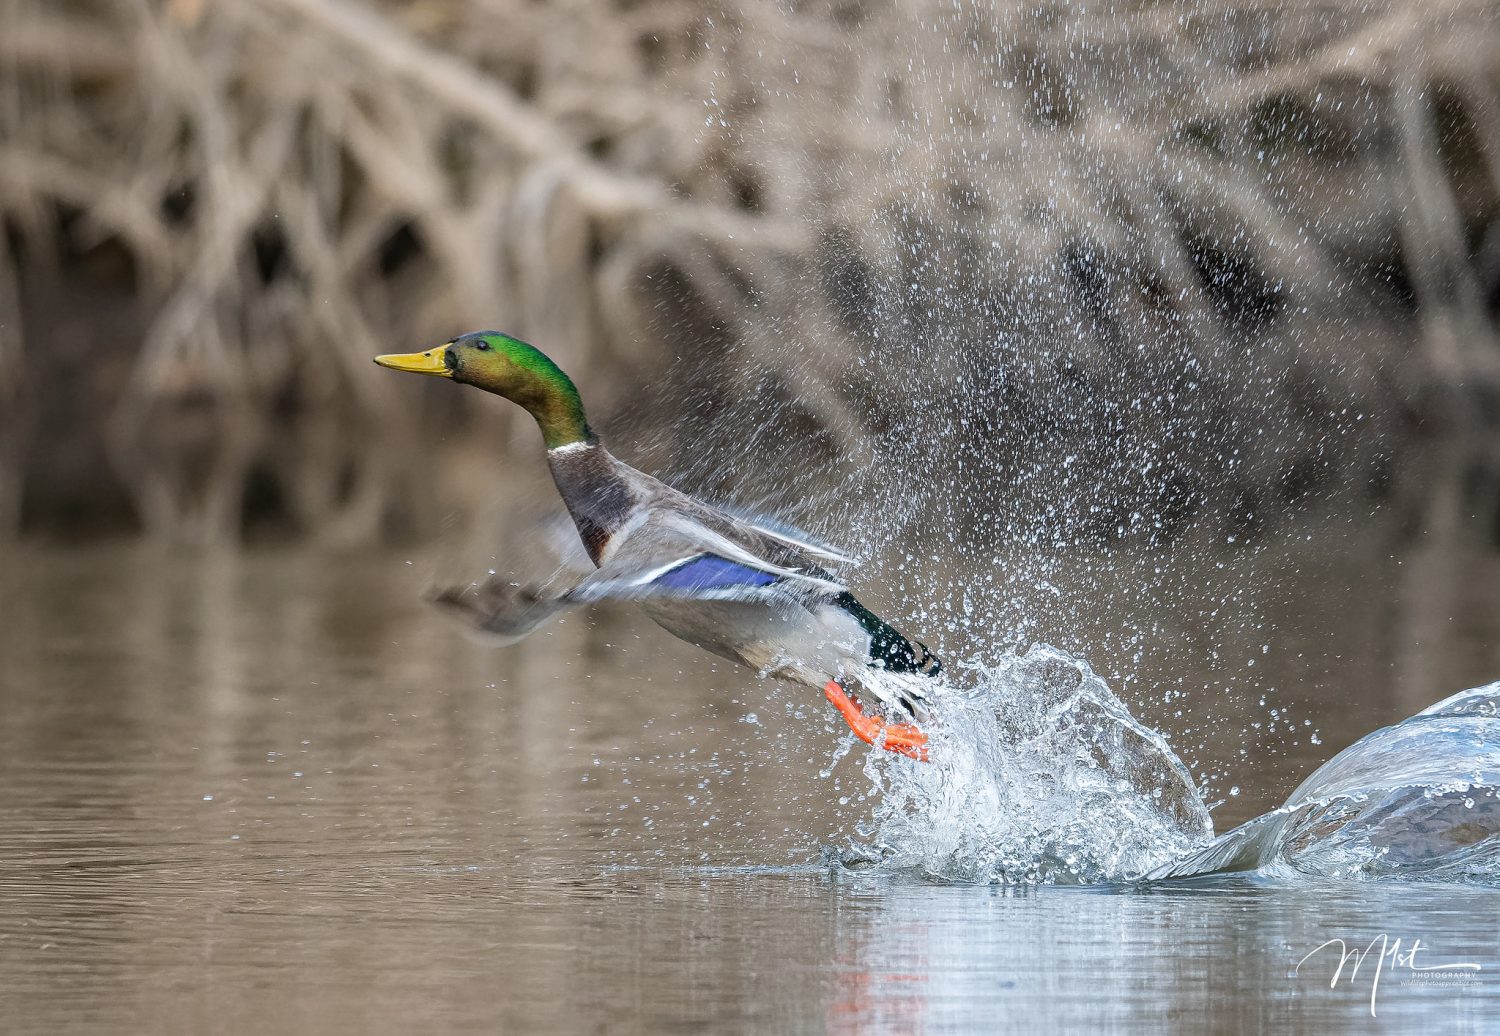
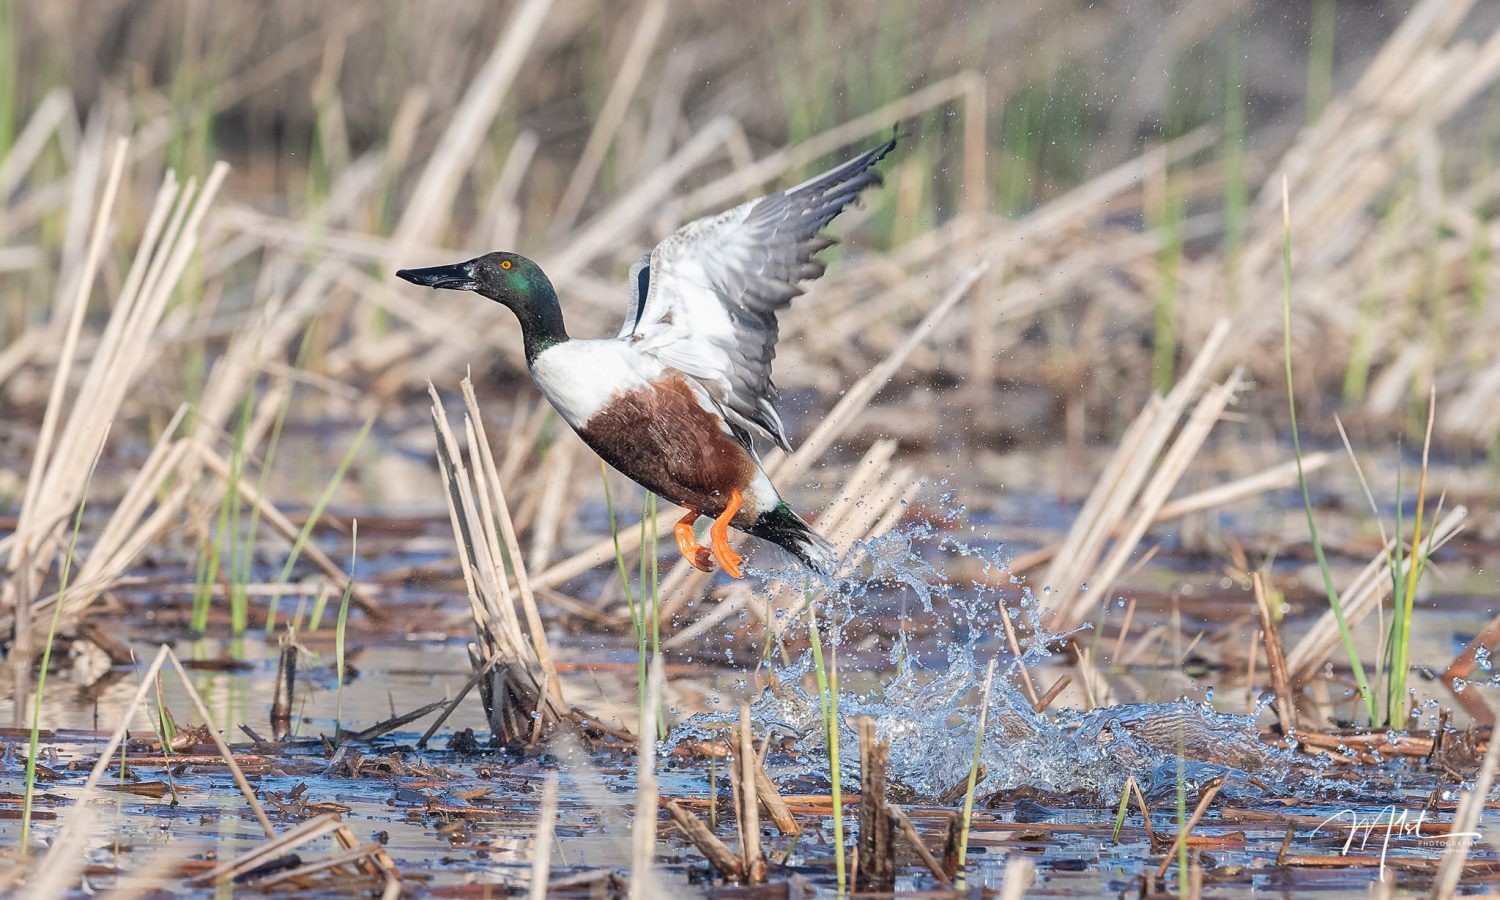
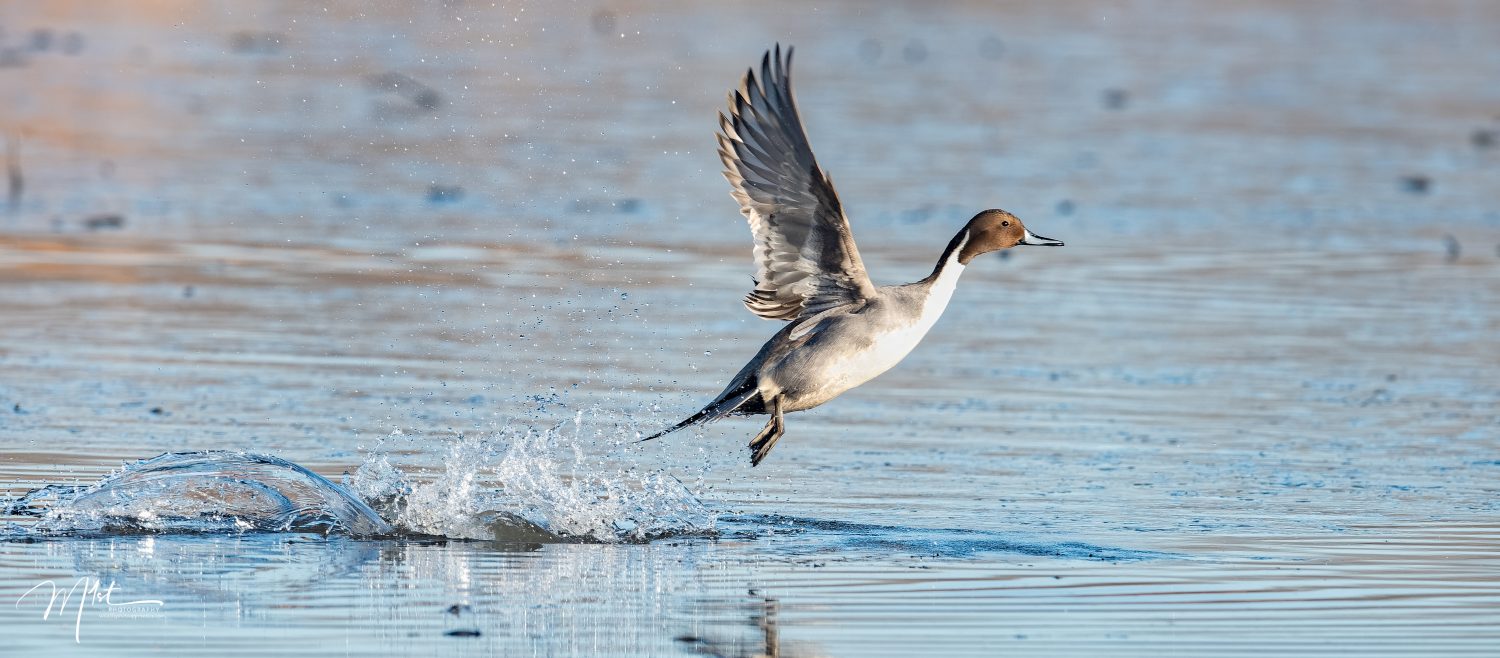
#4. Check the weather on the day of the shoot as well as the general weather pattern for the area. Ducks land and take off into the wind. The prevailing wind where I live is from the southwest. Positioning yourself with both the wind and sun at your back can lead to some great front-lit takeoff and landing shots.
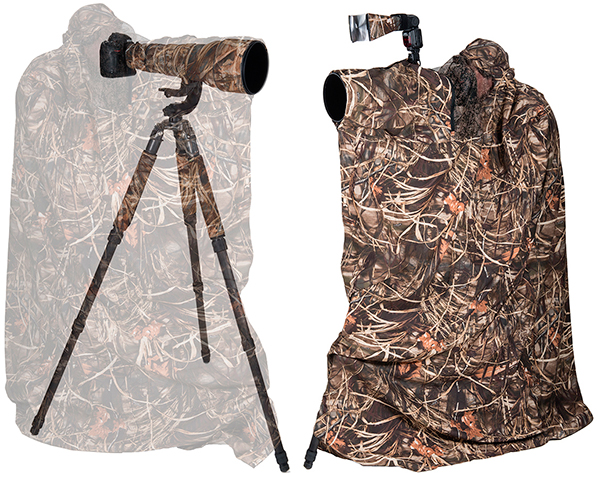
#5. Consider camouflage. Ducks have great eyesight and in the wild are actively hunted during certain times of the year. This makes wild ducks very leery of people. The more you conceal yourself the more likely you are to get close and get the shot. It can be as simple as wearing clothing that is shades of brown, green, and tan or as complicated as using commercial camouflage products.
Getting your camera ducks in a row.
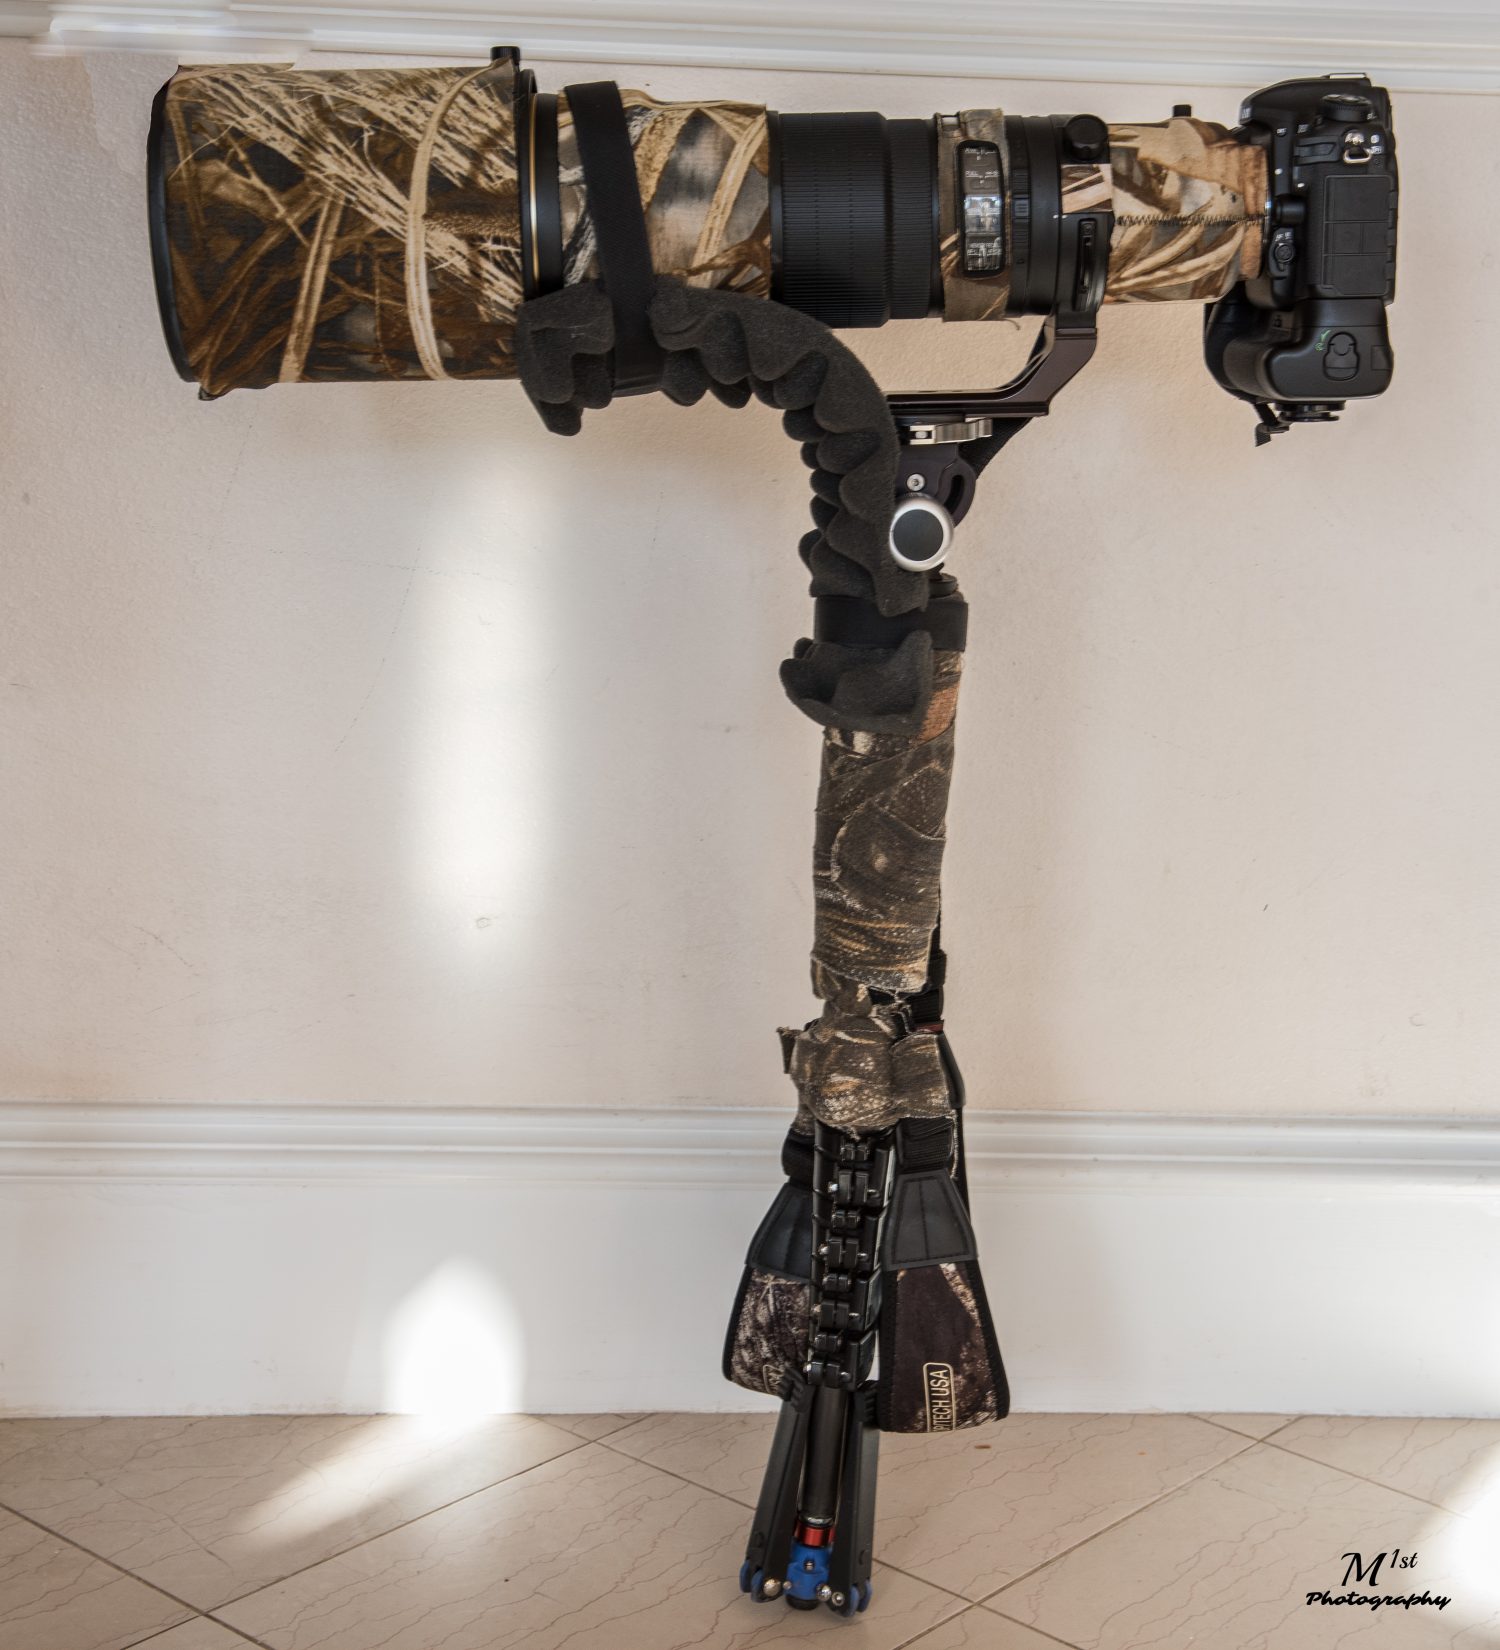
After finding and studying the ducks I want to shoot, I turn my attention to the specific camera settings I think are best for the location and time of day I’ve chosen. For ducks and most wildlife I photograph, I use similar settings. My wildlife camera is a Nikon D500 that I use primarily with either a 300mm f2.8 or 600m f4. Here’s how I choose to get my camera-setting ducks in a row.
#1. Shoot in manual mode, The ability to change shutter speed and aperture on the fly is important with dynamic subjects and the changing conditions that ducks are found in.
#2. Shoot in RAW, capturing all the data available allows more leeway in post processing.
#3. Know the Maximum ISO you can tolerate for your camera then adjust your ISO as needed to get the proper shot. Personally, I don’t like auto ISO, but you may want to consider it. Remember a properly exposed, in-focus photo with high noise is workable in post-processing while the opposite is useless.
#4. Use stabilization. Because of its’ inherent mobility, most of the time, I prefer using a monopod I have customized to my needs. I do use a tripod however for those occasions when I know I won’t be moving much and will be shooting mainly from a static location.
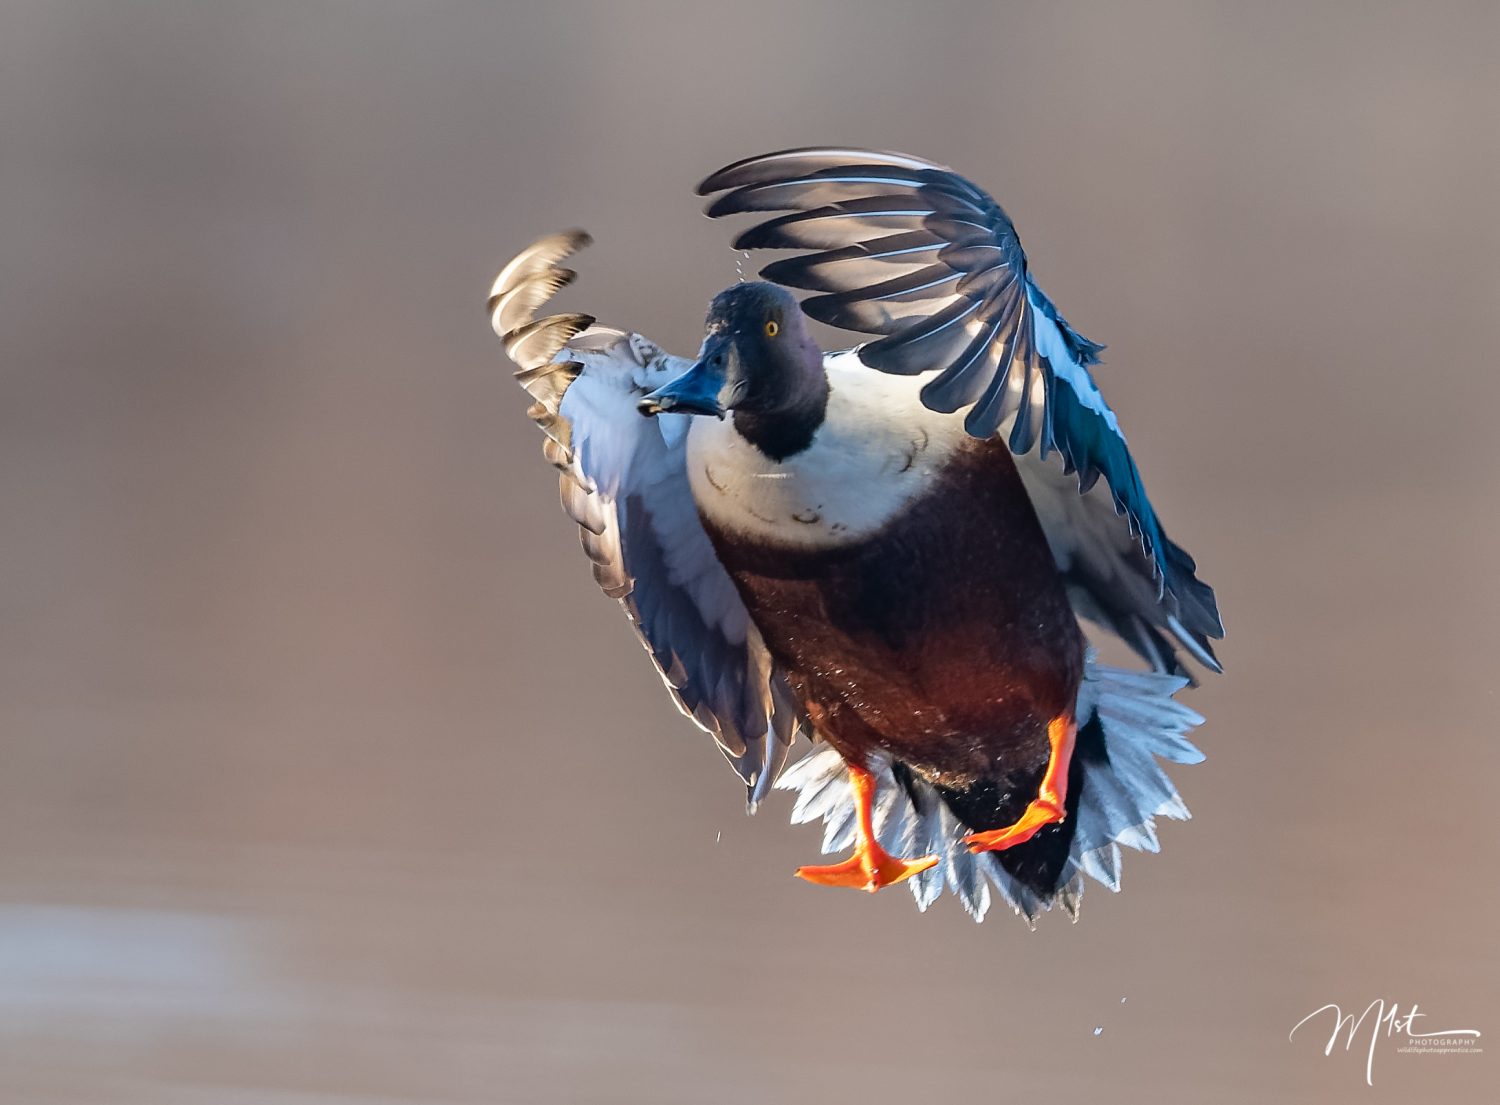
#5. Use high shutter speeds for in-flight shots. On rare occasions I will lower the shutter speed to show a sense of motion in the ducks’ wings, however, for the majority of shots, I prefer to freeze motion.
#6. Use continuous-servo mode. Ducks are always moving. Continuous servo mode allows you to keep them in focus as they move.
#7. Use back button focus. This allows you to focus on the subject, change the composition, then take the shot without refocusing.
#8. I use a combination of single point focus for stationary ducks and group focus for ducks in flight. I have my camera set up so I can switch between these two focus modes easily and on the fly while using back button focus.
Getting your post processing ducks in a row.
You did your homework and found some ducks. Your camera settings were just right. You have a memory card full of shots and you’re ready to print or post that wall hanger. Wait a minute, there are a few more ducks we need to get in line before we post that final image or hang it on the wall.
There are a number of software programs available to help you with post-processing your photographs. Each program has its’ own unique advantages and disadvantages. Every photographer has their own reason for using the program they choose as well as the steps they take while using it, their so-called “workflow”. While I have owned and used a number of different programs over time, I currently use a combination of Adobe Lightroom Classic and DXO Optics Pro for 95% of the photos I process. Understand that there is great variation in opinion regarding what a final photo should look like based on individual desires, preferences, and one’s own creativity. The following recommendation on how to line up these “processing ducks” is my personal workflow and applies only to these two programs.
#1. I import all my RAW photos into Lightroom and do all my photo cataloging within Lightroom.
#2. Once imported I open the develop module and set the sharpening slider to zero. Lightroom sets this slider at a low amount by default.
#3. I export the photo from Lightroom into DXO optics Pro. I prefer the sharpening and noise reduction functions of this program over any of the others I’ve tried.
#4. In DXO I start with lens sharpening and usually set this value between .25 and 1.5 for most photos. The program has specific camera and lens combination profiles that you are prompted to automatically download based on the EXIF data identified from the photo. It’s a one-time download for each camera lens combination you use. This module is the best photo sharpening tool I have used.
#5. I now utilize the unsharp mask module to enhance the sharpening further if needed. These modules work in different ways so try them out but you need to be careful not to be too heavy-handed and over sharpen your images.
#6. My next step is to use the noise reduction module. Sharpening can affect and increase the appearance of noise in your images. I do all my sharpening of the image prior to using the noise reduction module. For me, this is the other reason I use DXO. Hitting the prime button automatically reduces noise better than any other program I have ever used. The luminance slider in the module can be used to further reduce image noise if needed but this program is so good with its’ initial noise reduction, I seldom find It necessary.
#7. At this point I export the photo back into Lightroom.
#8. Back in Lightroom, I start by checking the ” remove chromatic aberration” and the ” lens correction” boxes.
#9. The designers of Lightroom place the modules and sliders in the order they did because from their standpoint photographs should be processed in that order to get the best results. Starting with white balance, then temp, then exposure, I work my way down each slider in sequence. I avoid the contrast slider until later. By holding the shift key and double-clicking the slider header, Lightroom will set the value of that slider to the position it feels is most appropriate for the photo in question. While this may not be exactly correct in each case it does give a good starting point and in most cases is spot on.
#10. The next module I address is the tone curve. I use it to set the contrast. At the bottom of the module is a button that allows linear, moderate, or heavy contrast. I usually test each one and see if I like the result. After choosing the amount of contrast you desire you can use the contrast slider to add more or less contrast to fine-tune the result.
#11. Now I add any additional sharpening. Holding the Alt key and moving the masking slider to the right will limit the sharpening to certain areas of the photo. Remember black conceals and white reveals.
#12. Finally, any new noise created from processing can be eliminated by the luminance slider.
Well, from beginning to end there are a lot of wildlife photography ducks to keep in a row. If we take our time, put in a little study, and proficiently use our cameras and process our photos well, we should be rewarded with results that anyone would be proud to display online or on their wall.